 myminifactory
Nut Cracker
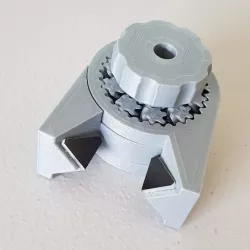
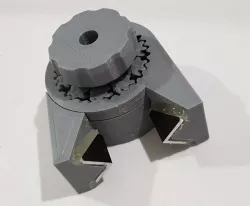
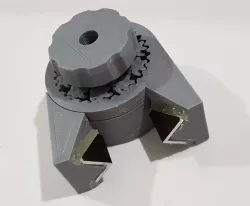
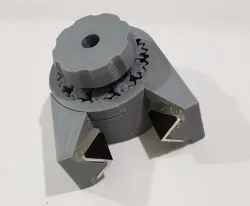
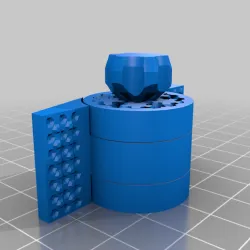
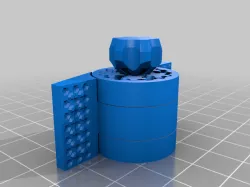
Experimental Nut Cracker. Didn't fare so well against the mighty Macadamia but still shows promise. Pictured with aluminium reinforced jaws, though on its own has a hard bite. Gear ratio 1:41.667.
Prints in place fully assembled without supports.
IMPORTANT: Print at 0.2mm layer height if using the default model, otherwise ensure layer_h parameter matches your layer height if customizing. Check preview before printing and ensure the 1-layer gap is preserved in the outer ring gears.
Use a sharpened spatula, single-edged razor or similar to de-laminate the 1-layer gaps (watch fingers and listen for the "crack"), then turn the knob just a little to get the gears moving. Now "crack" the jaws apart manually by back-driving by a few mm (there should be a little backlash). Now all the parts are free, it will be a bit stiff at first but opening and closing a few times will loosen it up. Then apply petroleum jelly or lubricant of choice to gears and work it in (again by opening and closing a few times). Optionally reinforce jaws with aluminium angle or stainless steel and a bit of glue.
Direct link to the original creator's page
Also Available On
More from troy
![[Mobile Game] SPIRE - MOB 2](https://bamax.es/php/files/uploads/305/mobile-game-spire-mob-2-opHB7L9H_200.webp)
Similar Models
Model Specifications
Frequently Asked Questions
How do I download Nut Cracker?
Click the "View on myminifactory" button above to visit the original model page on myminifactory. You can download the STL file directly from the creator's page.
What 3D printer can I use for this model?
This STL file is compatible with most FDM 3D printers (Creality Ender 3, Prusa MK3S+, Bambu Lab, etc.) and resin printers (Elegoo, Anycubic). Check the original page for recommended print settings and materials.
Is this 3D model free to download?
This is a premium model priced at on myminifactory. Premium models often include higher detail, multiple parts, and print-tested files.
Can I modify this STL file?
Most STL files can be modified using free software like Blender, TinkerCAD, or Meshmixer. Check the license on the original myminifactory page to see if modifications are permitted by the creator.