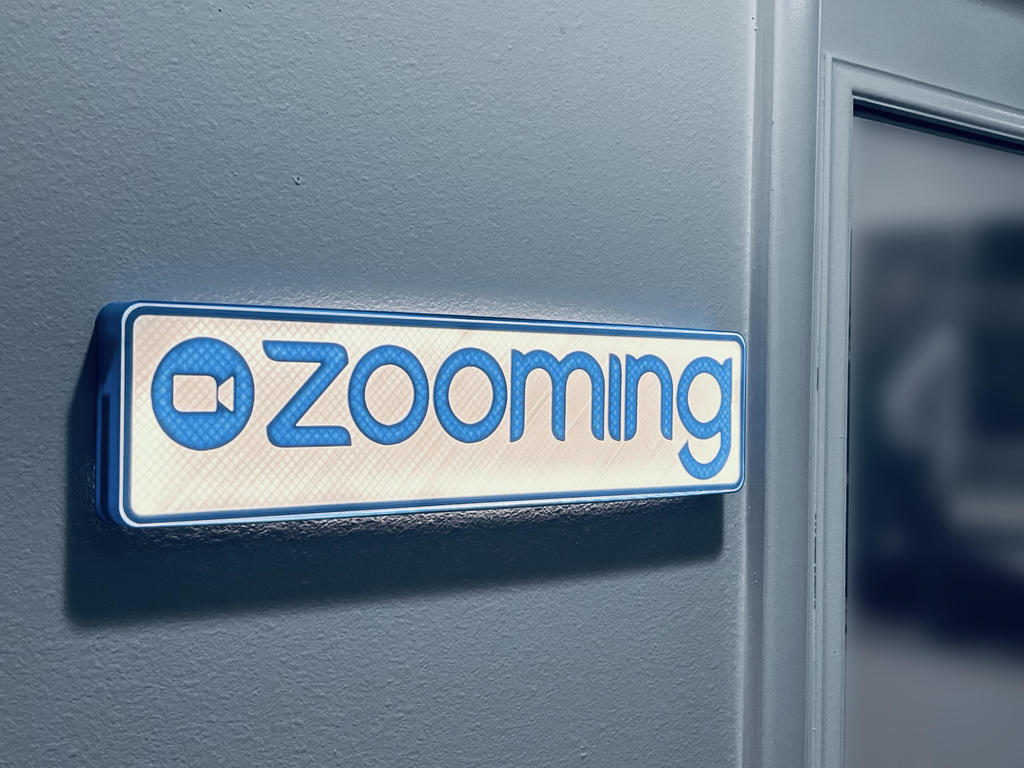
Zoom Session In Progress Sign (On Air Sign Remix) Shadow Box With LED Lighting (Zooming)
prusaprinters
<p>Man. I had so much fun with this. My family is USUALLY pretty sure about when I'm on a call or a video conference call, but, this just makes sure its nice and obvious. Here's some quickfire facts that should help you get started.</p> <h3>Summary: Printed pieces should friction fit after some minor tlc. Adhere LEDs inside on the edges (re-enforce with super glue or something; it gets warm and those "3M" strips suck). Run wire through wall. Plug in inside the room where you're zooming. Details below:</h3> <ul> <li>The original print dimensions here are about 380mm wide. I know, that's huge. My Ender Extender 400 can fit it, but its likely most others wont be able to fit that size. It's probably scalable (please, post a make if you scale it and have success) -- otherwise, I can make less wide versions that just say "[Camera Icon] Zoom", or even remove the Camera icon, whilst just saying "Zoom". Let me know. (You might also have success printing half at a time, and splitting it after the second "o" in zoom.</li> <li>Your infill pattern is going to show through, even with a diffuser like toilet paper or something; If you don't want a grid pattern, you might want to choose solid infill, and choose a translucent filament for the first 6 or 7 layers.</li> <li>Speaking of layers. I told Cura to "pause at layer" (Extensions >> Post Processing >> Modify G-Code) and chose layer 6 or 7. Either one should get you the result you're after just fine. Go to "preview" after slicing, and check which layer you think would be best; I believe "pause at layer" means "pause AFTER I'm done printing layer X" -- which makes me think I likely chose 6.</li> <li>The sign rests inside the box sitting on ONE (read: 1) mm of lip. The original maker of the "On Air" box that this make derives from hot-glued these pieces together. It's not a bad idea. I had enough friction (and had it high enough from the kids) that it should stay without me gluing it just fine. Putting it back is trivial. A future update would be warranted to create a lip a little wider near the top (like 3mm or something) to make friction fitting easier.</li> <li>I popped a hole in the wall, and ran 18 gauge wire from the box into the room directly on the other side (where I zoom); I had a wall plug behind a TV that was somewhat nearby, and just ran it there. I used something like this and plugged it into a 12v 1a barrel wall wart I had laying around: https://www.amazon.com/2-1mm-5-5mm-Screw-Terminal-Single/dp/B018RE432Q. DO NOT PAY THAT PRICE FOR THAT. It should have good information you can google around and find a better price (or a bag of them) from somewhere else. So, One more time, that's [Sign]>>[LED light strip]>>[soldered LED light strip to 18G wires]>>[Through Hole in the wall to barrel screw-down-terminal-adapter]>>Barrel to wall-wart plug 12v1a. Soldering is DEFINITELY not required if you're going to go the easier route and use something like these [https://www.amazon.com/3528-2835-Pin-Strip-Connector/dp/B07TQ1ZCYX/ref=sr_1_2?keywords=no+solder+clip+led+strip&qid=1645923775&sr=8-2]. I would have used them myself if I had them, but I was too anxious to get the project done, so I just did an absolutely horrific solder job instead. xD</li> <li>Now, to REALLY pop this off, I've put this on a smart plug, which... is where I should have ended. But no, I'm a madman, so, there's one more step if you're going for Saiyan-level experience here:</li> </ul> <p>-- Option 1: Put a door/window sensor on your greenscreen so when the greenscreen is in a "deployed" state, the smart plug turns on.</p> <p>-- Option 2: Install Home Assistant Workstation Service [<a href="https://github.com/sleevezipper/hass-workstation-service">https://github.com/sleevezipper/hass-workstation-service</a>] and have the smart plug turn on and off based on whether the webcam is in use or not.</p> <p>And that's it! Happy Zooming!</p> Category: DIY
With this file you will be able to print Zoom Session In Progress Sign (On Air Sign Remix) Shadow Box With LED Lighting (Zooming) with your 3D printer. Click on the button and save the file on your computer to work, edit or customize your design. You can also find more 3D designs for printers on Zoom Session In Progress Sign (On Air Sign Remix) Shadow Box With LED Lighting (Zooming).
