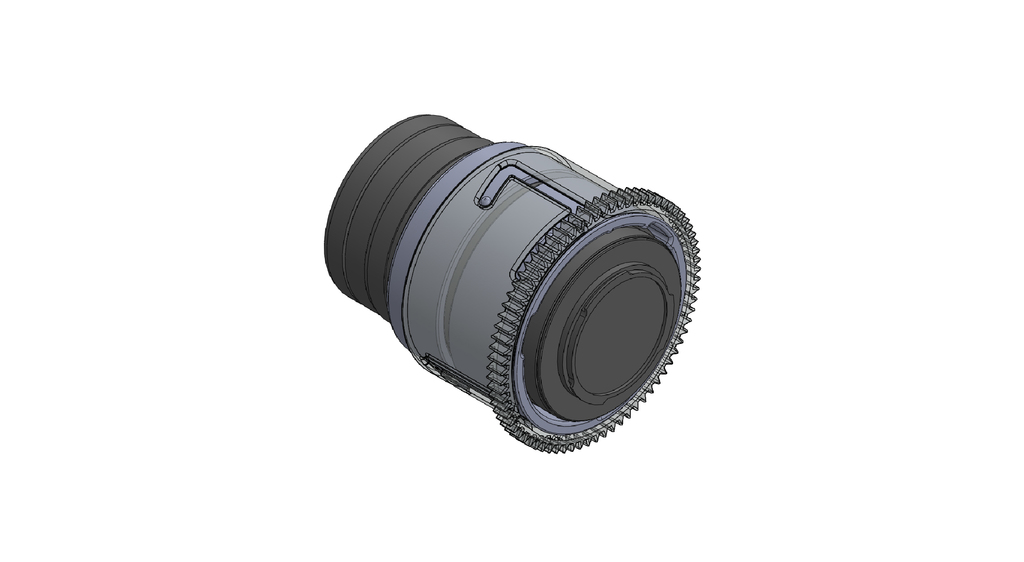
Zoom gear for Olympus M.ZD 12-50 ez
thingiverse
Zoom gear for Olympus M.ZD 12-50 EZ Installation Method... 1. Adjust the zoom to M-Zoom. 2. Attach the zoom tube, with the front end slightly shorter by 1mm. 3. Attach the fixed tube and press down on the Macro key; adjust the zoom tube's convex point right side to match the fixed tube's convex point. 4. Move the zoom ring forward to the Macro position. 5. Attach the gear ring; the zoom tube's convex point should lightly touch the groove transition, adjusting the fixed tube's position. 6. Rotate the gear ring when in E-Zoom mode, with the zoom tube's convex point located at the groove bottom. 7. Test.
With this file you will be able to print Zoom gear for Olympus M.ZD 12-50 ez with your 3D printer. Click on the button and save the file on your computer to work, edit or customize your design. You can also find more 3D designs for printers on Zoom gear for Olympus M.ZD 12-50 ez.
