Zippa 250 Motor Mounts
thingiverse
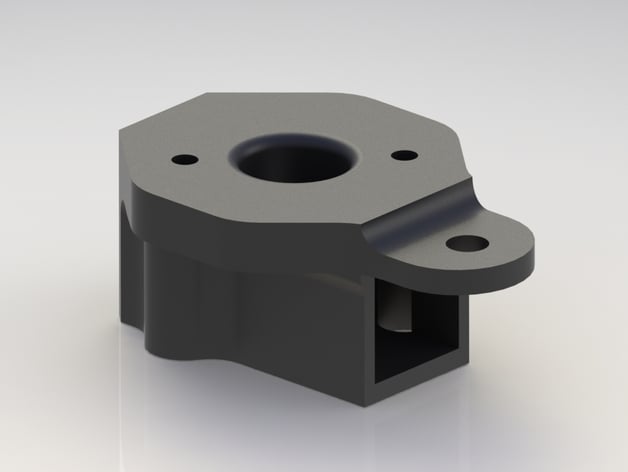
Front and rear motor mounts for the Zippa 250 feature designed motor wires that exit down the arms. The front mounts secure with a screw/nut or ziptie through the top tab hole, requiring an additional 3mm hole drilled in place. Secure the rear mounts to the arm via a snug push fit - be warned, they can be challenging to remove so wait until ready before attaching them. Front motors can be mounted ahead of installation time but rear mount placement demands arm section removal for screw access to motor bottoms, achieved with a 3 or 4mm drill or dremel tool. Once secured, front motor screws should easily slide into position against the arm without forcing it off once in place. Print mounts as per Thingiverse model images so that inside clearance is perfectly square for smooth fitment on both arms. Duplicate mounts from left to right, with only two of each required due to identical design layout. Resolution: 0.2mm Infill: 30-40% After printing is complete, coat the outside surface of the mount with bushing acetone to enhance laminate strength by a notable amount.
With this file you will be able to print Zippa 250 Motor Mounts with your 3D printer. Click on the button and save the file on your computer to work, edit or customize your design. You can also find more 3D designs for printers on Zippa 250 Motor Mounts.