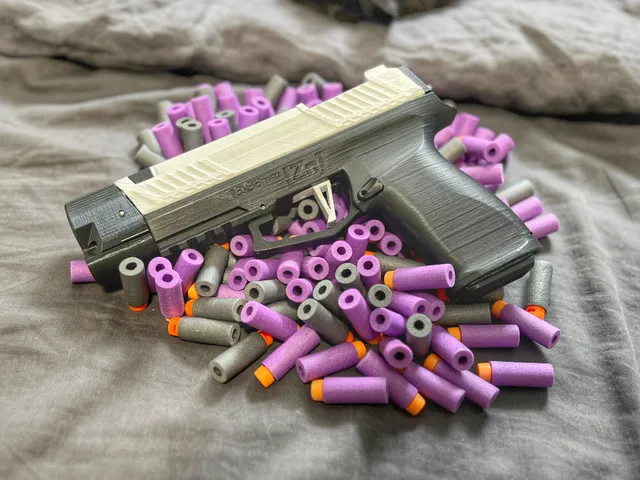
Zinc 2.0 Improved Slide
prusaprinters
Post a make if you print! I would love to see it.For easier printing, assembly, and better durability. No changes to hardware required. Especially handy for more brittle materials such as matte PLA, but in general handy for a more hassle free printing and assembly experience. If buying the hardware kit from Frontline Foam, select the legacy kit for the original 118 Design Files.Modifications:Rails are trimmed inwards by 0.1mm, meaning minimal to no sanding is required during assembly (I have a MK3s+ and did not have to sand at all, the fit was perfect, no wiggle at all and slides freely).Inner cylinder for plunger tube is 0.1mm larger (radius), leaving slightly more tolerance for the plunger tube, ensuring the rails fit in the slots after the plunger tube has been inserted.Holes for magnets offset 0.08mm larger (radius), making for easier magnet installation.Added horizontal ridges for strength in the area most likely to snap (where the captive nuts are to hold the rear part on). Will help to prevent the slide snapping with extended use, especially if printed in more brittle filaments such as matte PLA.Bridge between rear sight pins thickened slightly, due to this area being easy to snap during installation of the plunger tube.Supports are expanded to support the entire length of the print as well as the front part where the sear and catch are, as I found the combination of the shallow angle and the short bridging across the sear gap oftentimes led to some sagging in that area.Printing and Assembly Tips:Slice with 118 design's original recommended settings: 0.2 layer height, 6 perimeters, 100% infill, 5 top and bottom layers, no supports if possible, though I had to put supports under the front section where the magnets go, as that area kept coming out messy without them. The original says PETG recommended but this version will work fine with PLA, just take care when installing the plunger tube.Print slowly and with an enclosure if you have one, as this part is prone to warping. I sliced with the default speed settings for Prusament PLA and then slowed it down to 75% with the dial as I started the print.If you must use a heat gun to remove stringing, do so quickly and evenly across the part, as its geometry means it will warp easily with heat and will become unusable.When installing the plunger tube, insert from the rear, not the bottom, and only stretch the part just enough to slide the plunger tube in.Put a dab of super glue on each nut after you insert them as they can easily turn in their place otherwise, meaning you won't be able to undo certain screws as the nuts are inaccessible once assembled.Triple check magnet orientations before inserting and gluing.Use Loctite 480 instant adhesive for the magnets. Slightly more pricy but worth it. magnets will come out after a short while with cheap super glue. Keep in mind that though it says instant, I would recommend letting it set for about 15 minutes before use, or the partnered magnet may pull it out again. All improved/modified parts for the Zinc 2.0 from me:https://www.printables.com/model/720257-zinc-20-all-improved-parts Zinc 2.0: https://118.design/ZINC-2-0-Hardware-Kit-p381436673
With this file you will be able to print Zinc 2.0 Improved Slide with your 3D printer. Click on the button and save the file on your computer to work, edit or customize your design. You can also find more 3D designs for printers on Zinc 2.0 Improved Slide.
