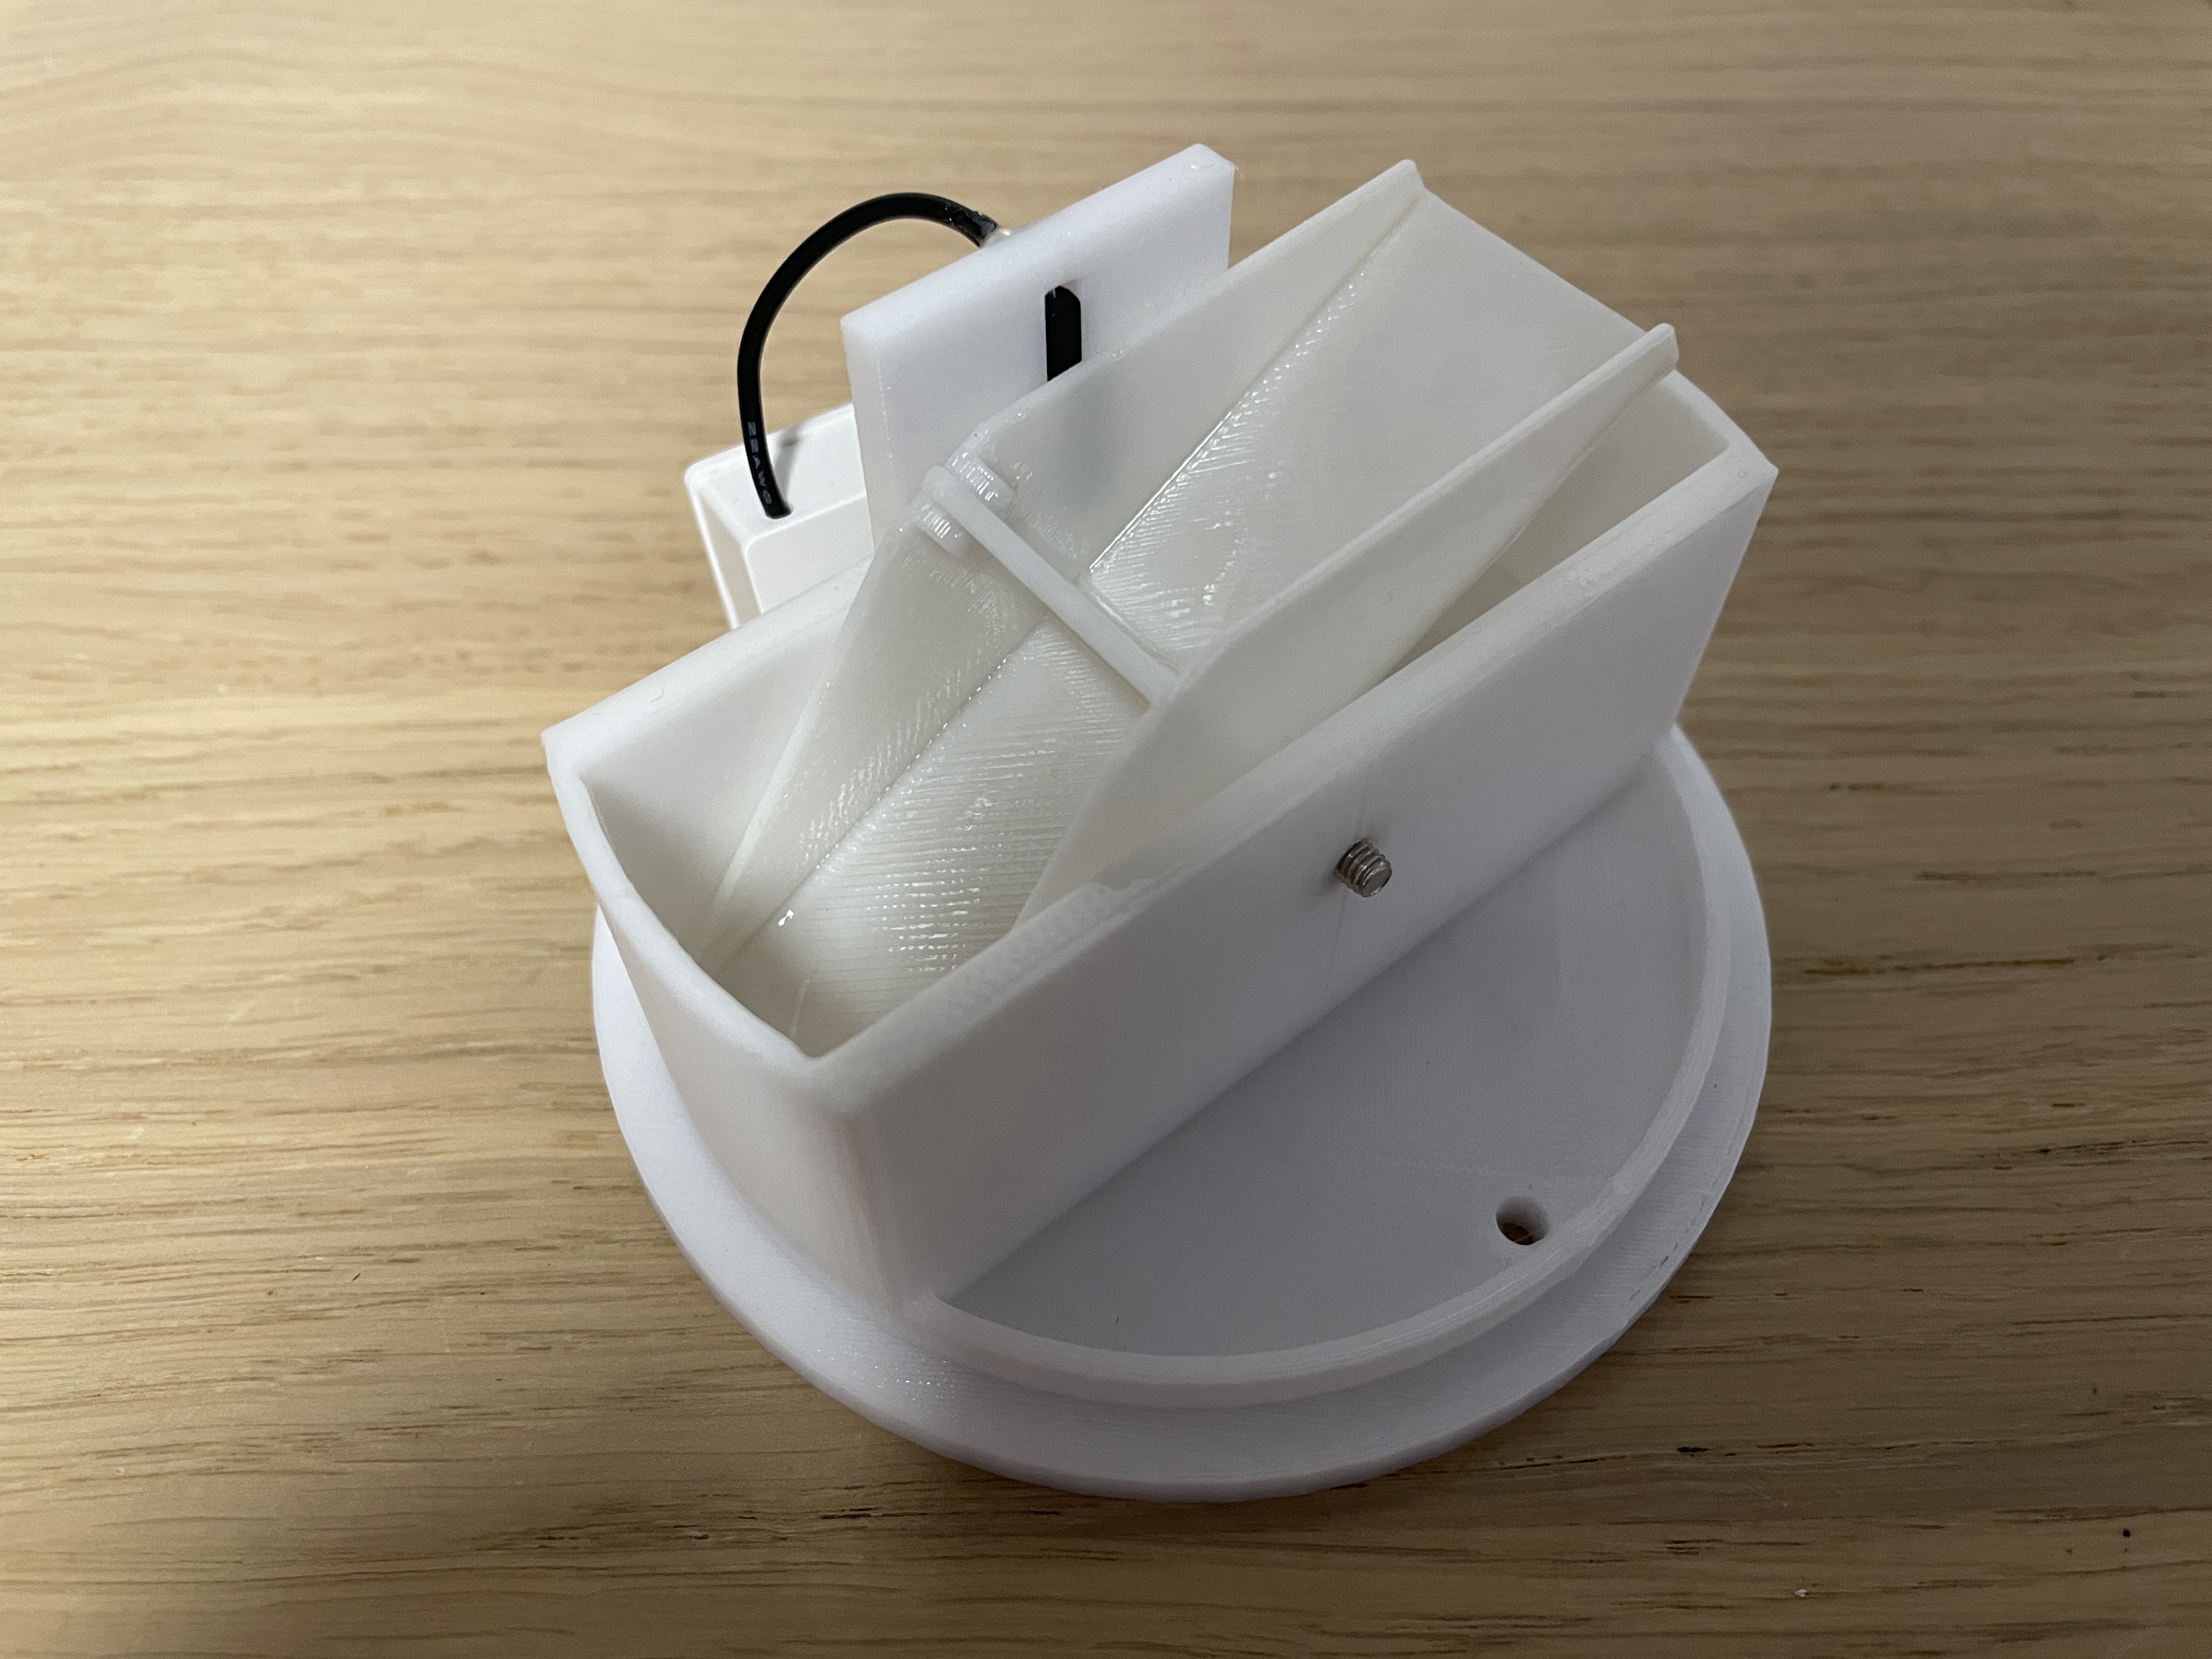
Zigbee Rain Gauge
prusaprinters
<p>I wanted a rain gauge to plug into my Home Assistant for use with an irrigation system and found this guide: <a href="https://community.home-assistant.io/t/diy-zigbee-rain-gauge/255379/25">https://community.home-assistant.io/t/diy-zigbee-rain-gauge/255379/25</a></p><p>I didn't want to wait for the gauge body being delivered so I remixed the following to fit a Sonoff SNZB-04 door contact sensor: <a href="https://www.thingiverse.com/thing:2849562">https://www.thingiverse.com/thing:2849562</a></p><p>This model replaces 32RainBase.stl.</p><p>To modify the SNZB-04</p><ol><li>Remove circuit board from the case</li><li>Make holes in the case for the wires to pass through </li><li>Unsolder the reed switch</li><li>Solder wire between reed switch and the pads the reed switch was originally attached to. Remember to pass the wires through the case before you finish the soldering</li></ol><p> Calibrate the gauge:</p><ol><li>Use a pipette to fill the tipper making sure to note how many milliliters it takes to tip.</li><li>Repeat 10 times</li><li>Calculate the average by adding up all of your readings and dividing by 10 (mine was 9.5ml)</li><li>Calculate the area of the funnel opening.</li><li>Put the figures into this equation - 1 / ((area / 10) / tip average)</li><li>Use this figure as the mm_per_pulse value in the Home Assistant config linked above.</li></ol>
With this file you will be able to print Zigbee Rain Gauge with your 3D printer. Click on the button and save the file on your computer to work, edit or customize your design. You can also find more 3D designs for printers on Zigbee Rain Gauge.
