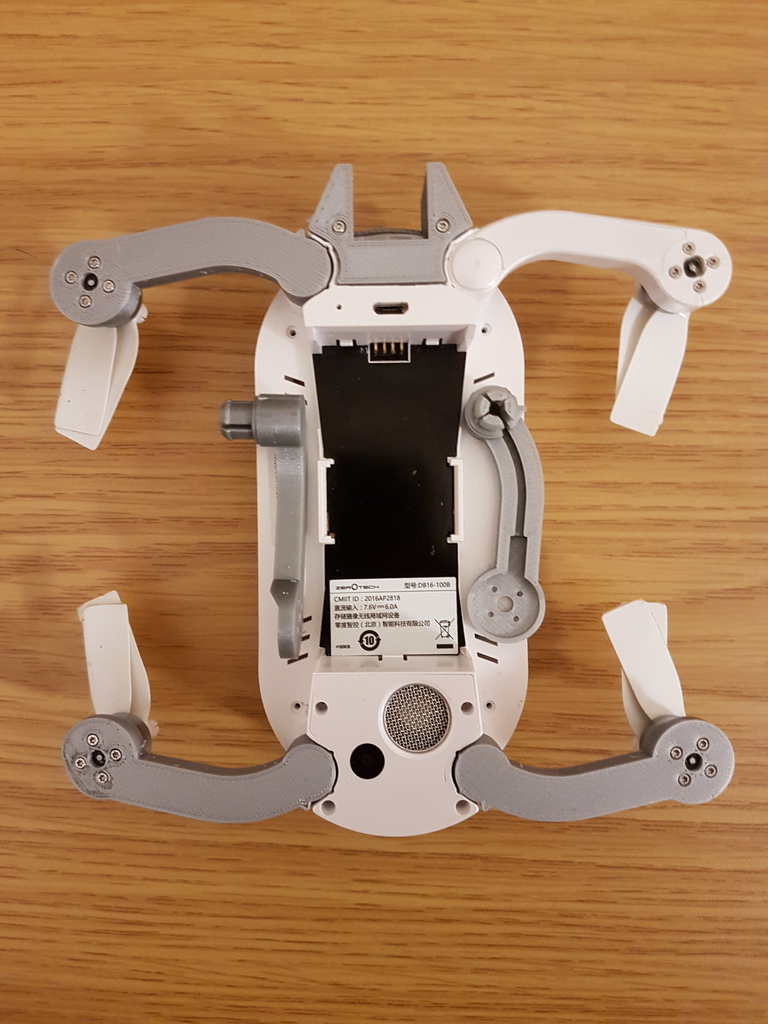
Zerotech Dobby replacement arm(s)
thingiverse
This is a replacement arm for the Zerotech Dobby. Although I printed it in PLA here, I think something stronger and with a higher glass temperature would be better, maybe polycarbonate which I haven't tried yet. The channel down the middle of this arm is intended for motor wires so that once installed, if it needs replacing, it can be removed without desoldering the wires. Securing the wires in their channels using hot glue or something similar might be a good idea. When replacing the arm, the best thing to do is to desolder the motor wires before doing anything else. Although at a pinch, the arm can still be replaced with the motor wires attached. To install this new arm, follow these steps: 1. (Ideally) desolder the motor wires. 2. Pop off the small cap on the underside of the old arm by inserting a sharp blade between the cap and arm. 3. Peel off the thin plastic cover from the bottom of the arm to expose the channel that secures the motor wires. 4. Pop out the arm if it's still attached. Opening the arm and using your heel to exert some force pushing up from under the motor is the best way to do this. 5. Remove the motor from the arm. If the wires are still soldered to the pcb, you'll need to cut away the motor pod and part of the arm pivot so that the arm can be removed. 6. Screw the motor to the replacement arm. 7. Run the wires through the channel and up through the pivot point. 8. Insert the new arm into the pivot hole. 9. Resolder the motor wires if you had desoldered them. PS - The front structure has nothing to do with this project; it was an unsuccessful attempt to eliminate jello.
With this file you will be able to print Zerotech Dobby replacement arm(s) with your 3D printer. Click on the button and save the file on your computer to work, edit or customize your design. You can also find more 3D designs for printers on Zerotech Dobby replacement arm(s).
