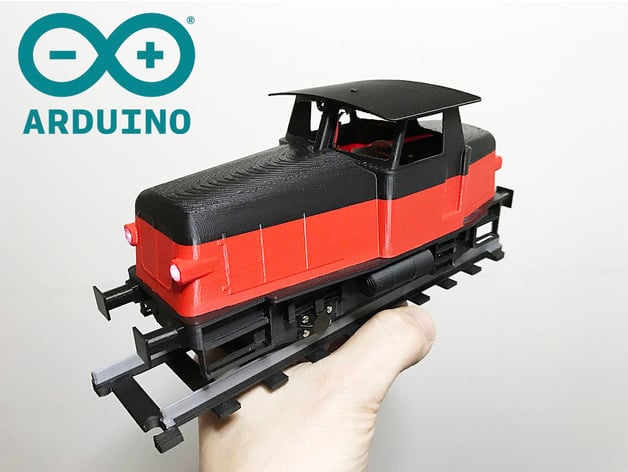
Z70 Locomotive for OS-Railway - fully 3D-printable railway system! Arduino-controlled!
thingiverse
It seems like you've provided a detailed description of a DIY robotic locomotive project. I'll summarize the key points: 1. **Motor Board:** The motor board is a Dual TB6612FNG (1A) from Sparkfun.com, which was chosen for its compact size and ability to handle PWM or analog inputs. 2. **Source Code Description:** * The program uses a micro button switch to activate motion. * A potentiometer is used to set the speed of the locomotive. * When the button is pressed, a counter starts counting either control loop (preset to 1/10S). * Depending on how long the button is pressed, either forward or backward motion is initiated. * The motor PWM is increased with a pre-set acceleration value which can be adjusted in the code. * During motion, the speed knob can be turned to directly adjust speed. * If the button is pressed longer than the pre-set emergency stop counter value, the PWM will be cut off as soon as the control loop has counted to that value with the button pressed. 3. **Resistors for LED's:** * The resistors for the LED's are not specified in the schematic because different supply voltage and different LED's will require different values. * A method is described to find out what value to use without doing any calculations: * Take a potentiometer and connect two wires, one to the middle (output) and one to either of the sides. Measure with a multimeter and turn the knob so you have maximum resistance dialed in. * Wire up the LED's in series and measure the current. * Slowly turn the potentiometer knob (lowering the resistance) until the LED's shine bright enough, or around 20mA of current is reached. 4. **Alternative Powering LED's from Motor Board:** * The motor board can handle two motor outputs and only one is used for the motor. * The other output can be used for LED's by connecting them to the B01 and B02 pins on the motor board, and AIN1 and AIN2 pins on the Arduino. * If you want to be able to dim the lights, connect an extra PWM output from the Arduino to the PWMB-input on the motor board.
With this file you will be able to print Z70 Locomotive for OS-Railway - fully 3D-printable railway system! Arduino-controlled! with your 3D printer. Click on the button and save the file on your computer to work, edit or customize your design. You can also find more 3D designs for printers on Z70 Locomotive for OS-Railway - fully 3D-printable railway system! Arduino-controlled!.
