Z endstop shim for Flashforge Creator
thingiverse
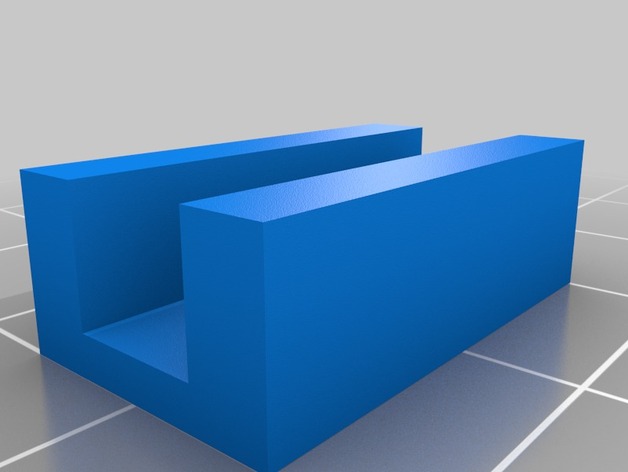
This is an essential shim that can be easily positioned behind your Flashforge Creator against the back to perfectly align the Z-endstop when adding a glass plate.\n\nInstructions to use:\nMeasure accurately the thickness of the wooden panel hitting the Z-endstop shim, then add 0.3 to get the correct value for wood_thickness.\n\nPrecisely measure your glass plate's thickness and enter it as shim_size in settings.\n\nBegin printing without using a raft, a common feature.\n\nUtilizing calipers, measure the printed shim size with utmost accuracy. Once you've got it spot-on, level your bed and reprint if needed.\n\nGradually lower your bed by twisting the levelling screws, allowing for a 0.5mm clearance from the nozzle to avoid any unexpected surprises during installation.\n\nSimply place the shim into position on the wood just below the Z-endstop switch by sliding it into its slot. \n\nNow, take some time to properly level your bed, paying close attention to detail to ensure everything is working smoothly.\nImportant Notes: Remember, precision is key here - slamming nozzles against glass can be a nightmare to clean up! Be gentle and precise throughout this process for the best results!
With this file you will be able to print Z endstop shim for Flashforge Creator with your 3D printer. Click on the button and save the file on your computer to work, edit or customize your design. You can also find more 3D designs for printers on Z endstop shim for Flashforge Creator.