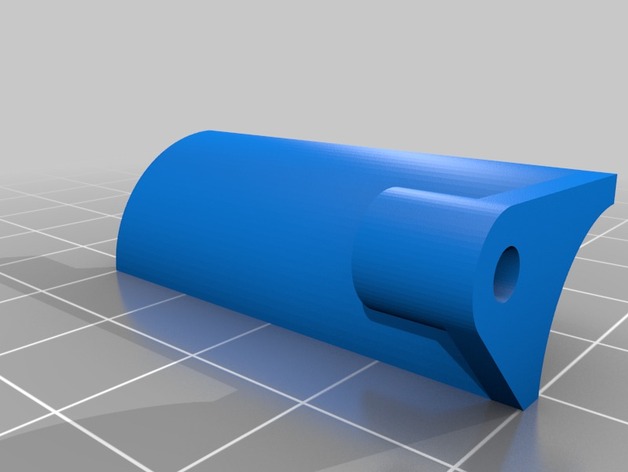
Z-End M3 Prusa i3
thingiverse
I'm posting this adjustment for a Prusa i3 with an M3 screw as the new Z-Endstop mount. First, remove the old endstop from its current position on the bearing holder by gently lifting upwards. Next, locate your newly purchased or salvaged bearing and apply some light oil to the threads if necessary, ensuring a smooth engagement with the nut. I utilized a gentle heat to install my M3 screw, positioning it snugly in the nut to secure everything firmly in place. Ensure the bearing is seated securely in its holder, providing stable movement along the Z-axis. Make sure you do not overtighten the bolt holding the endstop onto the Z-rail mount. You'll be glad you avoided damaging your new endstops and extruders once the adjustment is complete! The first print will feel sweet knowing it all clicked into place so effortlessly after overcoming a couple hitches, don't you agree?
With this file you will be able to print Z-End M3 Prusa i3 with your 3D printer. Click on the button and save the file on your computer to work, edit or customize your design. You can also find more 3D designs for printers on Z-End M3 Prusa i3.
