Z-Axis Bracket Upgrade SV06
prusaprinters
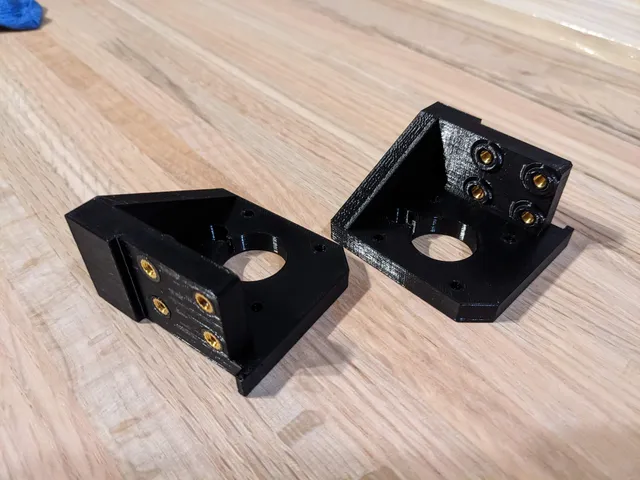
The Z-axis was never aligned with the frame and I determined it was some warp on the injection molded parts provided with the machine. I tried shimming behind the stepper which improved things slightly, but I wasn't satisfied. I studied the Prusa version, added a brace and some other DFM features and reprinted. Now my Z-axis is perfectly aligned with the frame and the Z-axis linear rods are firmly held in place (the hole on the stock part is oversized so they could move slightly).You will need (8) M4 heat inserts that work in a 5.6mm diameter and 9.1mm deep hole. I used Ruthex. Here's the link to just M4 inserts, but you'd be better off getting the set for the future! Once you sink them in using a soldering iron, make sure to hold them down with something flat so they don't rise back up. You want the mounting surface to be very flat!https://www.amazon.com/dp/B07YSV66Y5?psc=1&ref=ppx_yo2ov_dt_b_product_details
With this file you will be able to print Z-Axis Bracket Upgrade SV06 with your 3D printer. Click on the button and save the file on your computer to work, edit or customize your design. You can also find more 3D designs for printers on Z-Axis Bracket Upgrade SV06.
