Z Adjustable Bed manually K40 Laser
thingiverse
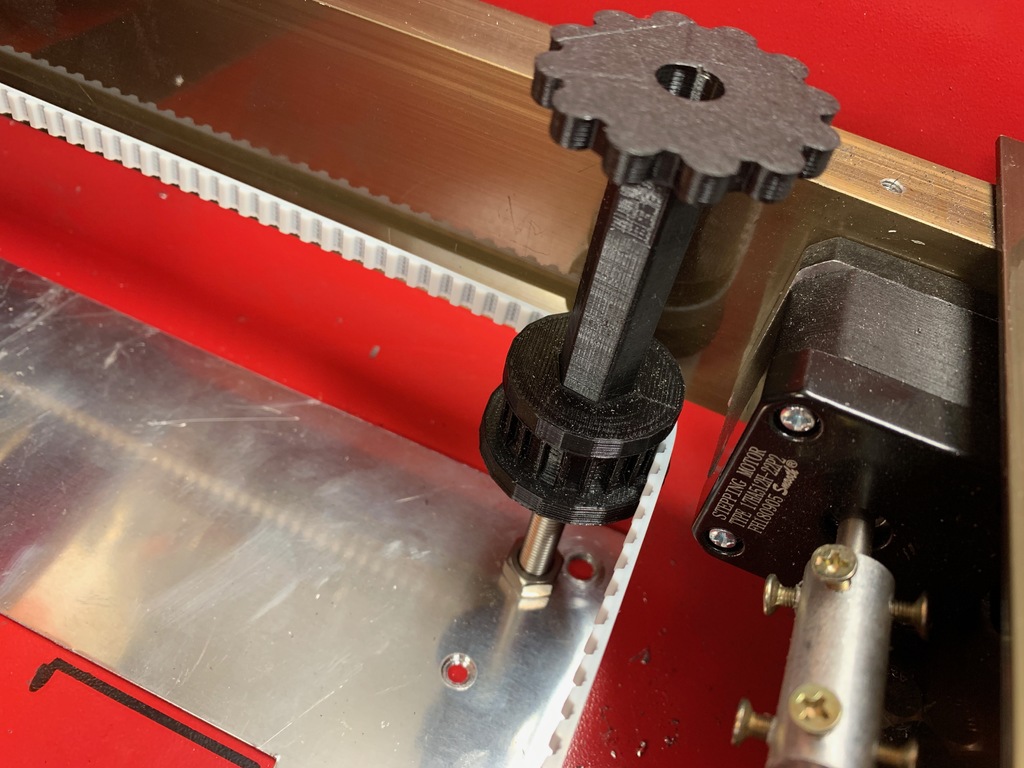
Instructions for Manual Z-Bed Assembly What do you need? - 12 x M8 Screws - 4 x M8 Rods, approximately 120mm in length (one rod is 300mm long, M24 DIN 976, stainless steel V4A A4. Find it on eBay at https://ebay.us/oTKuPs) - 8 x Spacers - 4 x M8 Pulleys (I can print them using a 3D printer for you) - 1 x M8 Drill Bit (also printable via 3D printing) - A 2m long T5 belt, 6mm wide and 5mm pitch (T5 belt, 6mm wide, 5mm pitch, linear movement, 3D printer control belt, timing belt, 2M. Find it on eBay at https://ebay.us/os4q41) - A metal sheet approximately 350mm x 270mm in size (aluminum, steel, or stainless steel with free shipping. Find it on eBay at https://ebay.us/utkZzd) First, shorten the vacuum nozzle. Next, remove the old Z-Bed assembly. I used the old Z-Bed as a base plate. Essentially, you just need to drill holes for the rods and secure them on both sides with screws and spacers. Be careful not to obstruct the M8 pulleys at the laser supports. Unroll the belt and assemble it according to the pictures.
With this file you will be able to print Z Adjustable Bed manually K40 Laser with your 3D printer. Click on the button and save the file on your computer to work, edit or customize your design. You can also find more 3D designs for printers on Z Adjustable Bed manually K40 Laser.
