YoYo (JoJo)
prusaprinters
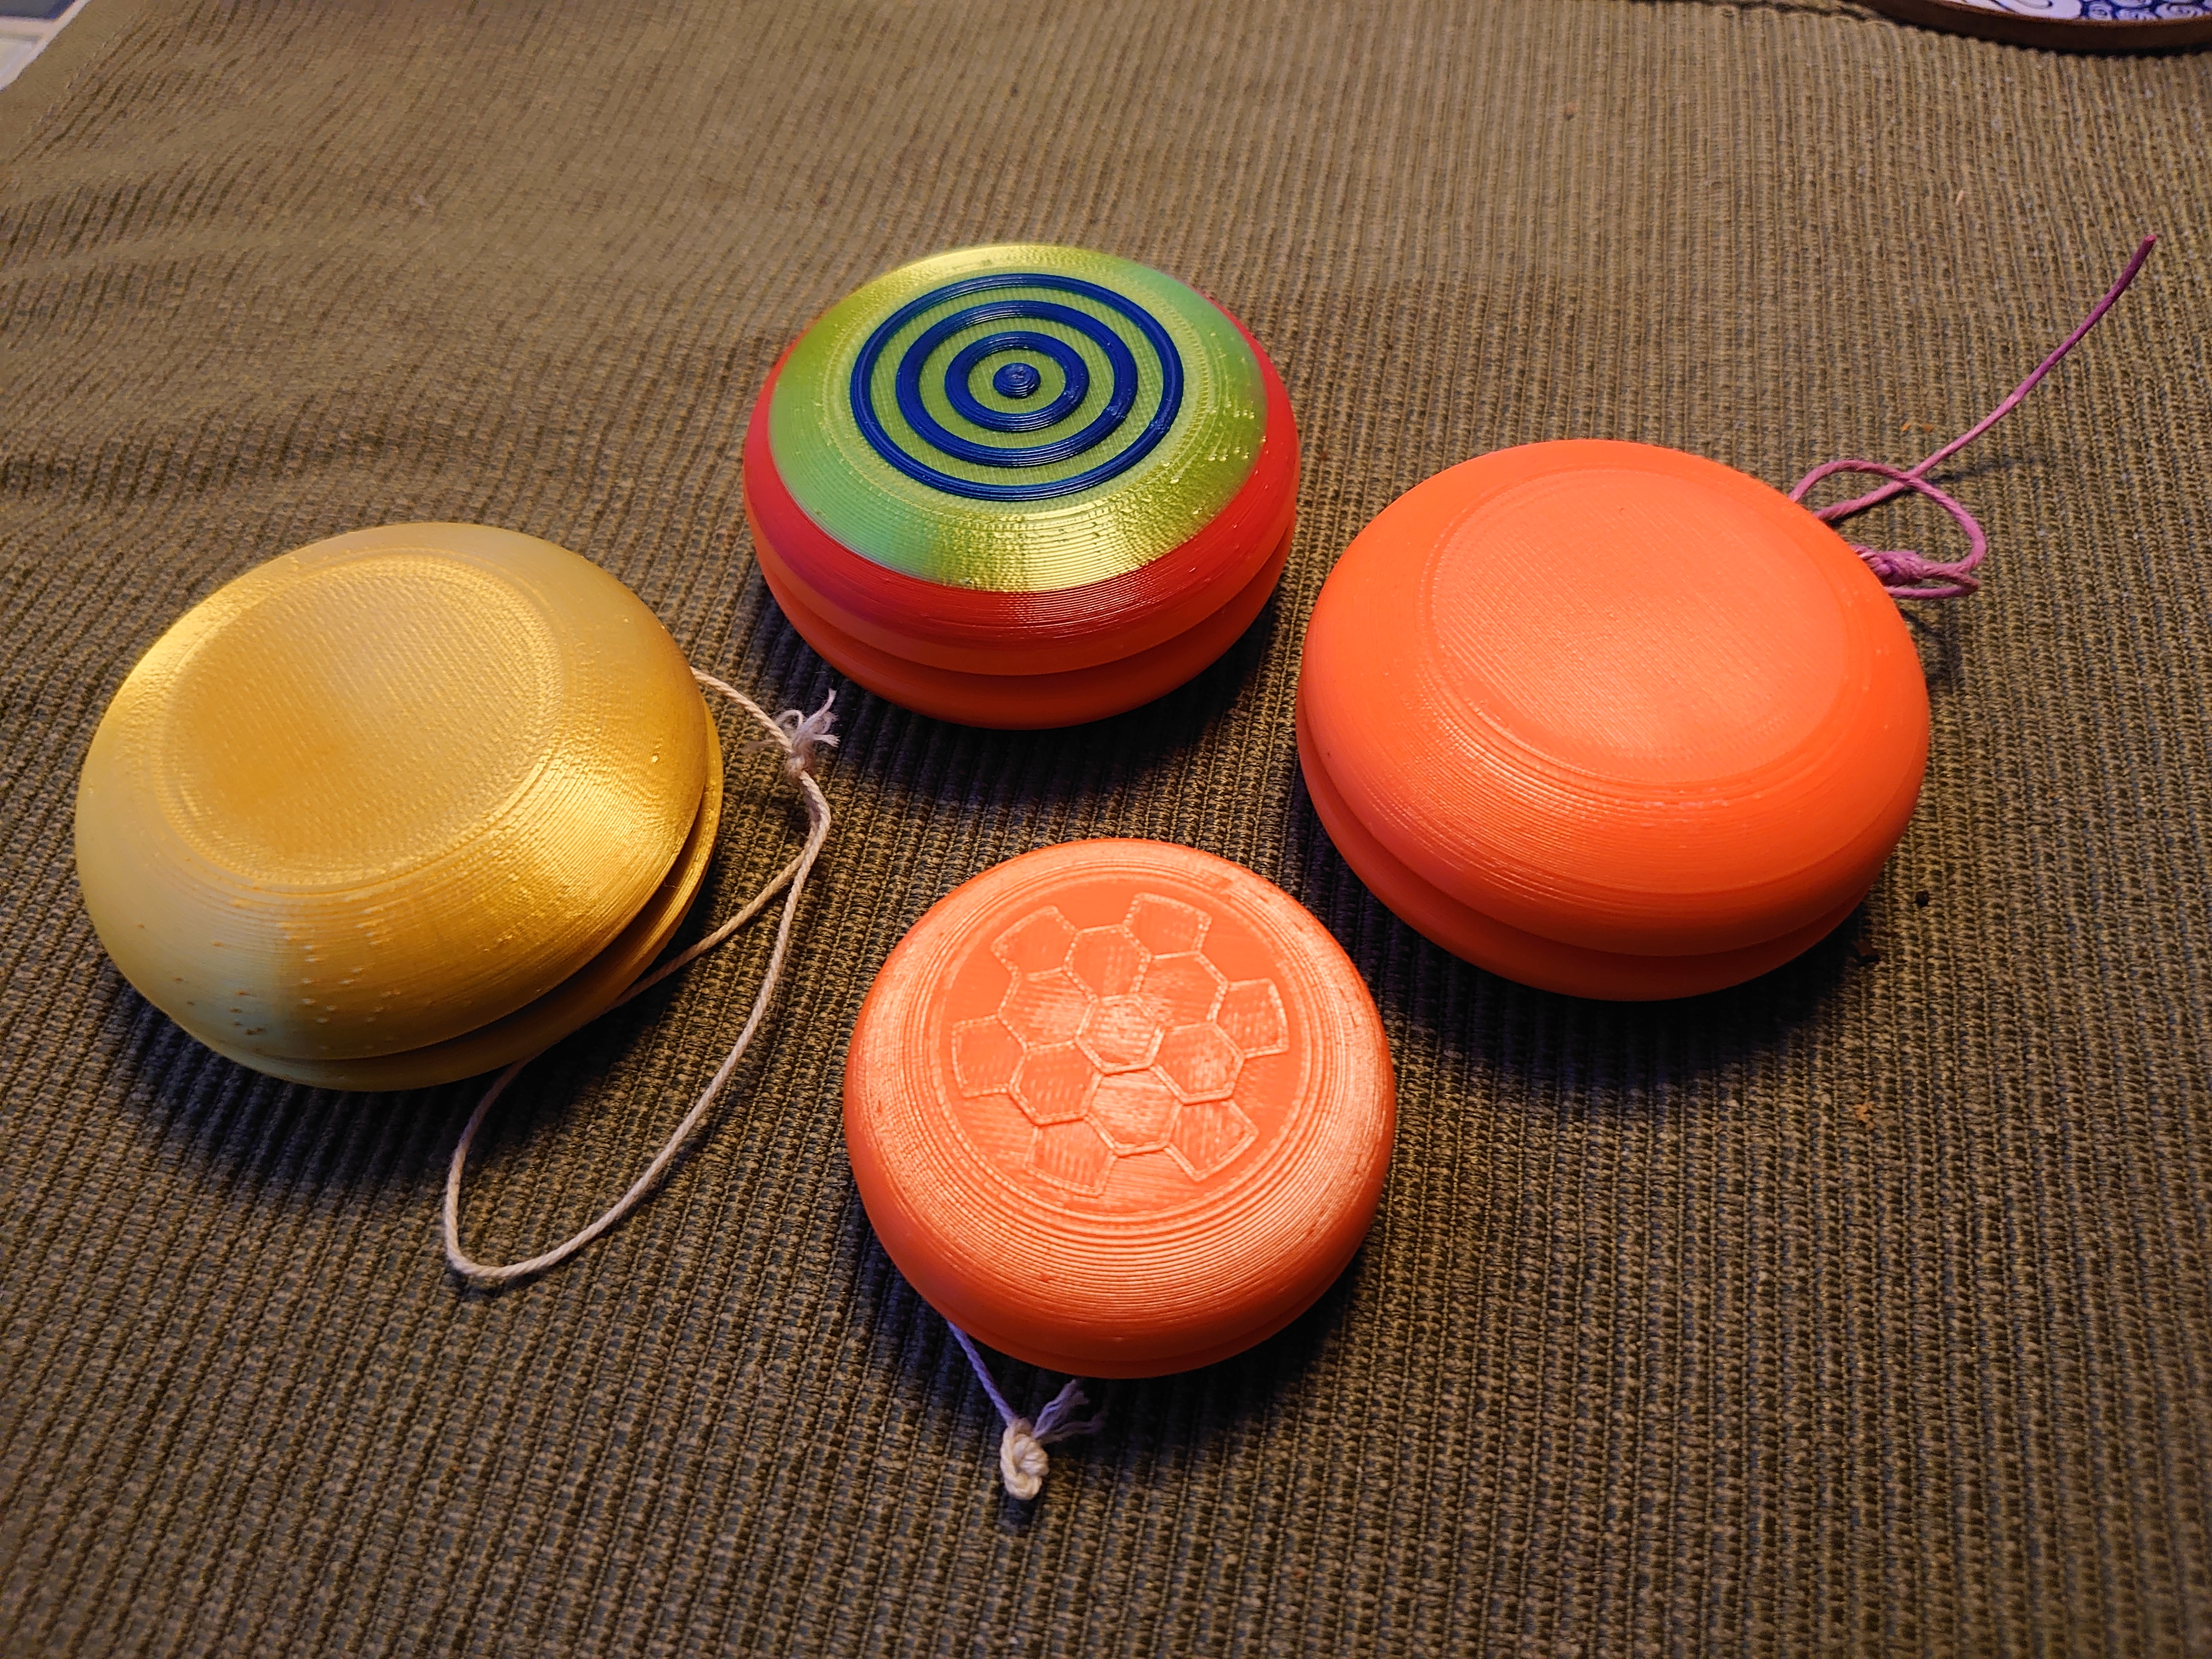
<p>Print the Yoyo with 80% infill and the yoyo will weigh about 60grams.</p><p>The screw and the 3mm middle-nut should be printed with 100% infill for strength. The nut should obviously be in the middle of the screw.</p><p>The screw could break if you e.g. drop the yoyo in the ground et cetera. In that case just print a new screw and replace the old one! Happened to me!</p><p>When you screw the two yoyo-sides together do not over-tighten, could break!</p><p>Add a cotton string and you are good to go.</p><p>The files named Yoyo_Topping_… can be attached to the yoyo in the Prusa Slicer.</p><ol><li>Add YoYo_Part.stl, one half that is</li><li>Choose Advanced Mode in the Slicer</li><li>Right click on the yoyo, a menu pops up, and choose “Add part”</li><li>Add a YoYo_Topping-file</li><li>Position should be x = 0, y = 0, and z = 6 mm and the topping should be placed at the top of the yoyo. If not then you must enter x = 0, y = 0 and z = 6 in Position (Part manipulation)</li><li>Select the Yoyo-half with the topping and copy/paste it so you have two halves.</li><li>Slice and print :-)</li></ol><p>The current toppings are Star, Star2, Circles, Spiral and Hex, more to come.</p><p>The attached file with COLORCHANGES will need color-change. Look at the upper/left in attached image for colorchange times. </p><p>The yoyo will also print nicely if you scale it to 80%, and will be a nice size for children of age 4-8 or something like that.</p><p>---</p><p>If you want to make your own topping then make a 35mm circle, 1mm thich, and on that surface make whatever you want and attach as above!</p><p> </p><p> </p>
With this file you will be able to print YoYo (JoJo) with your 3D printer. Click on the button and save the file on your computer to work, edit or customize your design. You can also find more 3D designs for printers on YoYo (JoJo).