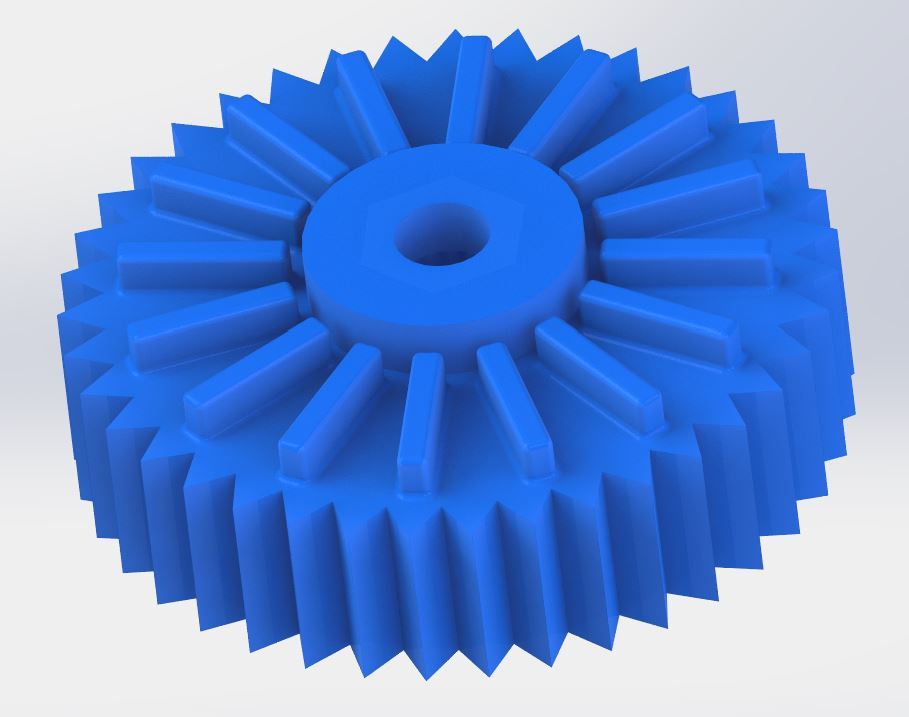
Yet Another Thumbwheel
prusaprinters
<p>Felt it was easier to design my own, so I did.</p> <p>They utilize an M3 Locknut.</p> <p>The serrations on the edge make it easy to adjust them.</p> <p>If you would be so kind, please post your Makes.</p> <p>Thank You!</p> <h3>Print Settings</h3> <p><strong>Printer:</strong></p> <p>Monoprice Maker Select V2</p> <p class="detail-setting rafts"><strong>Rafts: </strong> <div><p>No</p></div> <p><strong>Supports:</strong></p> <p>No</p> <p class="detail-setting resolution"><strong>Resolution: </strong> <div><p>.1mm</p></div> <p><strong>Infill:</strong></p> <p>80%</p> <p><strong>Filament:</strong></p> SunLu PETG <p>Your choice Post-Printing =============</p> <p><strong>Installing Nuts</strong></p> <div><p>Use a 3mm Nylok nut.<br/> The hex holes are spec'd at 5.5mm across the flats, a snug fit in a perfect print world. <p>They go in the hole with the nylok end facing out.</p> <p>I use an M3 x 25mm Socket Head capscrew to install the nut.</p> <p>Spin the screw into the nylok end of the nut until you catch a couple metal threads.</p> <p>Then, position the nut aligned with the hole, rap it in with the hammer, unscrew the screw.</p> <p>No heat required.</p> </p></div></p></p> Category: 3D Printers
With this file you will be able to print Yet Another Thumbwheel with your 3D printer. Click on the button and save the file on your computer to work, edit or customize your design. You can also find more 3D designs for printers on Yet Another Thumbwheel.
