Yet Another Dry Box
prusaprinters
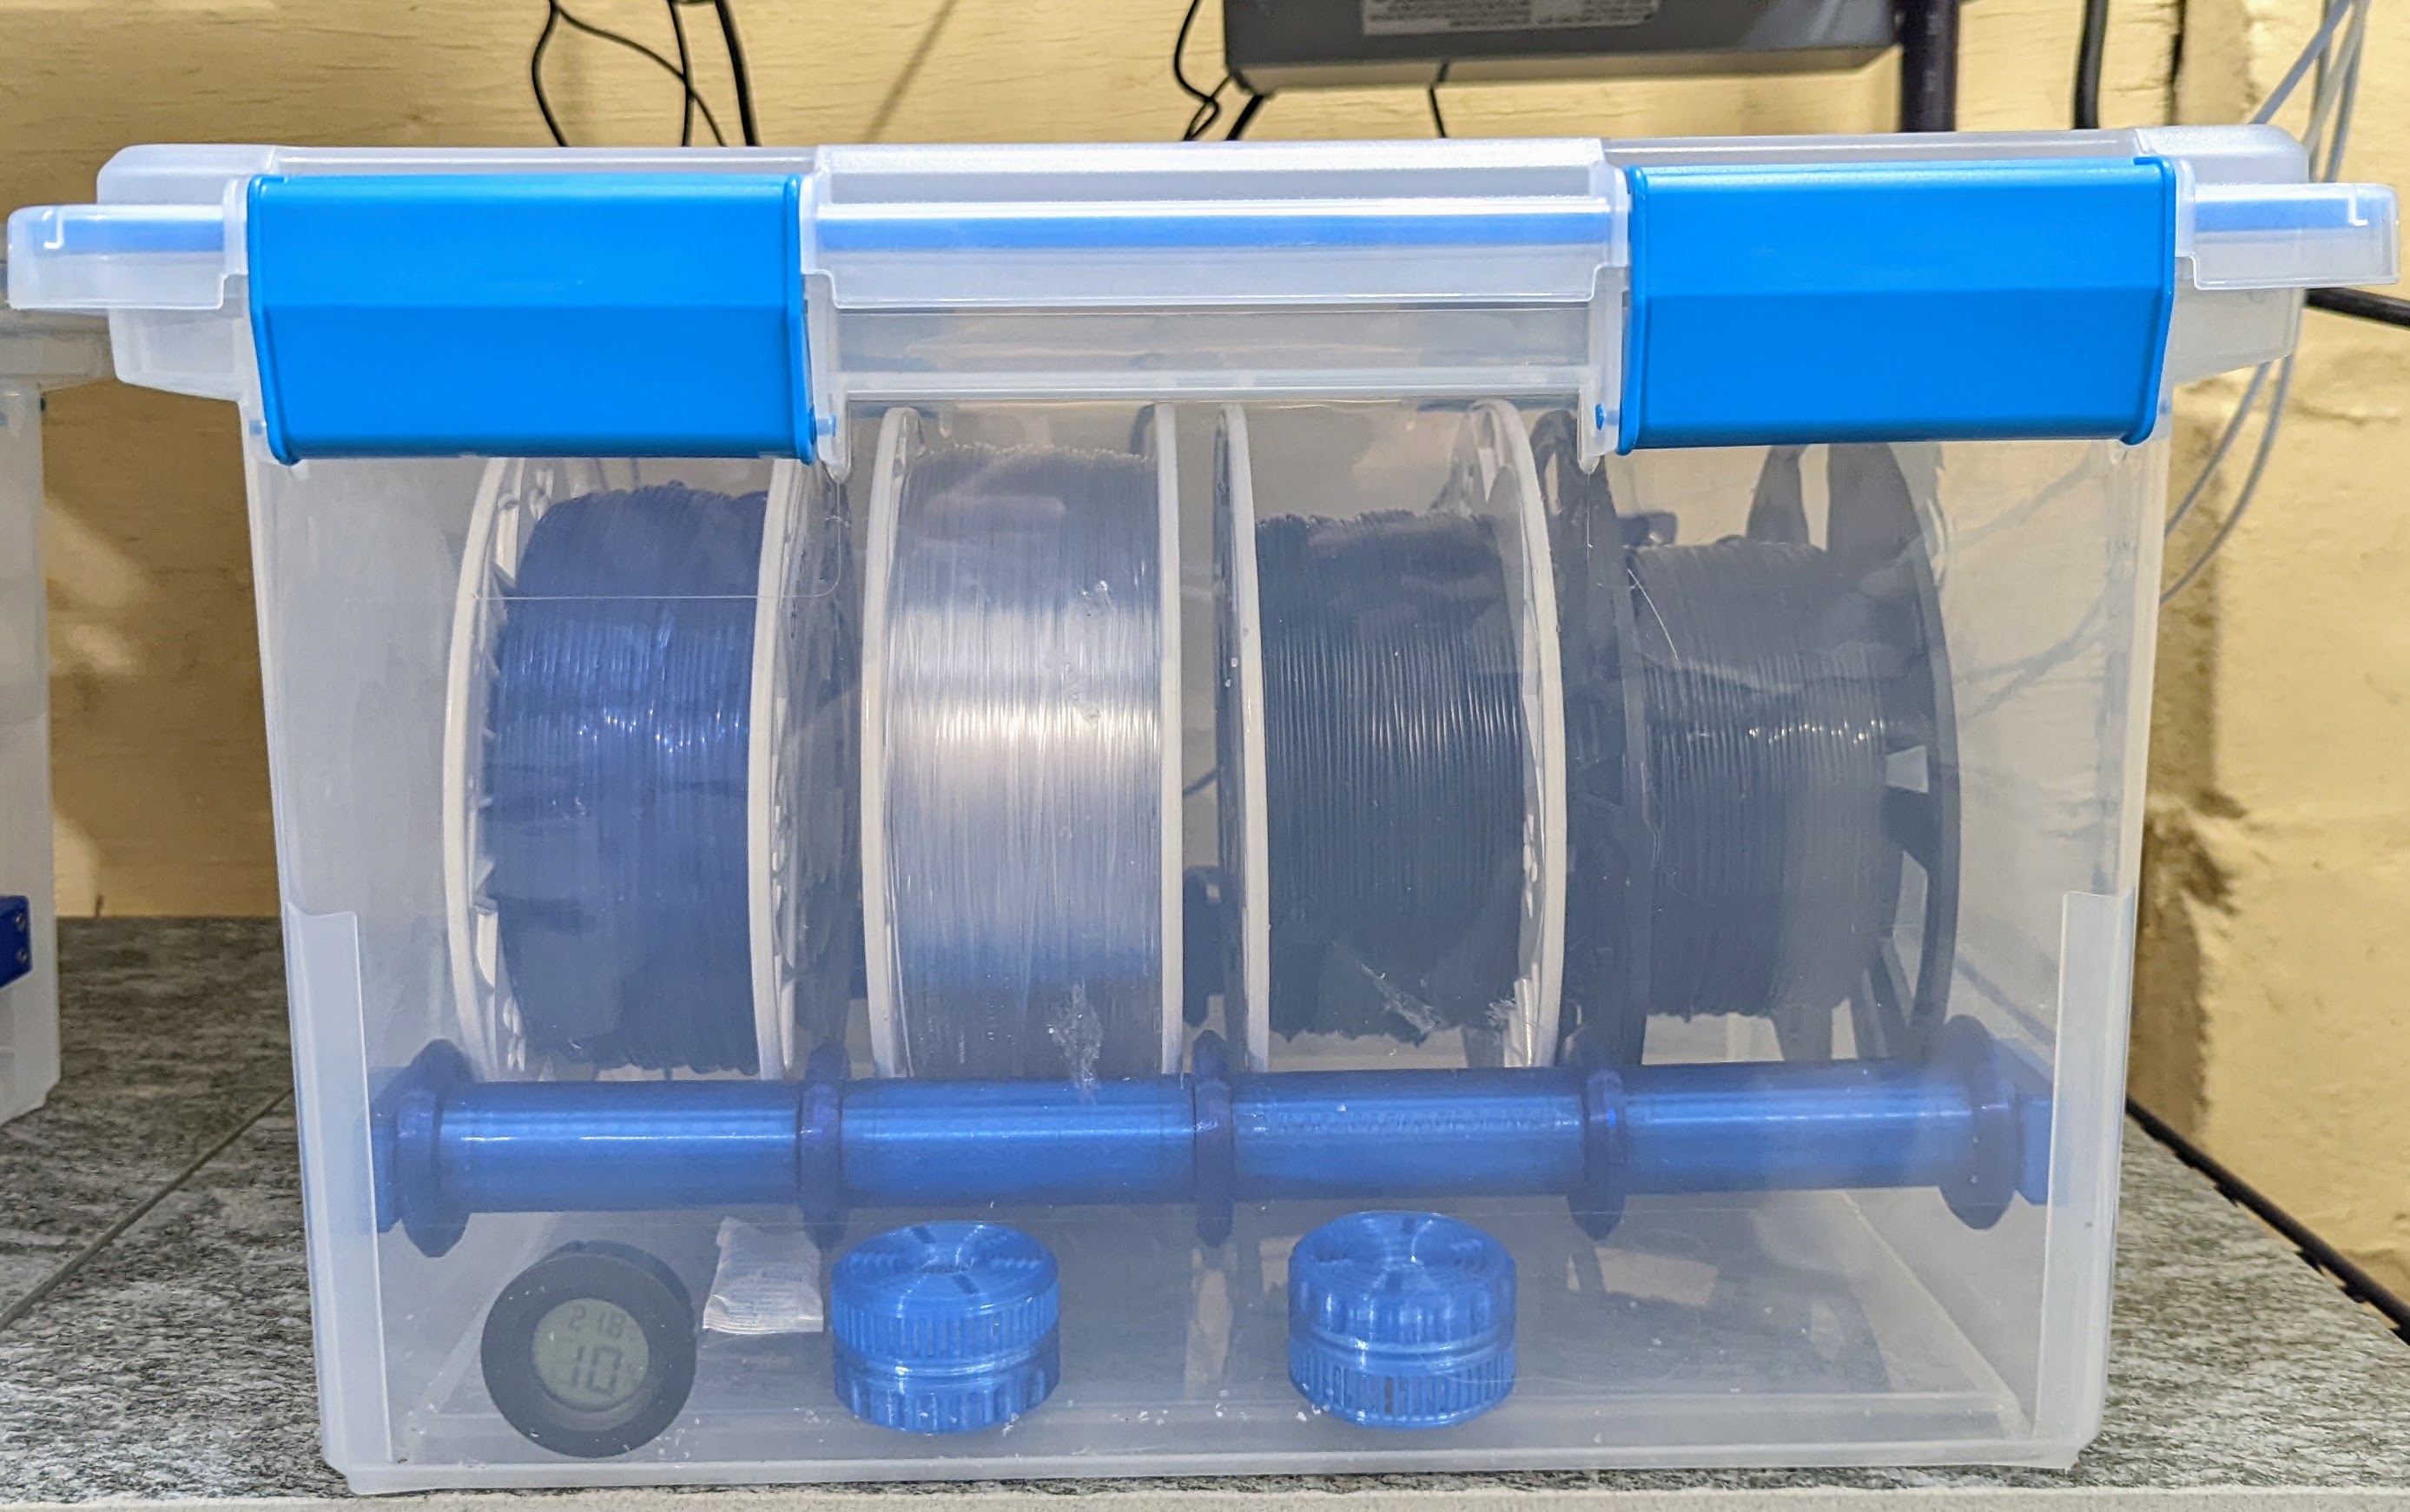
<p>This is yet another dry box. Mine is inspired by a number of different dry box builds and parts, including:</p><ul><li><a href="https://www.thingiverse.com/thing:3947469">Sterilite 20qt Filament Dry Box by StvPtrsn on Thingiverse</a></li><li><a href="https://www.thingiverse.com/thing:2700440">Angled Dry Box Feeder with Source by Bolukan on Thingiverse</a></li></ul><p>For this build you will need the following parts:</p><ul><li>17x 608zz bearings for the rollers (1x is a spare sacrificial bearing for sanding the rods)</li><li>2x Carbon Fiber Rod 8mm diameter cut to 380mm +/- 2mm length and sanded</li><li>16x M3 x 14mm hex cap screws</li><li>16x M3 x 18mm hex cap screws</li><li>32x M3 hex nuts</li><li>4x PC4-M6 quick release ptfe connectors</li><li>1x Sterilite 32 Qt / 30L gasket sealed storage container</li></ul><p>For tools, you will need:</p><ul><li>A metric T-square or similar and a sharpie marker</li><li>A hole reamer or drill</li><li>An X-Acto knife or deburring tool</li><li>A 2.5mm allen key or suitable hex head screwdriver </li><li>A dremel or other suitable tool for cutting carbon fiber tubing</li><li>320 grit Sand paper </li><li>Appropriate safety equipment including:<ul><li>A suitable respirator for sanding / cutting carbon fiber</li><li>Gloves</li><li>Eye protection</li></ul></li></ul><p>To build the dry box, first print all of the plastic parts. There should 4 sets of the cable feeders, 4 sets of the rod brackets, 8 rollers and 10 spacers. There should also be drill templates for both the brackets and the feeders.</p><p>Assemble the rollers by inserting the bearings into the sockets on each end of every roller. Thread the PC-M6 quick release connectors into the feeder brackets.</p><p>Cut the carbon fiber rod to length. 380mm has worked well for me, but this doesn't need to be extremely precise or clean. Then sand each rod so that the spare 608zz bearing can slide down the length with slight resistance. Try to take as little off as possible. Carbon fiber dust is bad for your hands, lungs, and eyes. Wear a mask/respirator, glasses, and work outside or in good ventilation if possible. Work with water to keep dust down and minimize impact to the surface. Clean the sanded parts after.</p><p>On each end, using a T-square or other layout tool of your choice, mark a line that is ~60mm parallel to the bottom. Mark roughly perpendicular lines roughly 60mm from the front/rear surfaces of the box. Use the rod hanger drill template to mark out drill holes. Use your drill or hole reamer to make suitable holes for the screws the pass through. It's okay to not completely deburr these holes - some excess plastic helps act as a gasket to keep air out (given we're poking many holes in our “dry box”.) However, excess plastic will get in the way of good assembly, so use an X-Acto knife or similar to clean up the edges a bit if necessary.</p><p>For the feeders, mark a line ~60mm below the lowest obstruction on the front edge of the box. Then mark perpendicular lines to that line at 60mm and 150mm from the left and right sides of the box. Again, use the drill template, and drill suitable holes.</p><p>Assembly, once the holes are cut should be almost self explanatory. Put nuts in all the hexagon sockets on the inside facing parts. Try to align all the watermarks (either up or down to be unobtrusive in your use) and then fasten with screws. Use m3x14 for the rod brackets and m3x18 for the the feeds.</p><p>Clean up and remaining layout lines with Isopropyl.</p><p>It should actually be relatively straightforward to change the lengths of the rollers / spacers to adapt this system for other size boxes / lengths of rods. Such edits can be done in Prusa Slicer, even.</p><p>I'm considering future revisions that will include a desiccant tray (I am currently using Malolo's lovely desiccant containers - 2x 30mm pucks work well), a heater, and other conveniences. Should I be satisfied with the results, I'll update this post.</p><p>The provided gcode is for a mini, but there is nothing specific to the mini – it's just what I have. These parts print well in PLA or PETG. I prefer PETG for the rollers and spacers and find PLA is better for the brackets. </p>
With this file you will be able to print Yet Another Dry Box with your 3D printer. Click on the button and save the file on your computer to work, edit or customize your design. You can also find more 3D designs for printers on Yet Another Dry Box.