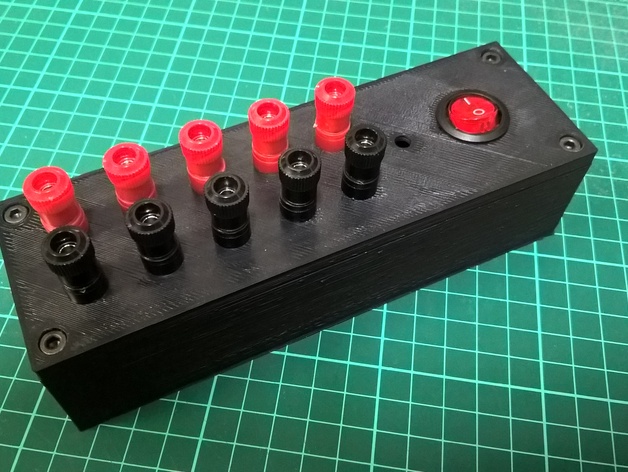
Yet Another ATX Conversion
thingiverse
Thingiverse is overflowing with ATX-to-general-PSU conversions, but I built another one for a reason. I didn't want those outputs wired directly into the ATX PSU - I wanted them neatly boxed up and connected by cable. Print Settings: Rafts: No Supports: No Post-Printing Mechanical Setup The box holds together with four M4x40 screws sporting socket heads. Electrical Setup I'm not going to reinvent the wheel here, as there are tons of instructions online for converting an ATX PSU into a general-purpose one. Check out WikiHow's guide if you need more detail. Here's my quick cheat sheet on wire colors instead: Black means ground Yellow = +12 V Red represents +5 V Orange denotes 3.3V White signals -5 V Blue points to -12 V Gray or Brown signifies the "power good" signal at +5V; connect this to an LED via a 330 ohm resistor and the ground respectively. Green indicates on/off, connecting it directly to the ground through a power switch will suffice.
With this file you will be able to print Yet Another ATX Conversion with your 3D printer. Click on the button and save the file on your computer to work, edit or customize your design. You can also find more 3D designs for printers on Yet Another ATX Conversion.
