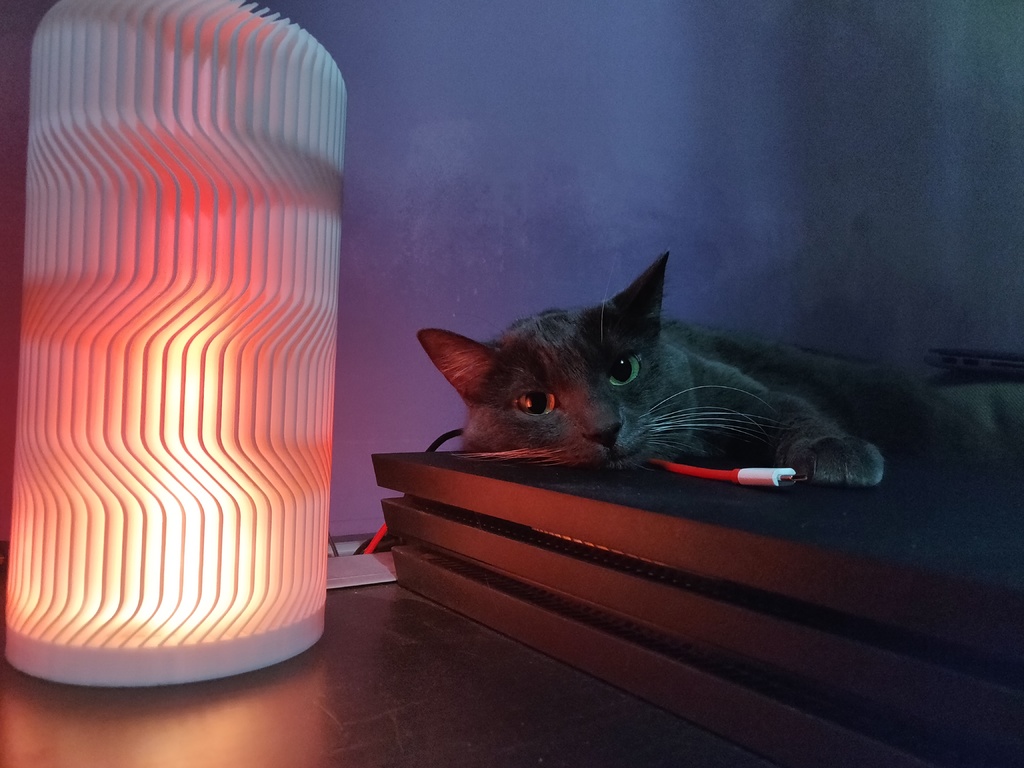
Yeah lamp + Gyver lamp remix
thingiverse
This lamp is based on a wave lamp and an RGB lamp project known as Gyver lamp. A software guide and link to the Gyver lamp project can be found at https://alexgyver.ru/gyverlamp/. The shade has been redesigned in the shape of a cylinder for smoother LED translucency. To attach the LED stand to the base, I use M3 x 4 x 4 brass nuts. The controller is simply pushed into the gap and screwed with M3 bolts, with the ESP chip facing downwards. In my project, I used sixty LEDs per meter WS2812B LED strip, which was cut into eleven-LED pieces and glued vertically onto the LED stand (a total of sixteen strips). The LEDs are powered directly from the controller pin UV (note: not all NodeMCU models have this feature). A warning: an 11 x 16 matrix with white light on maximum brightness consumes approximately fifty watts, which is beyond what most USB chargers and controller PCBs can handle. If you want to use maximum brightness, I recommend using a power connection as described in the original Gyver lamp project. My project was primarily designed for fire effects, and it functions well enough on a 10-12W mobile charger. The filament used is PLA. The print settings are as follows: Shade - printed upside down, vase mode, 0.2 mm layer thickness (better results with five bottom layers) Base, thread, and LED stand do not require supports. To assemble the lamp, glue the thread ring to the shade and screw it into place. The files included contain two types of base designs for different sizes of NodeMCU controllers (25.5 x 48.4 mm and 30.4 x 57 mm), as well as two versions of the LED stand: a fully printable design and a 50mm tube adapter.
With this file you will be able to print Yeah lamp + Gyver lamp remix with your 3D printer. Click on the button and save the file on your computer to work, edit or customize your design. You can also find more 3D designs for printers on Yeah lamp + Gyver lamp remix.
