Yashica 44 35mm conversion kit
prusaprinters
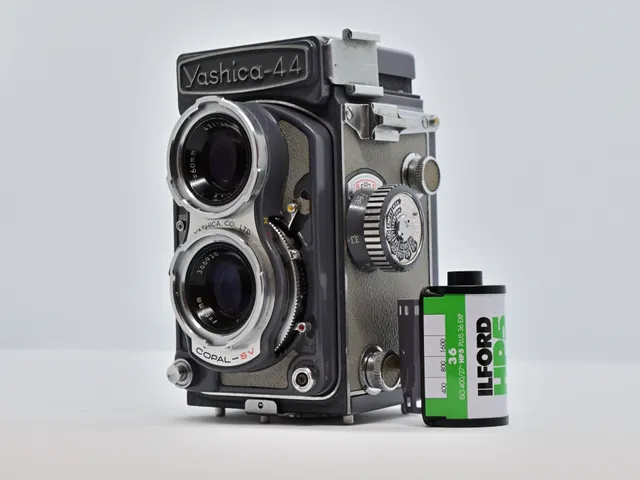
The yashica 44 is an old twin lens reflex camera designed for 127 film. This film is like the widely available 120 film, but with a 4cm wide strip of film instead of 6cm. This makes it challenging to use today, as film is hard to find without making your own, but ripe for conversion to create 39x35mm exposures with sprocket holes on 35mm film.This kit is designed for the oldest yashica 44 version, with the crank handle to advance the film. There are two later versions (the 44LM with a bolted-on light meter, and a cost reduced 44 with a slightly different yashica logo on the front featuring several lines below the name) - I don't have examples of those variants on hand to test, so this may not work for those models. Printing instructions:All .stl files are in the printing orientation.I recommend ironing on the film pressure plate to give a smoother surface for the film to slide over (this is enabled in the .3mf).Material and layer height shouldn't matter much. Operating instructions:Prepare the camera (shown in the 4th pic):Remove the spring steel parts from the upper film chamber, along with the top film roller (this fouls on the 35mm canister). The spring steel parts are secured with two tiny screws, and to remove the roller you need to bend the tabs holding it in place apart gently.Place electrical tape over the hole in the film pressure plate on the camera. This hole was used to read the frame number on the back of the paper backed 127 film, but the red window will leave a red smear down 35mm film as there's no paper backing.(optional) Add some foam to the film pressure plate on the camera to help hold the printed pressure plate in place.Loading film:Cut the sprocket holes from the leader; this will enable you to fit the leader into the hole in the 127 film takeup spool. (shown in pic 5)Fit the 135 spindles into either end of the film cassette. The thinner one marked “S” goes in the end of the cassette with the protruding plastic part, and the thicker one marked “F” goes in the side where the inner shaft of the cassette is flush. (shown in pic 5)Mount the film canister with attached spindles to the film retaining lugs in the camera, and feed the film across the frame opening and into the takeup spool in the lower film chamber. The lugs should slide into the spindles; the offset in the spindles is to account for the 35mm canister not fully fitting into the upper film chamber. Turn the film advance crank by a stroke or two to make sure that the 35mm film leader is taken up by the takeup spool. (shown in pic 6)Press the printed film pressure plate into the frame opening over the film, with the arrow pointing to the 35mm canister. This part is needed as the film pressure plate in the camera fouls on the 35mm canister, so the film needs to be pressed a little further forwards. This prevents front-focussing. (shown in pic 6)Close the camera back, this will be quite stiffer than usual but will stay shut once latched.Shooting:Look for compositions that use the central half or so of the focussing screen (excluding ¼ on each side), and you'll lose the edges of the image to the thinner 35mm film and the sprocket holes.35mm film wrapped around the takeup spool has a different diameter to 127 film, and so the crank doesn't quite advance the right amount for each frame:For the first go around the frame counter (12 strokes of the crank), advance the crank 1.5x for each frame. Once you've stroked the crank 12 times the camera will require you to reset the frame counter before shooting further.For the second go around, advance one stroke per frame.For the final go around the frame counter, advance 0.75 of a stroke for each frame.Unloading the film:As the camera has no means to rewind the film, you need to remove the film in a film changing bag and manually retract the film into the cassette.I've designed a crank that makes this process easier ( https://www.printables.com/model/250655-135-film-crank ).If you're getting your film scanned by the developing lab, make sure that they can scan the sprocket holes of 35mm film. Happy shooting!
With this file you will be able to print Yashica 44 35mm conversion kit with your 3D printer. Click on the button and save the file on your computer to work, edit or customize your design. You can also find more 3D designs for printers on Yashica 44 35mm conversion kit.
