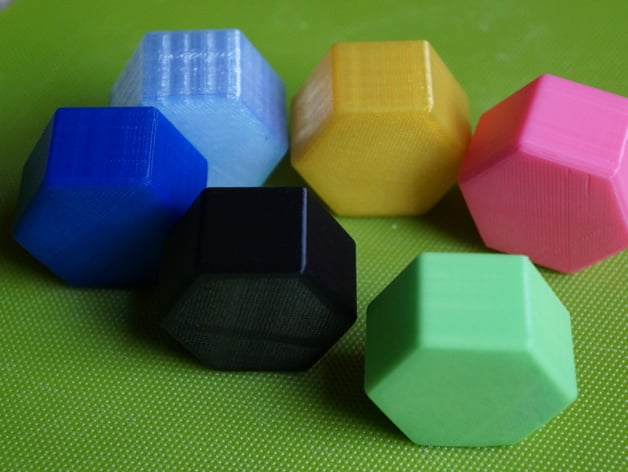
Yakima rack end caps
thingiverse
Inspired by thing number twenty three ninety nine I crafted several substitute end pieces for Yakima racks myself. These turned out to have a fairly good fit depending on the printer I used and what type of filament it was designed to handle best results came from using a twenty-nine point one millimeter diameter rod. I believe I got the antler design idea from thing number thirty five one thousand thirteen posted by tomburtonwood online. Printed out on my own Makerbot Replicator 2 with plastic like material also known as PLA plastic here are my print settings. I used no raft which means the first layer just printed straight onto the bed and it worked out fine for me in this case but it probably wouldn't matter either way whether you use a raft or not. As for supports, I decided to skip them completely too since most of the other caps seemed to print just fine without any sort of internal framework underneath. Resolution-wise I stuck with the default setting of zero point two millimeters per layer and it came out great in my opinion. When it comes to infill density I went with a fairly modest ten percent solid filling but you can try changing that up if you want. Just remember that the antlers do require some extra care when orienting them for printing as well as possibly having internal supports in place otherwise they might just collapse in on themselves.
With this file you will be able to print Yakima rack end caps with your 3D printer. Click on the button and save the file on your computer to work, edit or customize your design. You can also find more 3D designs for printers on Yakima rack end caps.
