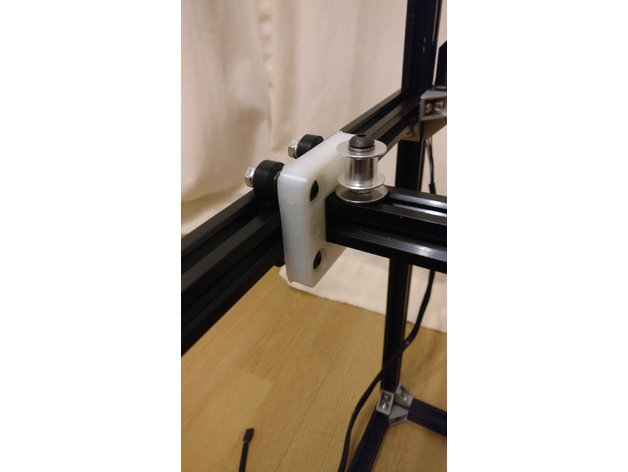
Y Gantry fo 20mm Extrusion (Core XY)
thingiverse
Designing and building my own CoreXY printer from scratch. I'm opting for just three printed parts, with this one being designed to snugly fit 20x20mm extrusion as a y-axis. To utilize the mini gantry wheels seamlessly, no adjustments or eccentric spacers are needed; you'll simply require four M5 x 25mm bolts. Additionally, gather four standard hex nuts and four washers of the same size. Four miniature V wheels will also be necessary. For securing everything in place, eight M5 lock nuts are a must-have - it's crucial to use them, as their inner diameter perfectly complements the mini wheels' dimensions. Place one lock nut at either end of each wheel with the locking part facing towards the wheel. To ensure the bolts fit through without being obstructed by plastic, drill out the four holes using a 5mm drill bit. The nuts on the rear are used to keep the bolt straight and in position; if you screw it through the plastic, which can be easily done, there's a high chance it will end up at an angle - that's something you definitely want to avoid.
With this file you will be able to print Y Gantry fo 20mm Extrusion (Core XY) with your 3D printer. Click on the button and save the file on your computer to work, edit or customize your design. You can also find more 3D designs for printers on Y Gantry fo 20mm Extrusion (Core XY).
