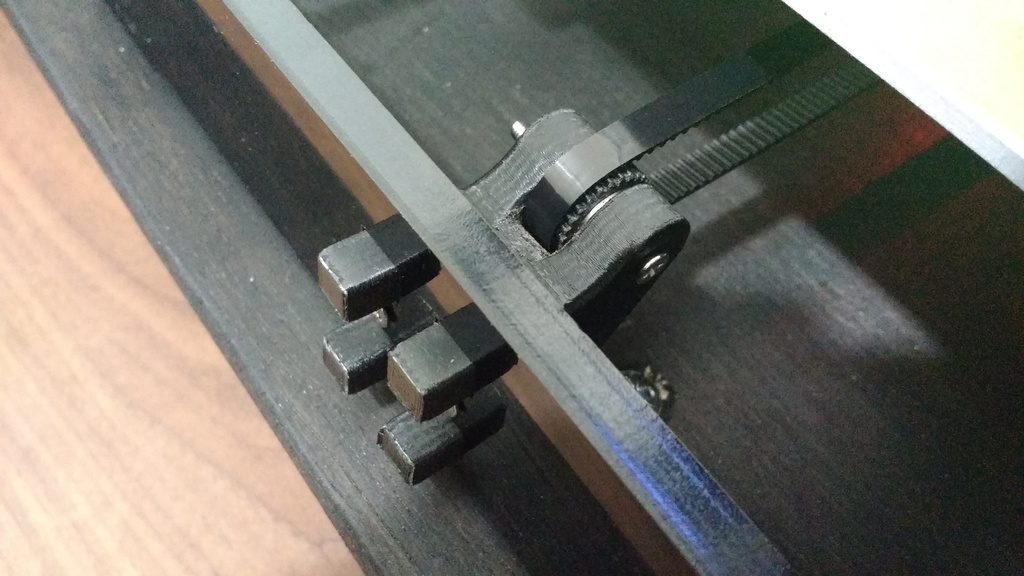
Y Belt tensioning modification for Anet A8
thingiverse
The Anet A8 is a popular 3D printer that requires regular belt tension adjustments to maintain optimal performance. Over time, these belts can loosen due to wear and tear, leading to print quality issues such as wobbly layers and inaccurate prints. Fortunately, modifying the belt tensioning system on your Anet A8 can be done with minimal effort and cost. By upgrading to a more precise belt tensioning system, you can significantly improve the overall quality of your 3D prints. To begin, gather the necessary tools and materials. You will need a set of hex keys, a screwdriver, and a few washers or spacers. Next, locate the existing belt tensioning screws on the Anet A8's frame. These screws are typically located near the printer's base plate. Loosen the existing belt tensioning screws using your hex key or screwdriver. Be careful not to overtighten or strip these screws. Once loose, remove the old belt tensioning system by lifting it off its mounting points. Install the new belt tensioning system by attaching it to the frame using the provided washers or spacers. Tighten the new screws in a star pattern to ensure even pressure is applied to the belts. Make sure not to overtighten, as this can cause damage to the printer's frame or belts. With the new belt tensioning system installed, reassemble the printer and test its performance. You should notice an immediate improvement in print quality, with fewer wobbly layers and more accurate prints.
With this file you will be able to print Y Belt tensioning modification for Anet A8 with your 3D printer. Click on the button and save the file on your computer to work, edit or customize your design. You can also find more 3D designs for printers on Y Belt tensioning modification for Anet A8.
