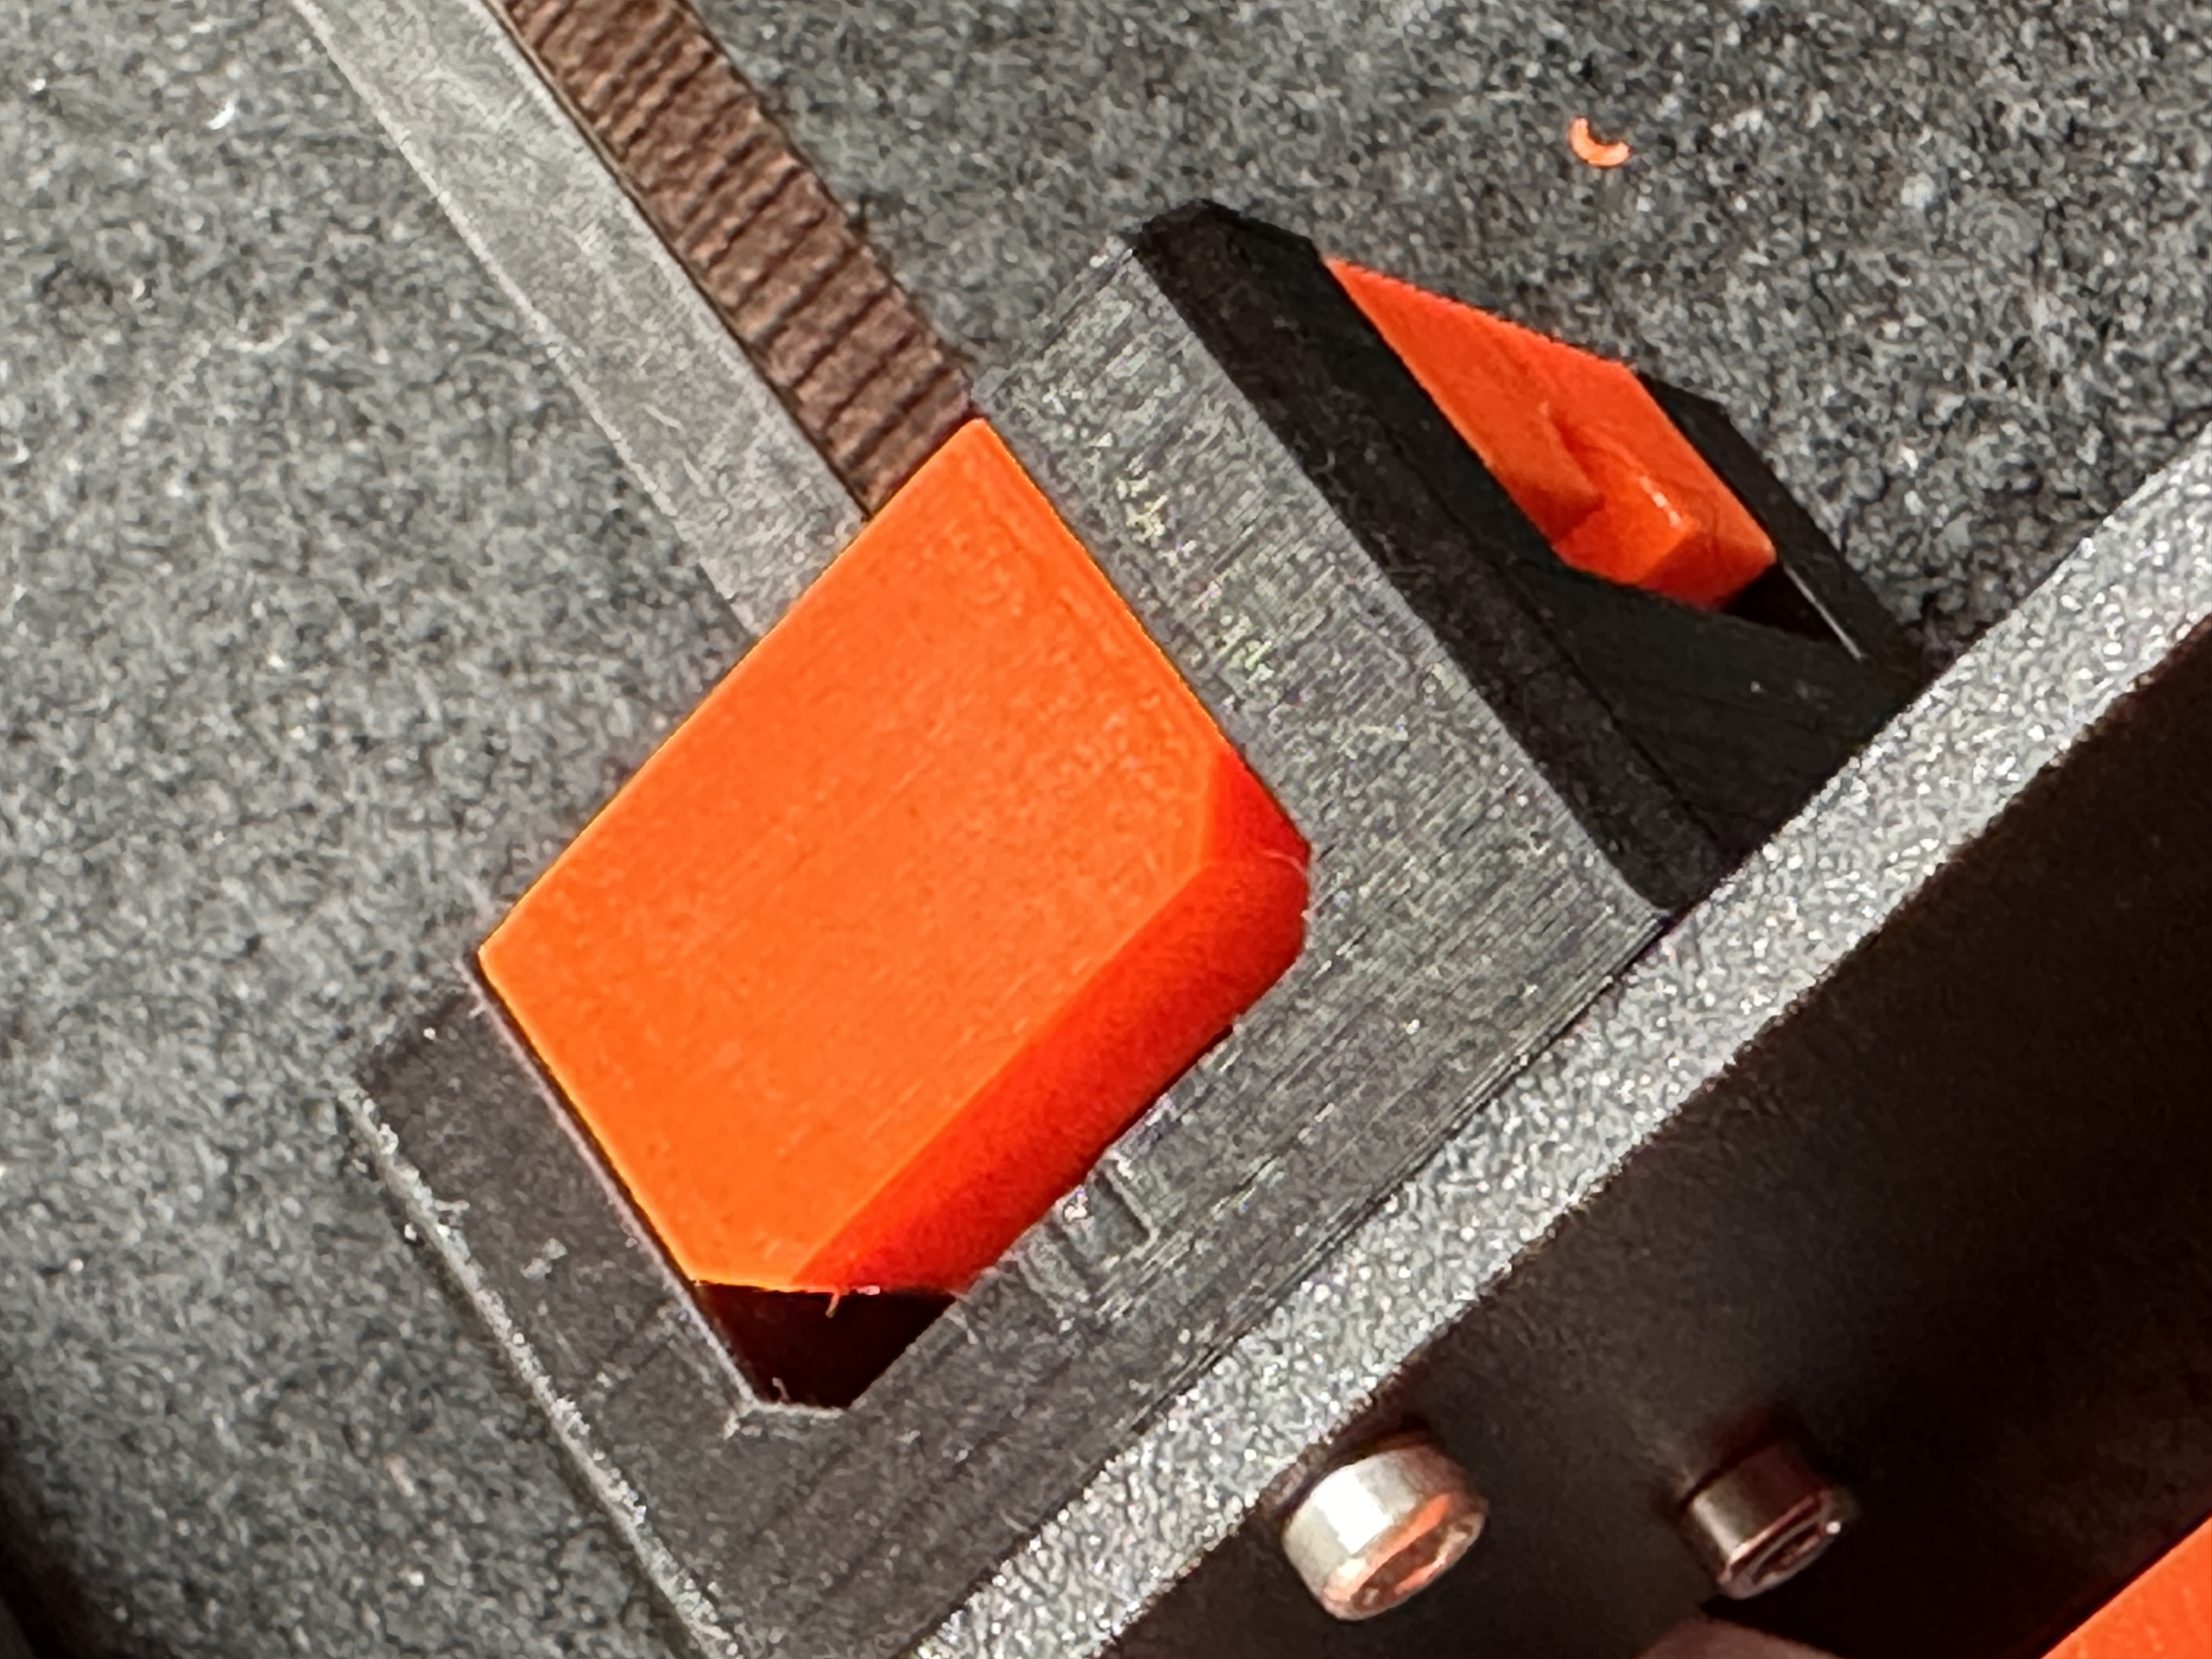
Y belt tensioner with standard M3 screw axle
prusaprinters
<p>Replacement for the Prusa Mk3(S/S+) y-belt idler, to allow easier adjustment of the belt tension.</p><p>Boogie improved on his original design of a y-belt tensioner by requiring only 2 screws for tightening but for some reason replaced the M3 screw that is used by the Prusa stock idler with a cylindrical pin. Which of course wasn't in my toolbox, so after some quality time with Fusion 360 I had remixed boogie's design to use a standard M3x20 screw instead, similar to the M3x18 screw used in the original idler.</p><h4>Parts required</h4><ul><li>2x M3x10 screw (from original idler)</li><li>3x M3 hex nut</li><li>2x M3 nyloc hex nut</li><li>3x M3x20 screws (boogie suggests M3x18 screws as tighteners but I found the M3x20 to give more range)</li></ul><h4>Print instructions</h4><p>PETG. 3 perimeters, 15-20% gyroid infill, 0.2mm layer height. No supports. </p><h4>Assembly</h4><p>This is assuming you're replacing the original idler. For “orange” and “black” please see photo.</p><ol><li>Insert 1 hex nut in orange part. In case you can't press the nuts in: Take M3 screw, thread it from the opposite side of the printed part, as you tighten the screw, it will pull the nut in.</li><li>Insert 2 hex nuts into the back side (with the “legs”) and 2 nyloc nuts into the front side of the black part.</li><li>Unscrew the four screws that hold the LCD display in place and put it aside. Keep screws in place for late re-assembly.</li><li>Unscrew the 2 M3x10 screws that hold the idler and set aside for reuse.</li><li>Unscrew the M3x18 screw that secures the bearing in the idler. Remove bearing. Screw and nyloc nut are no longer needed.</li><li>Hold the orange part with the little hole downward and the hex nut facing left.</li><li>Push the belt back over the bearing (without twisting it) and insert the bearing into the orange part.</li><li>Secure it with an M3x20 screw. Don't tighten too much, the idler needs to be able to spin freely.</li><li>Insert the orange part into the black part (with the little hole facing down and the legs away from you). Insert 2 M3x20 screws, tighten them into the nyloc nuts, then unwind until they just stay in place.</li><li>Attach the black part to the frame with the 2 original M3x10 nuts.</li><li>Reattach the LCD display.</li><li>Use the <a href="https://www.printables.com/model/46639">Prusa's “tension meter”</a> to adjust proper tension, by tightening the 2 M3x20 screws that go through the tensioner equally.</li></ol>
With this file you will be able to print Y belt tensioner with standard M3 screw axle with your 3D printer. Click on the button and save the file on your computer to work, edit or customize your design. You can also find more 3D designs for printers on Y belt tensioner with standard M3 screw axle.
