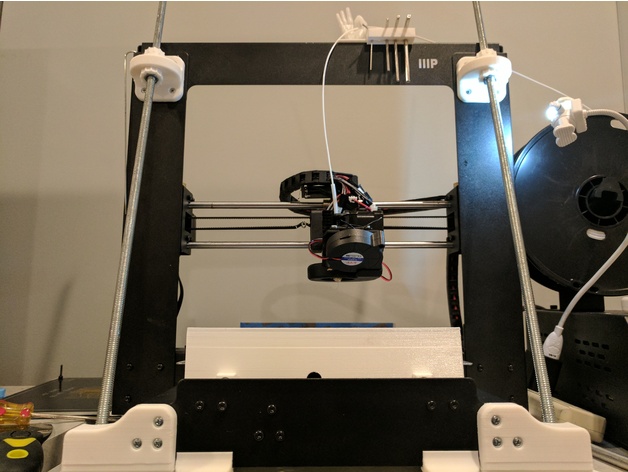
Y-Axis Rod Alignment Tool
thingiverse
Inspiration for this print came from a y-axis rod alignment tutorial on 3D Printer Wiki:\nhttp://3dprinterwiki.info/wiki/wanhao-duplicator-i3/duplicator-i3-calibration/y-axis-rod-allignment/\nIf you're struggling to get the four corners of your Maker Select level, misaligned y-axis rails might be the culprit. These leveling guides will give you a visual tool to aid in realigning your rails.\nTwo alignment guides are included in this print, one for the front and one for the back of your bed. The guides should slide smoothly onto your y-axis linear rails without any force needed. I based these guides on my Maker Select V2.1 measurements, but they might not be the same for every model. (If anyone can confirm, my measurement from center to center of each rod was 14cm.)\nOnce you've slotted the guides onto your rails, line up their tops in your sight. Adding a piece of tape across one guide will increase visibility.\nLoosening the two screws that secure each rail mount gave me about 5mm of travel leeway. Using the guides, adjust the position of each respective rail. \nIn my photos, I had removed the bed to install leveling springs: https://www.thingiverse.com/thing:1374667, but the guides are tall enough not to require this step.\nBe gentle removing this part from your bed, as the top edge can be fragile.\nI hope you find this tool helpful! Let me know if you have any comments or suggestions to improve this print.\nPrint Settings\nPrinter Brand: Wanhao\nPrinter: Wanhao Duplicator i3 V2\nRafts: No\nSupports: No\nResolution: .2mm\nInfill: 25%\nPost-Printing\nHow I Designed This\nModeled in Rhino.
With this file you will be able to print Y-Axis Rod Alignment Tool with your 3D printer. Click on the button and save the file on your computer to work, edit or customize your design. You can also find more 3D designs for printers on Y-Axis Rod Alignment Tool.
