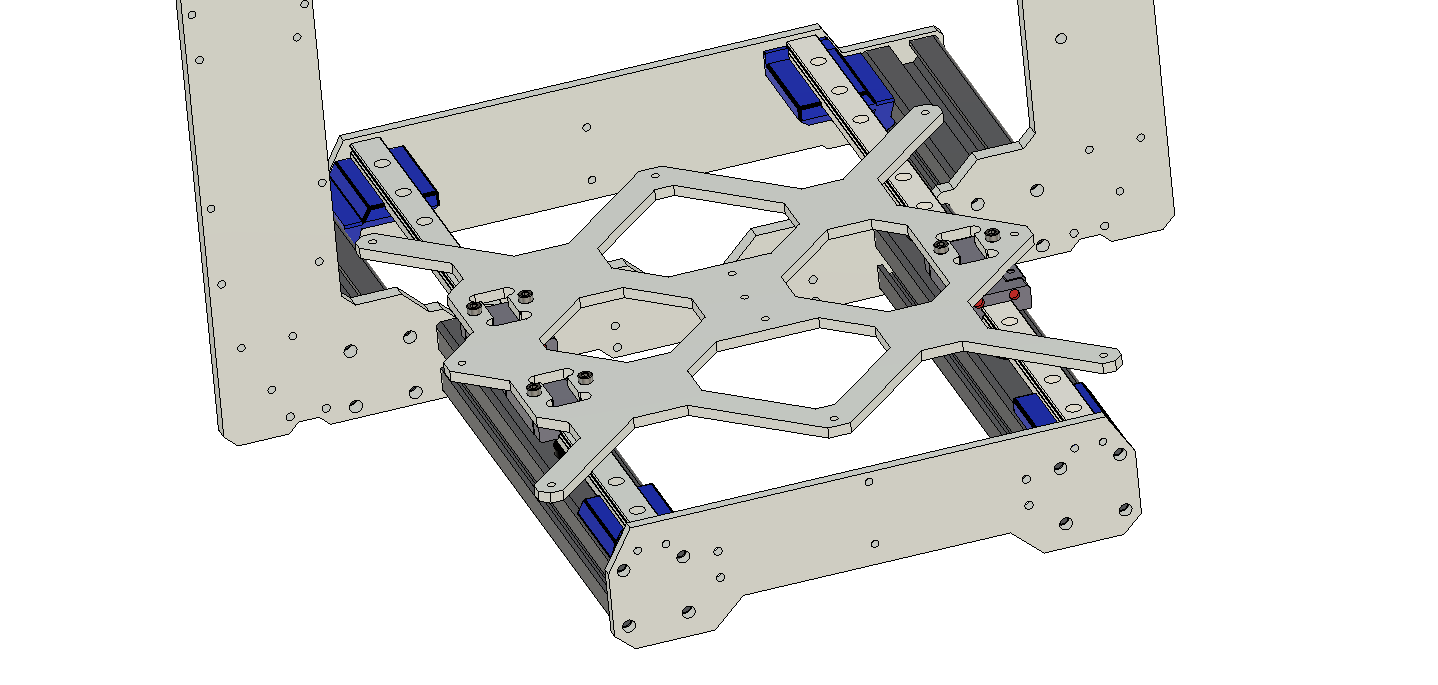
Y Axis Linear Rail (Remix)
prusaprinters
<p>Updated Version is Here <a href="https://www.prusaprinters.org/prints/23893-y-axis-linear-rail-and-belt-system">https://www.prusaprinters.org/prints/23893-y-axis-linear-rail-and-belt-system</a>.</p> <p>This is the first installment of my Y-Axis Upgrade. I have a MK3s but these mods should word on a MK3 just fine YMMV.</p> <p>A Remix of <a href="https://www.prusaprinters.org/prints/5620-prusa-mk3-mk3s-y-axis-linear-rail-guide-upgrade">https://www.prusaprinters.org/prints/5620-prusa-mk3-mk3s-y-axis-linear-rail-guide-upgrade</a>.</p> <p>When looking at the design I was wondering if there was a solution to mount the MGN12's with a precision metal to metal contact.</p> <p>Goals:<br/> -Produce the most secure mounting system possible for the MGN12 rails.<br/> -Reduce parts counts as much as possible<br/> -Printable without supports<br/> -Any extra non-printed parts are easily available.</p> <p>Changes:<br/> -Decreased the distance between the deck of the rail and the 3030 extrusion to 3.4mm. Why? I found these precision spacers that are exactly 3.4mm tall and they can be secured to the 3030 rail with T-Nuts.<br/> -Decreased the mass on the back supports. It is not necessary and the reduction saves about an hour of print time.</p> <p>Notes:</p> <p>-Parts count before the mod: 30.<br/> -Parts count after the mod: 12 for mounts/spacers 2 rails 9 bearing mounts. Total 23! Each additional spacer support adds 3 parts.<br/> 330mm rails are now available (link below) so no need to get 350mm rails and cut them down. I also found a guy on e-bay that has genuine Hiwin rails he will cut to size with a price to match.</p> <p>Update: 02/13/2020 As there are only two mounting holes for each carriage tightening them down while they remain perfectly straight can be a challenge, I solved this by using split nut washers that have a bit of spring to them for micro adjustments and I also put a M3x10 screw in the mounting hole on the right carriage that is exposed. I have been running these rails for a few days and the Y axis is near silent now.</p> <p>Update: 02/15/2020 About every 10 prints I was getting a Y crash. I determined this was a result of a deflection in the rails. I tried two different scenarios. First just the 3.4mm washers. If I had more precision T-nuts I think this would have worked well but aligning the rails perfectly was a challenge. Next just the printed spacers. With just the printed parts the crashing is gone, it's slightly (very slightly) noisier without the washers but I'm leaving it as it.</p> <p>Parts Used:<br/> <a href="https://amzn.to/2OQd1N3">https://amzn.to/2OQd1N3</a> Amana 55367 3.4mm Spacer<br/> <a href="https://amzn.to/2HkSHz6">https://amzn.to/2HkSHz6</a> MGN12C Small Carriage<br/> <a href="https://amzn.to/31TXCjR">https://amzn.to/31TXCjR</a> 2x 330mm MGN12 rail with 2x MGN12H Carriage<br/> <a href="https://amzn.to/3byJ8dL">https://amzn.to/3byJ8dL</a> M3 3030 T-nuts, you will have a bunch left over.<br/> <a href="https://amzn.to/31PTt0l">https://amzn.to/31PTt0l</a> Socket Head Assortment. You will need M3 10mm, 12mm and 14mm (I found the 12mm work better with the T-nuts) Socket Head Bolt.<br/> You should not need to buy any bolts as you will have them from the original Y Rod Holders/spare parts bag.</p> <p>Next Up: Y AxisTensioner and Motor Mount.</p> <h3>Print instructions</h3><p>Prusament PETG 250/80<br/> Prusa Slicer 0.2 quality with the following changes<br/> Infill 100% (50% should be fine)<br/> All patterns rectilinear.<br/> YMMV</p>
With this file you will be able to print Y Axis Linear Rail (Remix) with your 3D printer. Click on the button and save the file on your computer to work, edit or customize your design. You can also find more 3D designs for printers on Y Axis Linear Rail (Remix).
