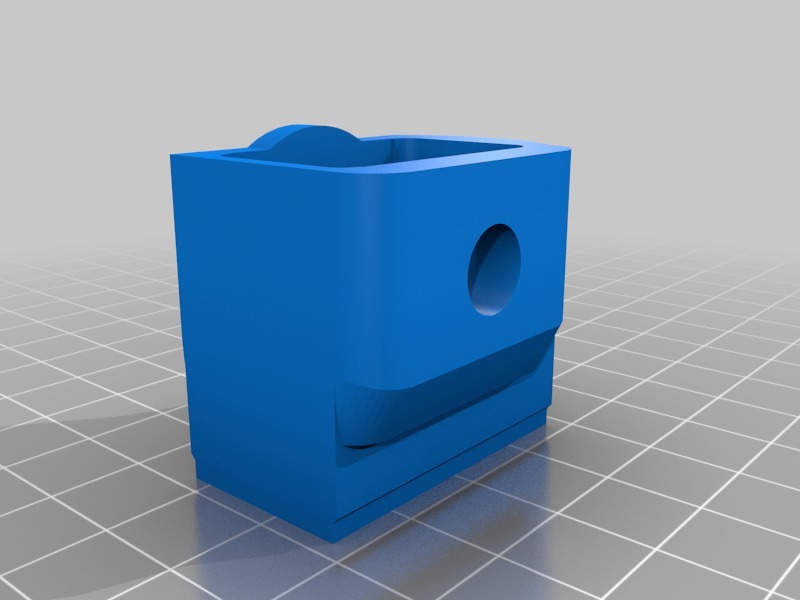
Y axis Belt Tensioner for Stock lulzbot Mini Printers
thingiverse
For those who prefer not to upgrade to the OpenBuilds Y-rails project but still want a belt tensioner, here's the belt tensioner portion of the project for a standard Mini. This design is modeled after the Mini 2 idler end, but it should fit both the Mini 2 and the Mini 1 without any modifications. To assemble this, you'll need six M3 heat-set inserts, two M3 12mm bolts, two M3 washers, two 1/2-inch long 1/4-inch smooth nylon spacers, the stock mini idler hardware, an M4 12mm bolt, an M4 nut, and an M4 washer. Insert all six heat-set inserts into their designated spots. Use the M4 bolt to pull the nut into the idler body. Next, attach the main assembly using the two smooth nylon standoffs and the two M3 bolts. Finally, use the M4 tensioner bolt to adjust the tension as needed. Begin by loosening the system as much as possible. Install the stock mini idler hardware and tighten the belt. Then, use the M4 tensioner bolt to add tension as necessary. This version is identical in function to the OpenBuilds V-slot Rail version found here: https://www.thingiverse.com/thing:3451205. This project simply uses the standard LulzBot rods instead of the OpenBuilds V-slot rail system.
With this file you will be able to print Y axis Belt Tensioner for Stock lulzbot Mini Printers with your 3D printer. Click on the button and save the file on your computer to work, edit or customize your design. You can also find more 3D designs for printers on Y axis Belt Tensioner for Stock lulzbot Mini Printers.
