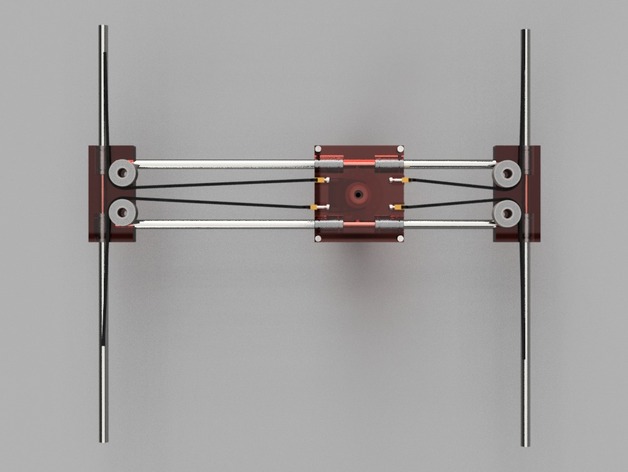
XY Complete Stage on CoreXY
thingiverse
What's the request? After completing the X Carriage of my CoreXY mechanism printer, I designed the Y Carriage to complete the XY stage. Currently, all designs have magnetic attachments for the extruder block, but I'll create a standard one soon. Does it work? I'm not sure since I haven't printed with it yet. As soon as possible, I'll try it out and share feedback if it's successful. If someone has tried a similar approach, please let me know. What do you need for it? Here are the parts required: 15xS-03-01-N Magnets, 8xLM8U linear bearings, 4xø8 smooth rods (depending on your printing bed size), 4x608ZZ bearings (you can use pulleys too, but figure out a way to attach them without restrictions), GT2 Belt (a 1-meter length should be enough), 8xM3 Bolts and nuts (for GT2 clamps and the X Carriage), 4xM4 Bolts and nuts (for bearing holes on the Y Carriage), Top_Side_Carriage.stl, Bottom_Side_Carriage.stl, Hotend_Carriage.stl, YCarriage.stl, and 4xBelt_Carriage.stl. Future updates include conic holes for easy magnet attachment, double magnetic carriages for dual extruders, laser support for engraving, a pencil, or more, and implementing double precision methods, changing belt direction, and adding adjustable endstops. Changelog: September 6, 2015 - feel free to comment, ask, or try it out with feedback for project optimization.
With this file you will be able to print XY Complete Stage on CoreXY with your 3D printer. Click on the button and save the file on your computer to work, edit or customize your design. You can also find more 3D designs for printers on XY Complete Stage on CoreXY.
