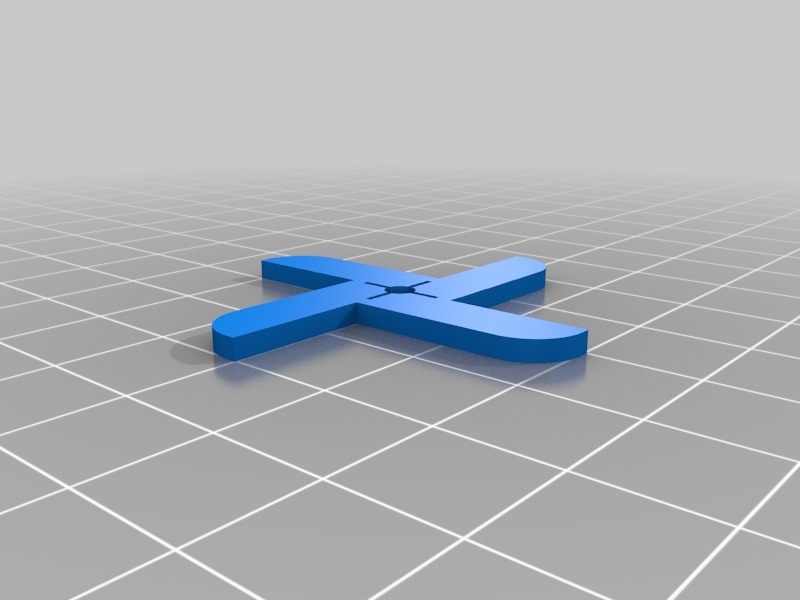
XY BED Centering tool
thingiverse
SEE HOW TO USE BELOW! This tool helps you find the centerpoint of your bed and calibrate your X and Y axis offsets to center your bed and align it with your slicing program. The cross in the middle should be placed exactly in the middle of your bed in your slicing program, then once printed, measure how much you need to offset your home position to have a common center. Four straight edges intersect with the center of the part (not on radius side), use either a caliper or a simple ruler to determine the offsets needed to apply. HOW TO USE: 1) Ensure the part is centered to bed in slicing program, slice and export G-code. 2) Make sure bed leveling is good. 3) Ensure good bed adhesion (I used tape), because the part needs to be held on bed while measuring. 4) Prepare your printer. 5) Print part (6-7 minutes). 6) DO NOT REMOVE PART FROM BED! 7) Measure distance from part center to all 4 bed edges. 8) Determine appropriate offsets that need to be applied by calculating axis differential. 9) Note offset values and remove part. 10) Change offsets in firmware or slicer. 11) Redo steps 1-7, if new center is good, keep it like this, otherwise redo procedure until you find an appropriate center.
With this file you will be able to print XY BED Centering tool with your 3D printer. Click on the button and save the file on your computer to work, edit or customize your design. You can also find more 3D designs for printers on XY BED Centering tool.
