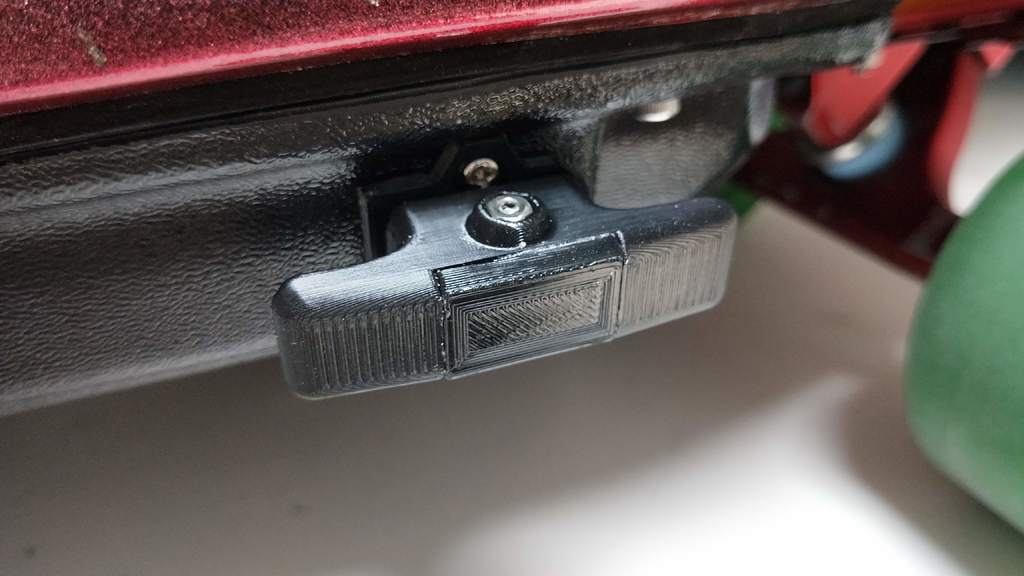
XT90 Antispark Loopkey Holder
thingiverse
I was fed up with the hassle of removing my XT90 antispark loopkey and decided to create a design that made it simple for me to grip it easily. Solder the XT90 as thinly as possible, just like in the photograph. I used a 12AWG wire (without silicone) for this step. Print out the holder parts, push the XT90 in as far as it will go, and make sure it's almost flush with the surface. Check to see if the lid closes properly; if not, you can either melt the lid slightly or adjust the loopkey wire. An M3x20 screw keeps the XT90 from sliding backwards when inserting the plug. The M3x20 should NOT touch any metal parts of the XT90. I then filled the cavity with hot glue and covered it up with the lid. For the enclosure side, it's a straightforward process: just print out the necessary parts, cut a hole into the enclosure, and screw everything together.
With this file you will be able to print XT90 Antispark Loopkey Holder with your 3D printer. Click on the button and save the file on your computer to work, edit or customize your design. You can also find more 3D designs for printers on XT90 Antispark Loopkey Holder.
