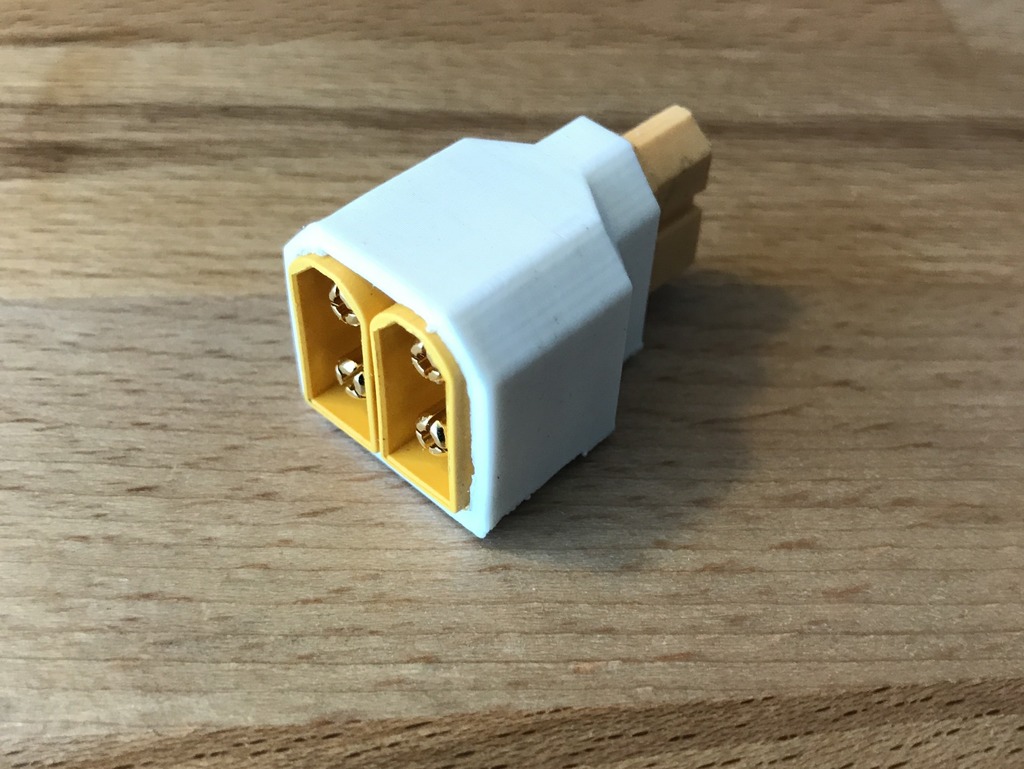
XT60 Parallel Connector Shield
thingiverse
Solder the ends of one female to two male XT60 Connectors securely in place. Next, position this assembly so that it holds everything together seamlessly. For myself, I apply a small amount of hot glue between the two male XT60 connectors first, ensuring they stay firmly attached before soldering. Following this, simply print the shield and then insert another tiny drop of glue inside, completing the process by sliding on the shield. This assembly is both structurally sound and safe to use.
With this file you will be able to print XT60 Parallel Connector Shield with your 3D printer. Click on the button and save the file on your computer to work, edit or customize your design. You can also find more 3D designs for printers on XT60 Parallel Connector Shield.
