XT60 Mount
prusaprinters
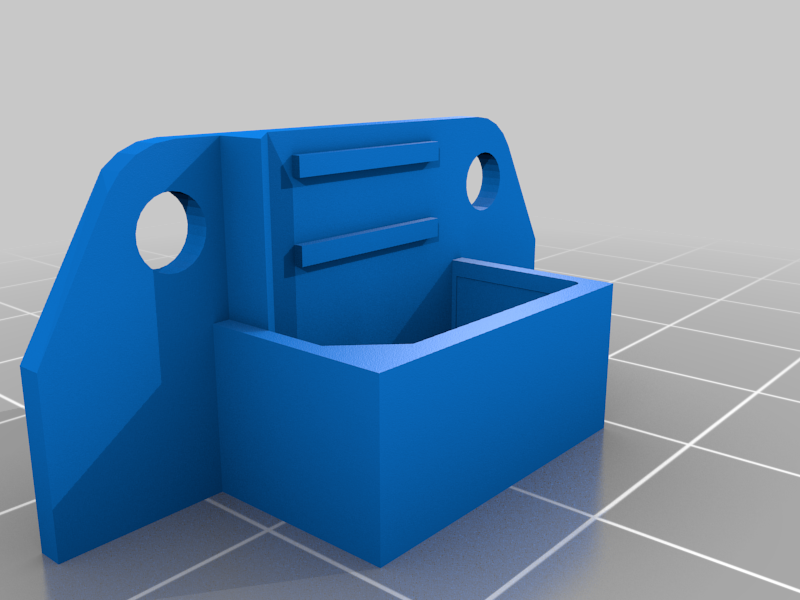
<p>This is a remix of the XT60 mount as I could not get my slicer to not infill the connector "tunnel". Weird. Anyway, prints great and I included the original retainer top cover (unchanged) from the original post.</p> <p>A set STL is provided for convenience. This is a quick print and fits together nicely.</p> <h3>Print Settings</h3> <p><strong>Printer Brand:</strong></p> <p>Creality</p> <p class="detail-setting printer"><strong>Printer: </strong> <div><p>Ender 3 Pro</p></div> <p><strong>Rafts:</strong></p> <p>No</p> <p class="detail-setting supports"><strong>Supports: </strong> <div><p>No</p></div> <p><strong>Resolution:</strong></p> <p>0.2mm</p> <p class="detail-setting infill"><strong>Infill: </strong> <div><p>100</p></div> <p><strong>Filament:</strong> Hatchbox PLA RED</p> <p><br/> <p class="detail-setting notes"><strong>Notes: </strong></p> </p><div><p>Print the set file for convenience. Otherwise, you need to print two files xt60_mount.stl and 702525_xt60_top.stl.</p></div> Post-Printing ============= <p><strong>Build Instructions</strong></p> <div><p>You need two M3 15mm bolts, two M3 nylock nuts, and four M3 washers.</p> Check once again you have printed mount and top parts. <p>Check M3 bolt can be screwed into each of the holes of the parts.</p> <p>Inject the female XT60 connector to the mount. Make sure the XT60 label matches the two outlined lines on the mount.</p> <p>Place the top part over the mount and connector. Make sure label matches the two outlined lines on the top part.</p> <p>Screw the M3 bolt into the holes. Place washers to distribute over pressure for both of the sides a bit. Do not over-screw.</p> </div></p></p></p> Category: R/C Vehicles
With this file you will be able to print XT60 Mount with your 3D printer. Click on the button and save the file on your computer to work, edit or customize your design. You can also find more 3D designs for printers on XT60 Mount.