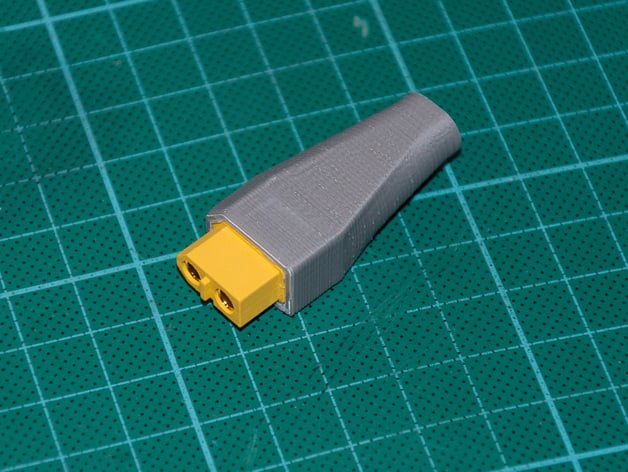
XT60 connector panel mount
thingiverse
I opted for XT60 connectors on my 3d printer's power supply lead. A custom cover design was created for both female and male panel-mount connectors. Unfortunately, I made an error with file naming: the file labeled XT60_Male corresponds to the female connector cover, while XT60_Female1 and 2 were designed for the male connector mount. Assembling the connectors is straightforward: solder the wires for the female connector and click the cover into place. The process is slightly more involved for the male connector - first, solder the wires, then snap the connector into its inner part before attaching it to your panel with M3 screws. Be aware that once these connectors are assembled, disassembling them without causing damage to printed parts proves challenging at best. Noting some initial shortcomings with my designs: my photos reveal insufficient coverage of holes in the panel via printed parts, as well as M3 screws hindering proper insertion of female connector into male one. Adjustments were made so that both covers now encompass a slightly larger circle, while screw holes are positioned farther apart for easier alignment and insertion. These changes have been implemented in the STL files but, due to time constraints, I have yet to reprint my designs. For added convenience, I also share my Solidworks projects so users can tailor models to their specific requirements as needed.
With this file you will be able to print XT60 connector panel mount with your 3D printer. Click on the button and save the file on your computer to work, edit or customize your design. You can also find more 3D designs for printers on XT60 connector panel mount.
