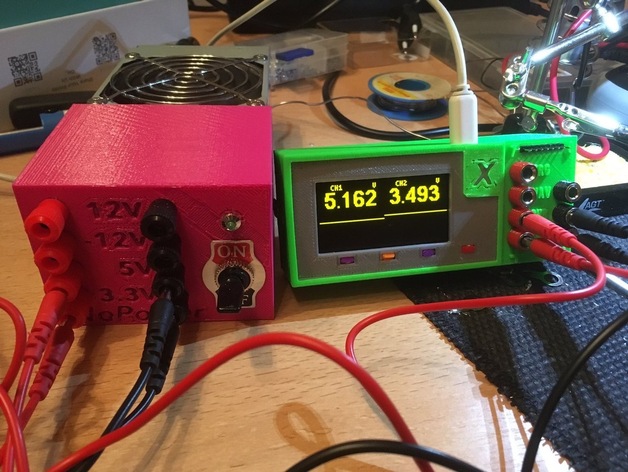
Xminilab case
thingiverse
This is a remix of an xminilab case from Oja. I expanded the case to accommodate 7 banana plugs and an eight-pin jumper rail. The 7 banana plugs serve multiple purposes: Trigger Wav + and - CH1 + and - CH2 + and - An eight-pin jumper rail supports the logic analyzer component of Xminilab. The banana plugs can be found at https://www.amazon.de/gp/product/B01CTD1O0A/ref=oh_aui_detailpage_o01_s00?ie=UTF8&psc=1 I designed custom spacers because the ones included with the plugs were too thick. You can access my Tinkercad design at https://tinkercad.com/things/0PJIQuuqw5h. Print Settings: Printer: FlashForge Dreamer Rafts: Yes Supports: Yes Resolution: 0.2mm Infill: 20% I printed the main body with the text facing upwards, which resulted in a lot of support material but gave the front a smooth appearance. I used a raft for the main body because it was printed in ABS. Post-Printing: To install the nuts, I suggest heating them up with a heat gun and then using a screw to pull them into place. All other cables are soldered onto the case. I repurposed old jumper cables from an ATX case, including an 8-pin jumper cable. After completing the soldering, I verified every plug to ensure there were no interconnections or shorts. Finally, I applied hot glue to secure everything in place, except for the black minus pins, which are connected directly to the Xminilab board.
With this file you will be able to print Xminilab case with your 3D printer. Click on the button and save the file on your computer to work, edit or customize your design. You can also find more 3D designs for printers on Xminilab case.
