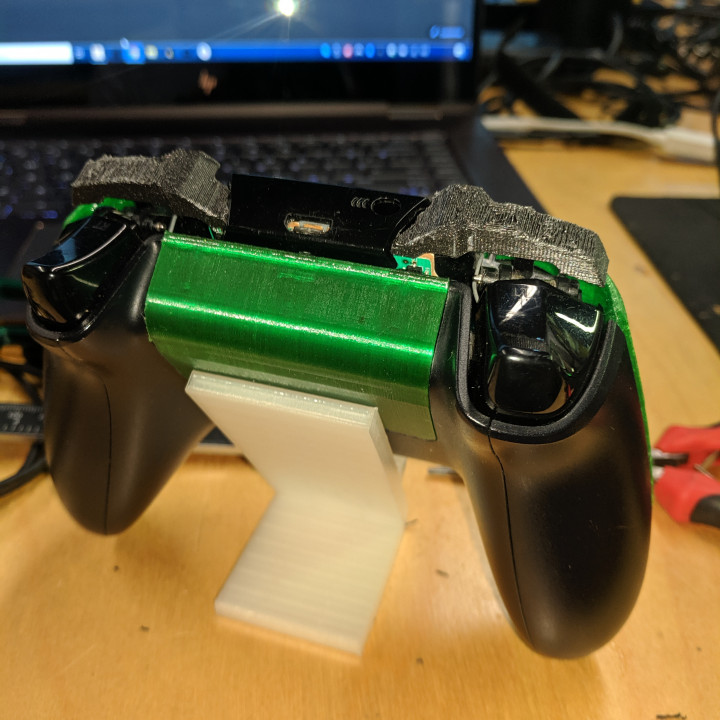
Xbox One Left and Right Bumpers REMIXED
myminifactory
Replacing the left and right bumpers on your Xbox One is a straightforward process that requires some basic tools and a bit of patience. Here's how to do it. Gather Your Tools and Materials --------------------------- Before you begin, make sure you have all the necessary tools and materials within arm's reach. You'll need: * A Torx screwdriver (T10) * A plastic spudger or similar tool for prying open the console's casing * New bumpers (you can purchase these online or at a local electronics store) * A pair of needle-nose pliers for removing any remaining adhesive Removing the Left Bumper ---------------------- 1. Locate the left bumper on your Xbox One and take note of its position in relation to the rest of the console's buttons. 2. Use your Torx screwdriver to remove the screws holding the bumper in place. There are usually two or three screws, depending on the model of your Xbox One. 3. Once the screws are removed, gently pry open the casing around the left bumper using your plastic spudger. 4. Carefully pull the left bumper out of its housing, taking note of any wires or connectors that may be attached to it. Removing the Right Bumper ------------------------- 1. Repeat the same process as above for the right bumper, removing the screws and prying open the casing around it. 2. Remove the right bumper from its housing, again taking care not to damage any wires or connectors. Installing New Bumpers ---------------------- 1. Take your new left and right bumpers and insert them into their respective housings, making sure they are securely seated. 2. Reattach the screws you removed earlier, tightening them firmly but carefully to avoid damaging the console's casing. 3. Use your needle-nose pliers to remove any remaining adhesive from the old bumpers. Reassembling Your Xbox One ------------------------- 1. Once both new bumpers are installed, reassemble your Xbox One by reversing the steps above. 2. Make sure all screws are securely tightened and that the console's casing is properly closed. Your Xbox One Left and Right Bumper Replacement is Complete! ---------------------------------------------------------- Congratulations! You have successfully replaced the left and right bumpers on your Xbox One. Your console should now be fully functional, with new bumpers that will provide a comfortable gaming experience.
With this file you will be able to print Xbox One Left and Right Bumpers REMIXED with your 3D printer. Click on the button and save the file on your computer to work, edit or customize your design. You can also find more 3D designs for printers on Xbox One Left and Right Bumpers REMIXED.
