X2 Solo 5015 Fan Duct
prusaprinters
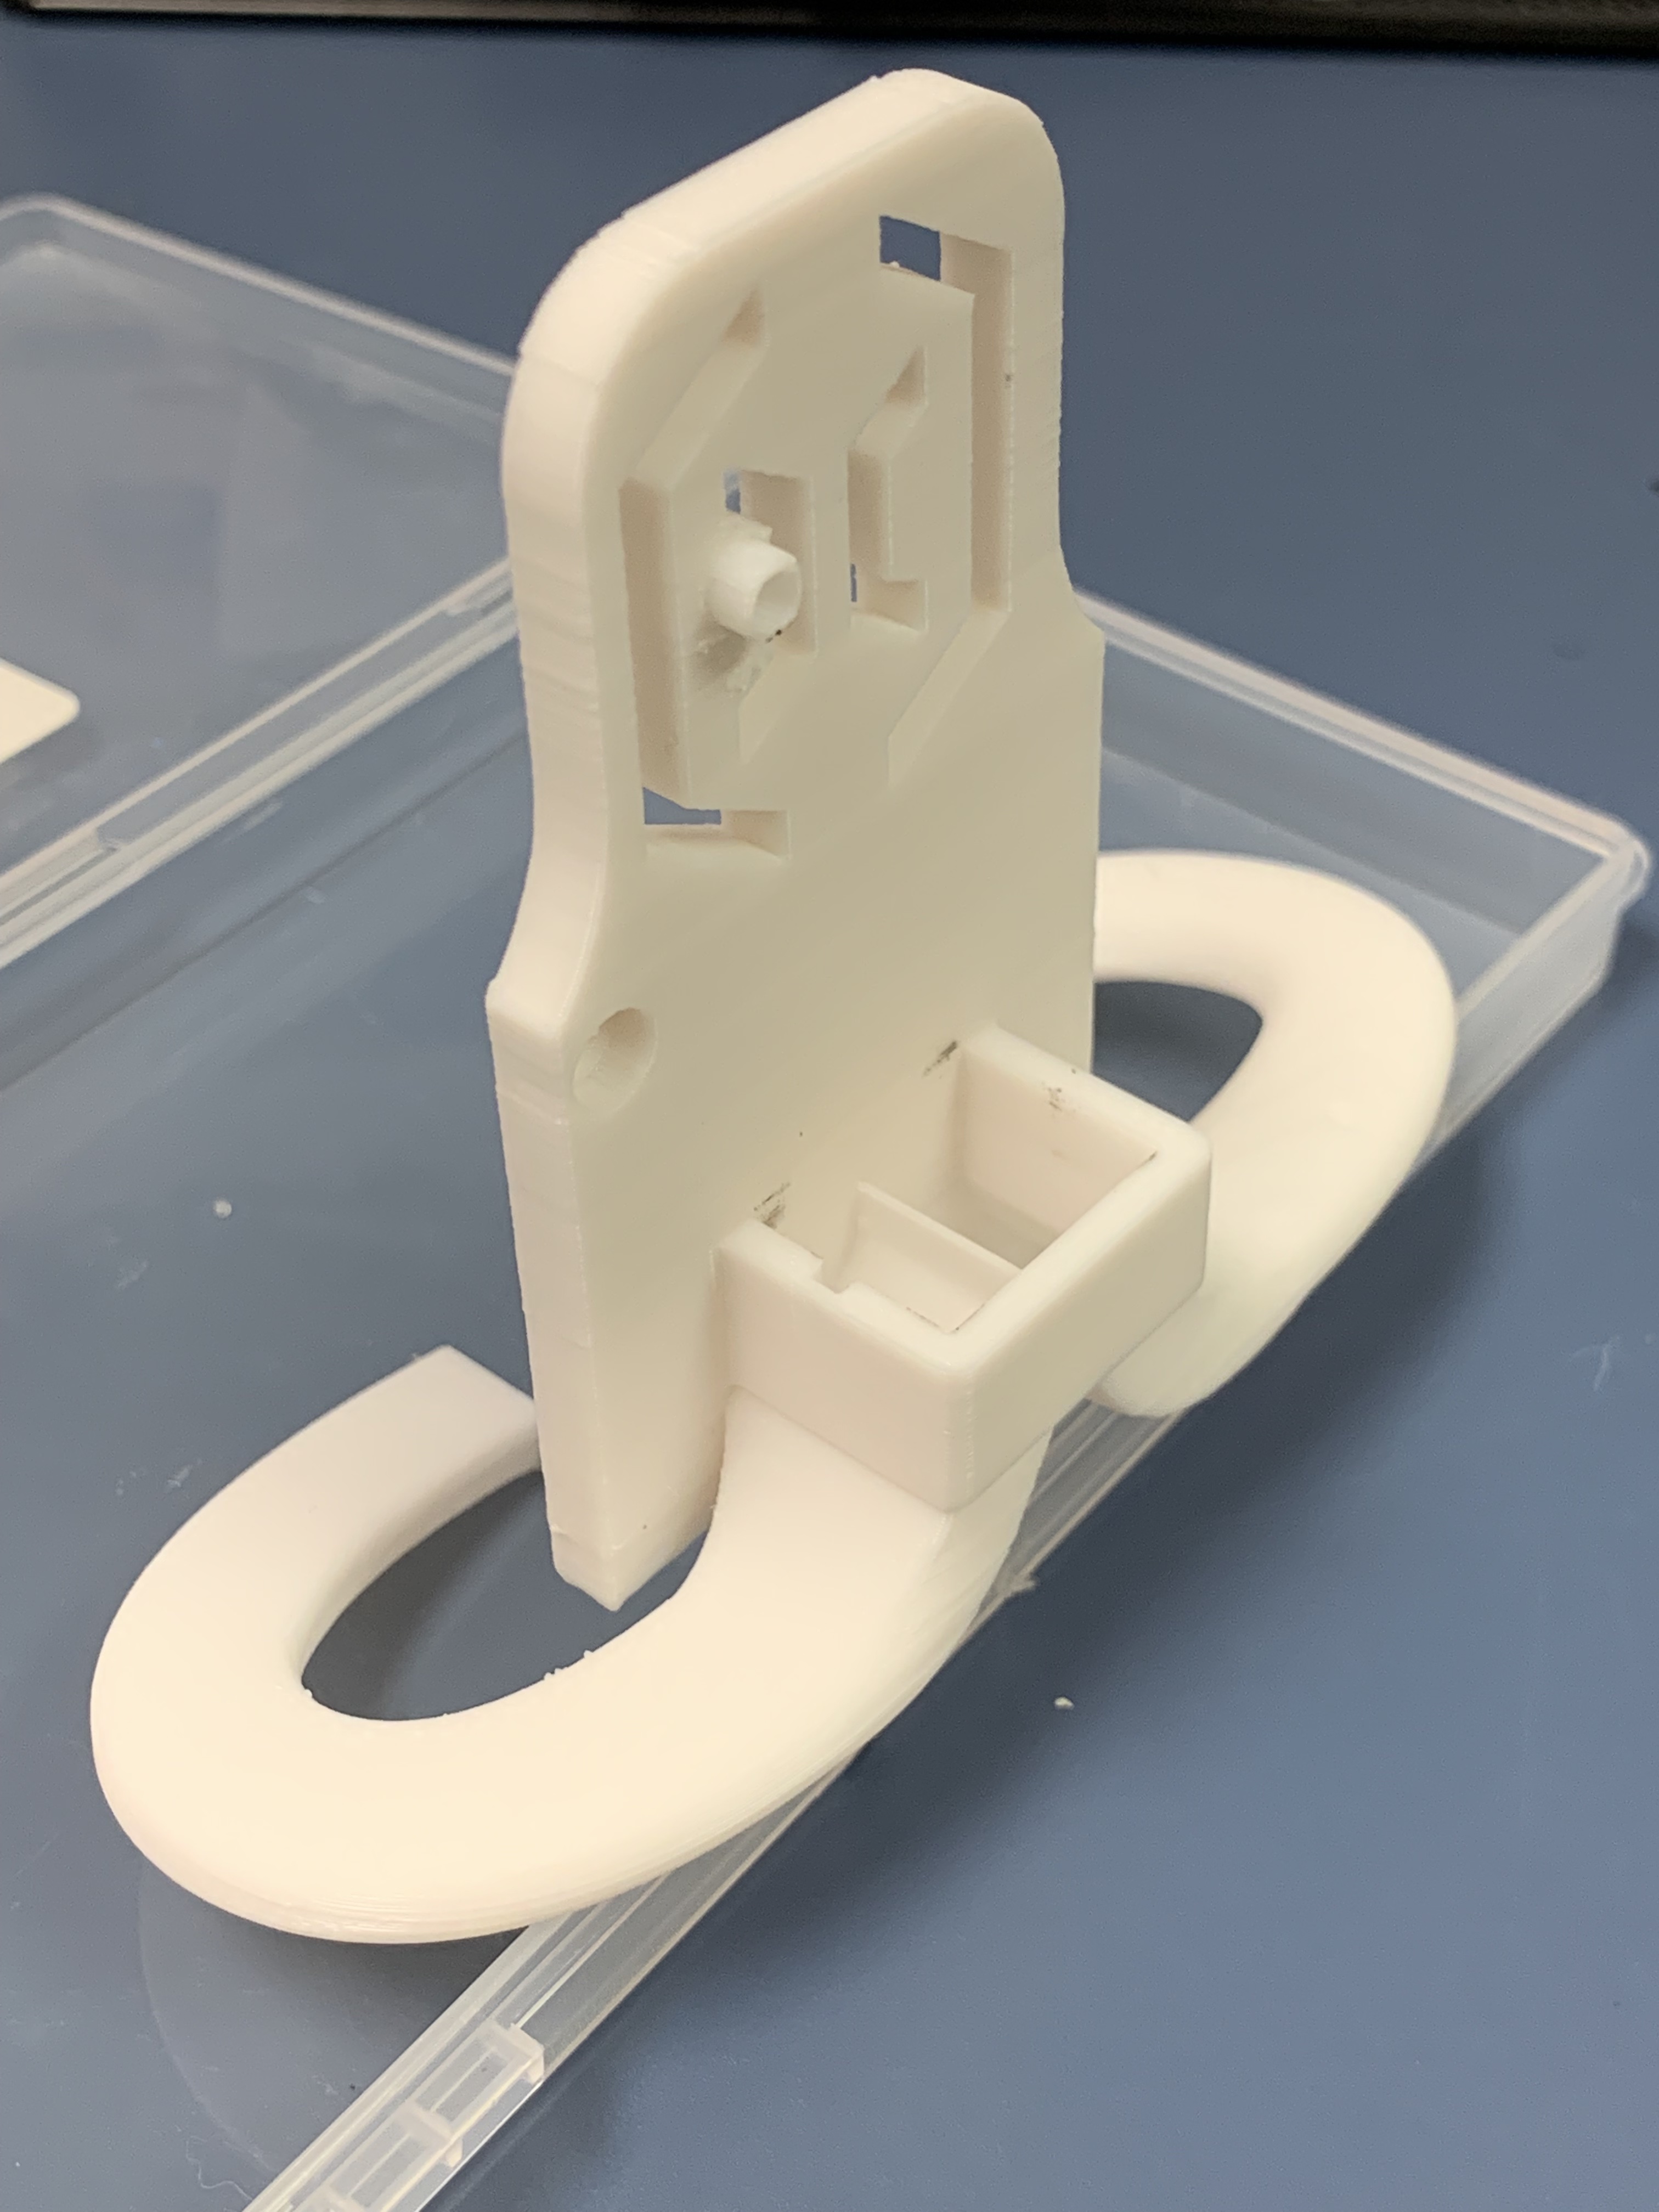
<h3>***Update 29 Sep 2022</h3><p>The model has been reworked again due to clearance issues from the print. Right hand nozzle was too low and kept hanging on even the smallest print artifacts I’ve increased the height by 1mm to see if this helps. I've also enlarged the ducts to help relieve some of the back pressure developed by the fan. Let me know if this helps or hinders the cooling.</p><h3> </h3><h3>***Update 11 Sep 2022**</h3><p><strong>***</strong> I pulled the model for a few days to handle a couple of issues. I noticed that a clearance feature was omitted when I created this version. As you can see here when comparing the different versions (blue and white versions), the plastic cable cover does not completely clear the model surface. I have updated the model to include the cutout so it should fit flush to the print head. There was also an issue with clearance from the print nozzle to the right hand duct that occurred during export. Fear not, I have fired my quality control person as I found out they were drinking while publishing models (yeah, it was me, I'm fired).</p><p><strong>*** </strong> I have not mentioned this prior to these two X2 fan mods about the wiring differences I found. Using the fans that are linked in each of these articles, you will not be able to get the fan to work. I'm not sure if this is a standardization issue in pin orientation or something that is common. You will have to swap the power and ground pins inside the fan connector in order to get it power up. I did this without thought to those who might follow this guide explicitly. Yes, I'm inconsiderate and all about the big money I'm making on these projects. I'll put being a better human on my to-do list, but it's at the bottom so don't hold your breath.</p><h4>Stock Wiring</h4><figure class="image image-style-align-center image_resized" style="width:49.85%;"><img src="https://media.printables.com/media/prints/273740/rich_content/8ea43279-1052-4af6-9e30-e2efceb9611f/img_0910.jpg#%7B%22uuid%22%3A%22387c194c-ca8b-4589-aed5-c371a420daa8%22%2C%22w%22%3A3007%2C%22h%22%3A2219%7D"></figure><h4>Sidewinder X2 Wiring</h4><figure class="image image-style-align-center image_resized" style="width:52.04%;"><img src="https://media.printables.com/media/prints/273740/rich_content/916b2322-02a7-469e-bc80-e34f3160d047/img_0912.jpg#%7B%22uuid%22%3A%22c9e79ea0-8a6a-4a7d-984f-66fb099adf65%22%2C%22w%22%3A3018%2C%22h%22%3A2614%7D"></figure><h3> </h3><h3><strong>Single 5015 Part Cooling Duct - Final quality print pics coming soon</strong></h3><p>I decided to “church up” this design a bit as indicated by the incorporation of the Artillery logo. For those who prefer a single fan alternative to the dual 5015 fan design I initially created I have granted your wish just like a genie (no rubbing required). I reused some of the original design ideas from my dual fan setup. This fan is much quieter while still improving the overhang ability of the SW X2. </p><h4><strong>Print Setup</strong></h4><ul><li>Material: PLA</li><li>Quality: .12mm. (.2mm works as well as indicated by the white PLA pics)</li><li>Temp: 200°C</li><li>Bed: 67°C</li><li>Print Speed: 50mm/s, first layer at 20mm/s</li><li>Walls: 5</li><li>Infill: 50%</li><li>Supports: Tree</li></ul><p> </p><h4><strong>Installation notes:</strong></h4><p>The intent of this design was to allow the user the choice to secure the fan with an M3 bolt and corresponding nut or to simply snap the fan into place. Snapping into place will be more than secure for most applications. The fan listed below in the parts list will connect to the existing hot end PCB exactly as the stock fan does. The cable is slightly longer than needed but it can be secured and hidden as needed.</p><p>As you can see in the pictures, I designed a cut away support to allow the locking pin to be printed without supports generated by Cura. This small pyramid is simply cut at the base with a pair of side cutters as you see in the picture. A small amount of cleanup may be needed, but the surface should be reasonably unmarred when complete. Failure to remove this will not allow the fan to snap into place and mount correctly.</p><h4><strong>Parts List:</strong></h4><p><strong>Fans</strong>: <a href="https://a.co/d/7E1LBpB">https://a.co/d/7E1LBpB</a></p><p>3D Printer 24 Volt Fans Blower Turbine Turbo Dual Ball Bearing, Brushless Cooling 50mmx15mm 2PIN (Pack of 4Pcs)</p><figure class="image image-style-align-left image_resized" style="width:50%;"><img src="https://media.printables.com/media/prints/273740/rich_content/0865e145-ee3f-41e1-88d1-7efb469ef5d6/image.png#%7B%22uuid%22%3A%22fbc7e96e-3370-4289-8044-47de8433309f%22%2C%22w%22%3A374%2C%22h%22%3A374%7D" alt="Diagram Description automatically generated"></figure><p> </p><p> </p><p> </p><p> </p><p> </p><p> </p><p> </p><p> </p><p> </p><p> </p><p> </p><p><strong>Bolts</strong>: <a href="https://a.co/d/gr4eW8U">https://a.co/d/gr4eW8U</a></p><p>M3x10mm Socket Head – Should only need 2 of these and the link provided is an example of the type of bolt I used.</p><p><img src="https://media.printables.com/media/prints/273740/rich_content/da3021c9-9f72-498a-b6b3-03f77456c540/image.png#%7B%22uuid%22%3A%2237f8c4a0-a11b-45e4-8577-8348f6396c58%22%2C%22w%22%3A305%2C%22h%22%3A351%7D" alt="A picture containing metalware, screw, gear Description automatically generated"></p><p> </p><p>Hopefully this will help someone out there who is having cooling issues. While this may not solve all the overhang problems that can occur due to poor parts cooling, it should help. If you have questions or comments post something and I'll see what I can do.</p>
With this file you will be able to print X2 Solo 5015 Fan Duct with your 3D printer. Click on the button and save the file on your computer to work, edit or customize your design. You can also find more 3D designs for printers on X2 Solo 5015 Fan Duct.