X Gantry Leveling Blocks - Ender 3 (or similar)
prusaprinters
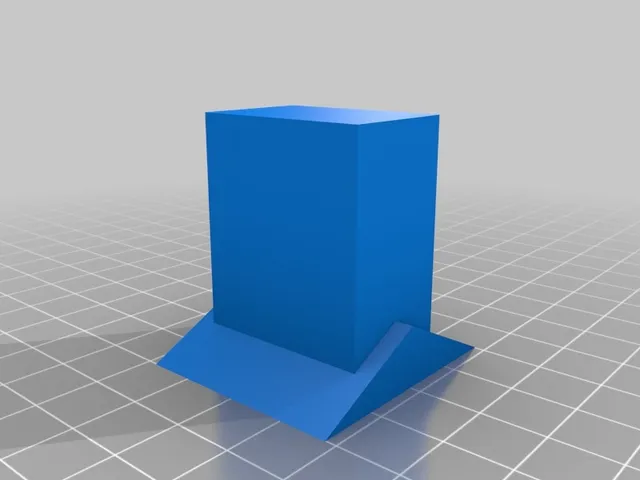
UPDATE 4/28/2019 So after some more time and much learning, I have made some minor tweaks for better results using different nozzle diameters. Now I have added two different heights for even layering with a given nozzle diameter. 111mm tall block (for sitting on frame) using 0.8mm Nozzle @ 0.6mm layer height 112mm tall block (for sitting on frame) using 0.4mm Nozzle @ 0.32mm layer height 10% infill should be plenty, especially if you use 2 perimeters with the 0.8mm nozzle, or 3 perimeters with the 0.4mm nozzle. Hello all! This is my first posted make. It's very simple but it helped me correct some strange prints & bed leveling issues. Essentially, print two of these blocks and place them on your frame (one next to control box and the other behind the LCD display) and you can see/adjust how level your X axis gantry is to your frame. To adjust your gantry on the Ender 3, you need to loosen the screws attaching the v-wheel mounts on either side. Then align the gantry flat to the blocks and re-tighten. I also included an optional version that accounts for the space behind the LCD panel if you have already printed a rear cover for the LCD...just makes it easier to fit the block on the frame behind the panel if so. Another way to do this (though not the best way just fyi) is to print two of these blocks and place them on your print bed (if already level) and you can see/adjust how level your X axis gantry is to your frame. I found them useful so I thought I would share. I made this using TinkerCAD just for reference. Thanks and happy printing! Note: These are inended to be the following heights just in case your scaling comes out weird on your slicer. On print bed version is 40mm tall (obsolete) Frame version is 111mm/112mm tall Print Settings Printer Brand: Creality Printer: Ender 3 Rafts: Doesn't Matter Supports: No Resolution: 0.32mm / 0.6mm Infill: 10% (more if you like) Filament: Hatchbox PLA (or anything rigid) Green Notes: I printed one block at a time in the same location on my print surface to try to make sure they would be as close dimensionally as possible (variances and all because I only have the one printer and thus couldn't fix X gantry before printing them). NOTE: You will likely need to change the height of the block if you try this on a different printer (or just if you feel like having different height blocks). I chose the height because of total print time and it was enough to work. Category: 3D Printer Parts
With this file you will be able to print X Gantry Leveling Blocks - Ender 3 (or similar) with your 3D printer. Click on the button and save the file on your computer to work, edit or customize your design. You can also find more 3D designs for printers on X Gantry Leveling Blocks - Ender 3 (or similar).