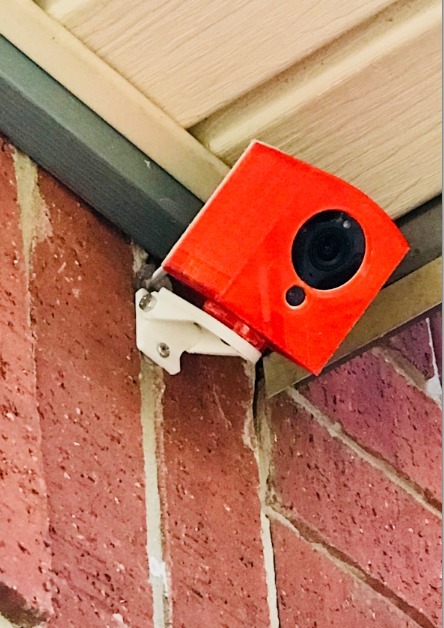
Wyze cam outdoor cover mount
thingiverse
The Complete Wyze Cam Outdoor Cover Mount Installation Guide Assemble the Wyze Cam outdoor cover mount quickly and easily to enhance your home security system's durability and effectiveness. This comprehensive guide will walk you through every step of the process, from unboxing to completion. Gather all necessary components before starting the assembly. You'll need: 1. The Wyze Cam Outdoor Cover Mount 2. A screwdriver (preferably a Phillips head) 3. Four small screws Begin by removing any protective packaging materials from the cover mount and its individual parts. Locate the four holes on the Wyze Cam outdoor cover mount, two at the top and two at the bottom. These holes will serve as mounting points for your security camera. Take one of the provided screws and insert it into the top left hole of the cover mount. Secure the screw firmly using a screwdriver until it's snug against the camera's base. Repeat this process for the remaining three screws, securing them in their respective holes. With all four screws in place, carefully attach the Wyze Cam outdoor cover to the mounting bracket. Gently twist and press the two parts together until they click into place. Your Wyze Cam outdoor cover mount is now fully assembled and ready to use. Mount it securely to a wall or other surface, ensuring a sturdy and level base for your security camera. By following these simple steps, you'll have a complete and functional Wyze Cam outdoor cover mount assembly in no time.
With this file you will be able to print Wyze cam outdoor cover mount with your 3D printer. Click on the button and save the file on your computer to work, edit or customize your design. You can also find more 3D designs for printers on Wyze cam outdoor cover mount.
