Wrap Bracelet Crafting Jig
thingiverse
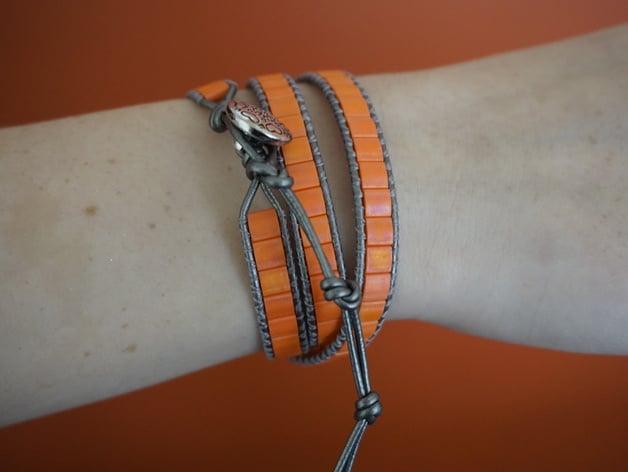
These pieces make wrapping bracelets just like those sold by Chan Luu a whole lot easier. They secure the leather and button to a standard 3/4 inch needlepoint frame, making weaving a piece of cake. Printer Brand: Printrbot Printer: Printrbot Plus Rafts: No Supports: No Resolution: Printing at 0.2 or 0.3 layers with a 0.4 nozzle worked like a charm for me. Infill: Fill it to 20-50 percent for the best results. Notes: You won't need any support - no worries! Print out one of each piece and let the weaving begin! It doesn't matter if your fill level or layer height is off by a hair. Just be prepared to file out the grooves a bit so the leather cord fits like it's supposed to. Measure up that leather cord and tie a button on, depending on the size of the button you're using. Stick it in the slot that fits best and get ready to wrap those beads. The other piece will keep the leather right where you need it, and securing both ends with a little packing tape will keep everything from getting away from you while you work your magic. Need instructions on how to do the actual beading? Look no further - just head over to this website http://www.instructables.com/id/Wrap-Bracelet/. My wife swears by beads with two sets of holes, and I'm sure those are the ones you see in these photos. Update: I've added not one, but TWO versions that totally encircle the frame - yeah, you heard me right, Wrap is included! These babies print just fine without any support on my Printrbot with PLA. They're way more stable and require way less packing tape than their predecessors. And check it out, a thumb tack through the dished out part holds onto the frame like a charm!
With this file you will be able to print Wrap Bracelet Crafting Jig with your 3D printer. Click on the button and save the file on your computer to work, edit or customize your design. You can also find more 3D designs for printers on Wrap Bracelet Crafting Jig.
