WOWSTICK Sliding Case
prusaprinters
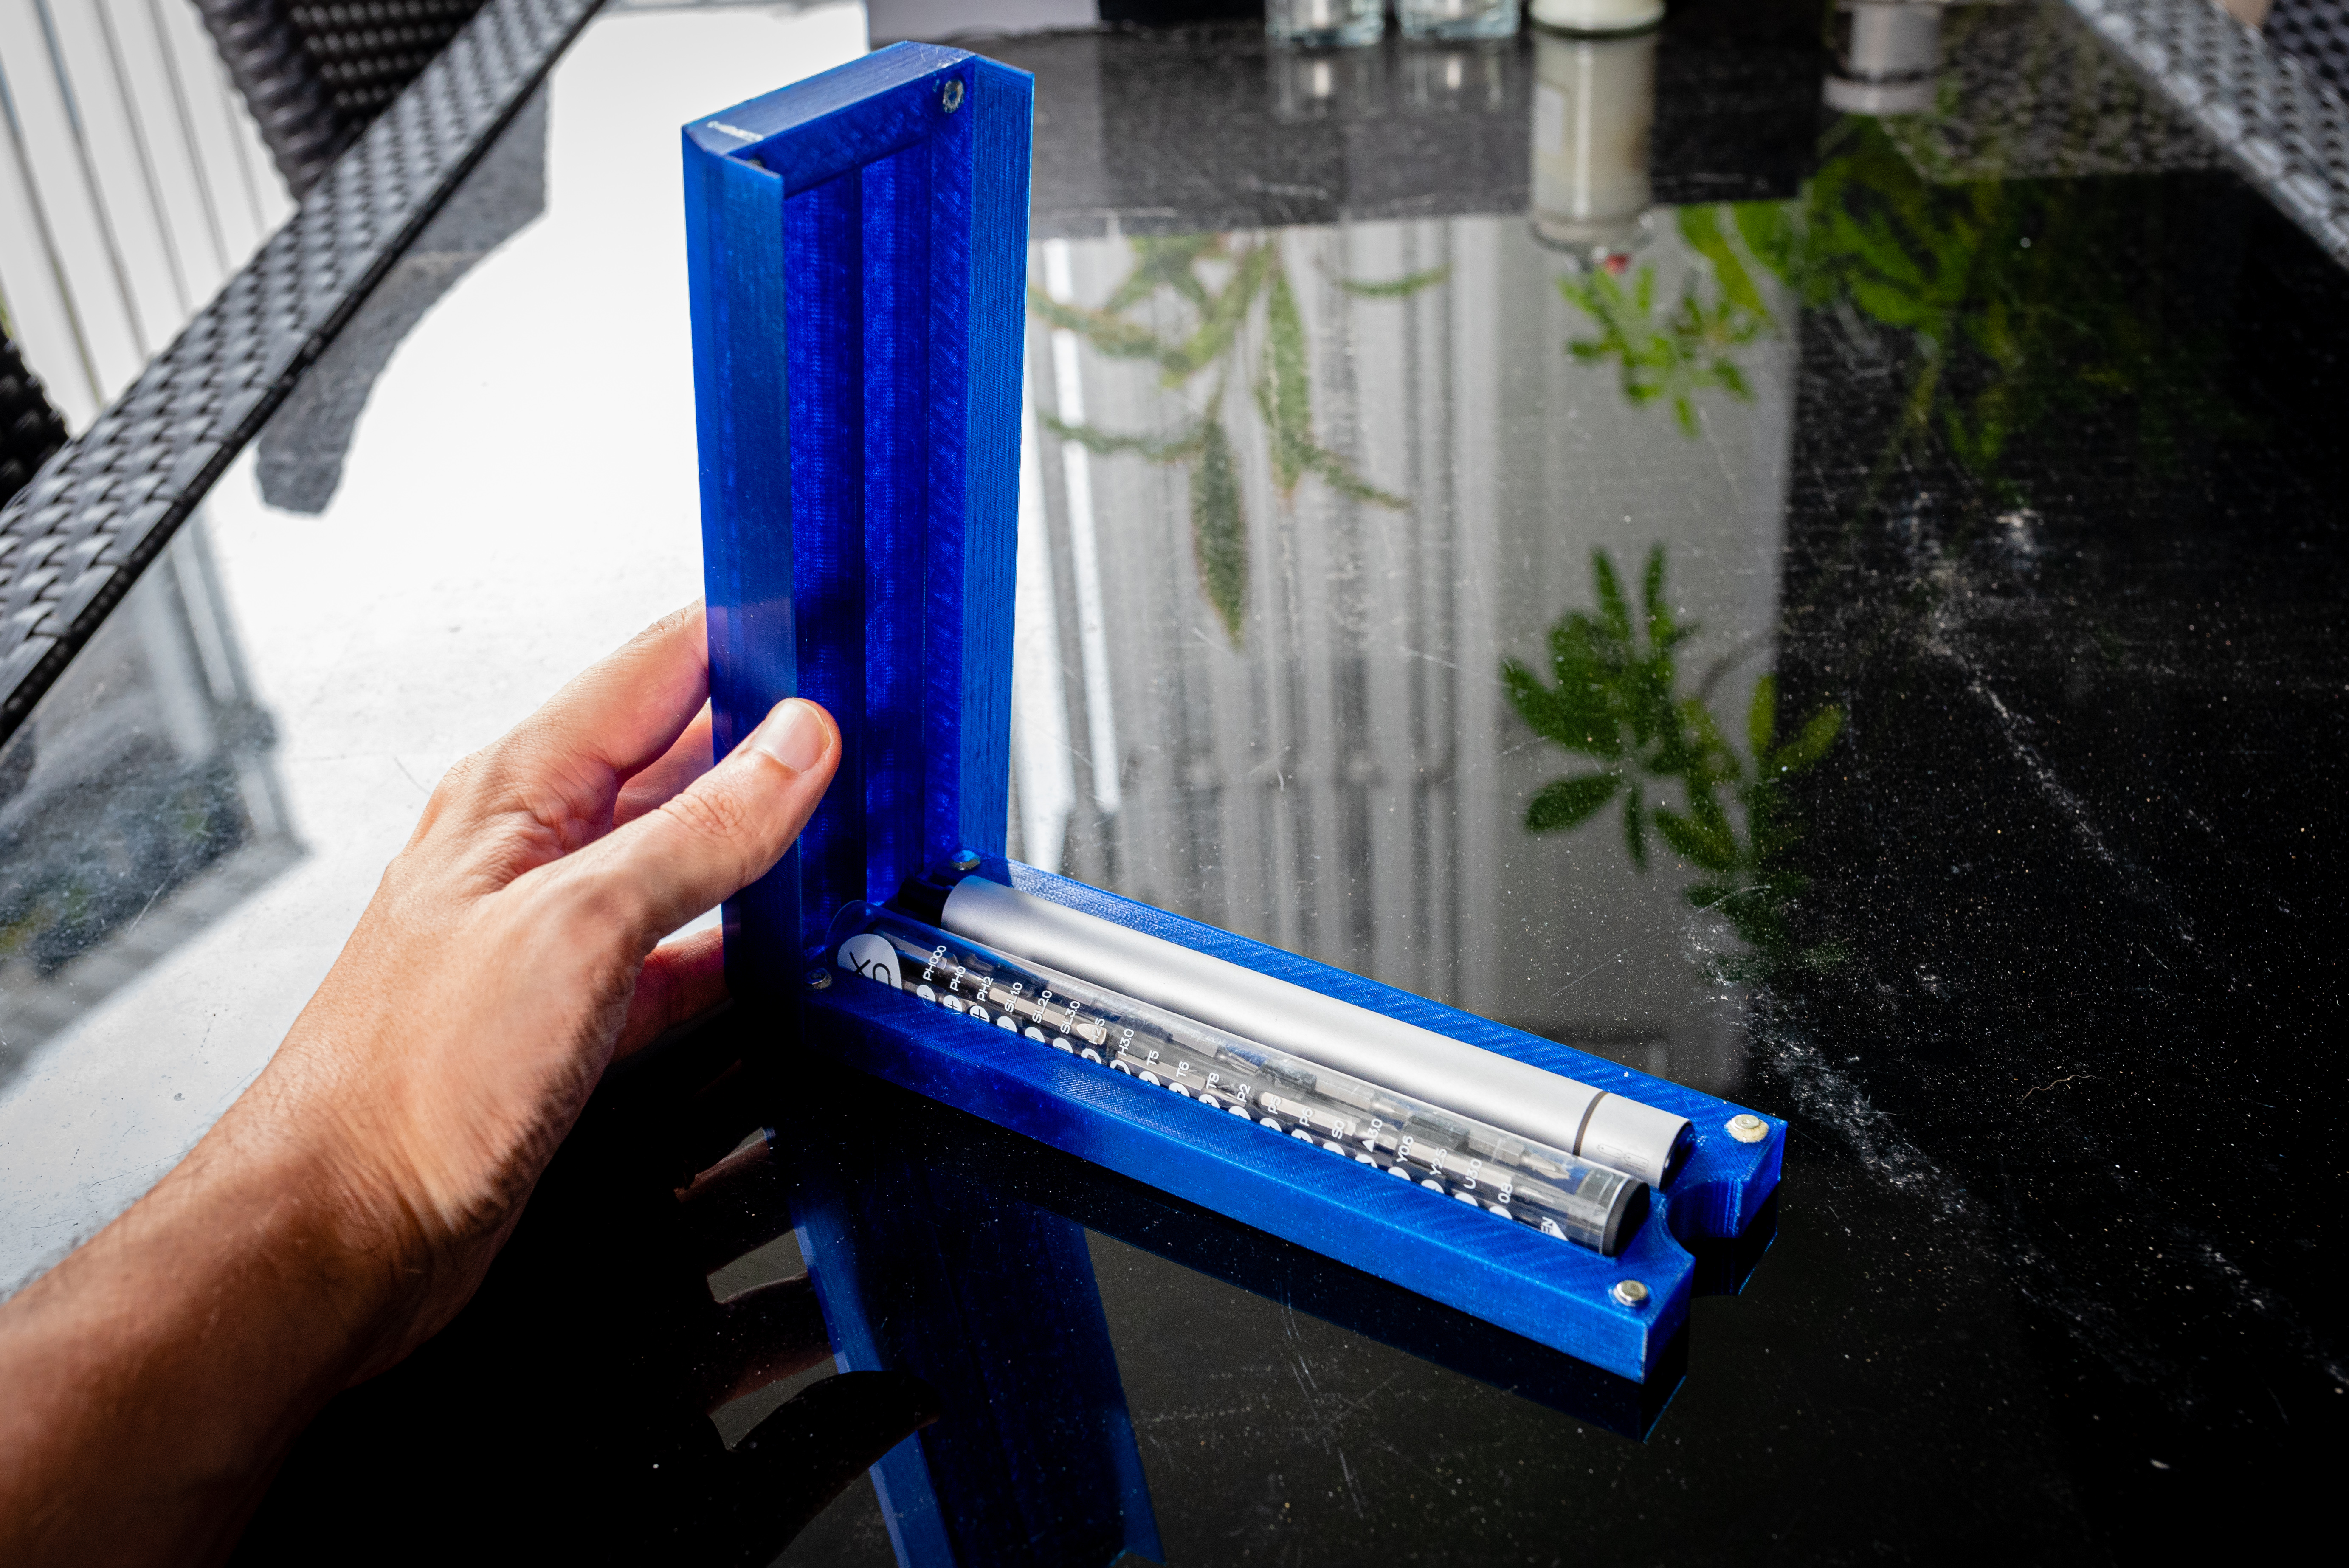
<h4>Introduction</h4><p>This travel case for your WOWSTICK is meant to occupy a small footprint and fit into a backpack or other carrier. It uses 8 6mm round neodymium magnets to attach the top and bottom shells together. The top shell can be used to hold fasteners whilst doing work, or can be turned upside down to decrease the footprint on the table for those in small spaces.</p><h4>Additional Hardware Requirements</h4><p>8x - 6mm round x 3mm Neodymium Magnets</p><p>CA Glue</p><h4><strong>Recommended Print Settings</strong></h4><p>0.2mm Layer Height</p><p>Any infill % is suitable</p><p>Any material is suitable (but tested with PETG)</p><h4><strong>Assembly Instructions</strong></h4><ol><li>Print the .STL file. The top and bottom shells are oriented together on the print bed.</li><li>Align magnets. Make sure that you “pair” magnets such that they attract with one another once assembled. One way to do this is to create a full stack of your 8 magnets first, then for each “pair”, take off two from the stack. This will ensure consistent polarity between pairs.</li><li>Apply CA Glue to one hole on bottom shell and insert magnet “pair”. Repeat for other three holes.</li><li>One at a time, apply CA glue to a hole in the top shell, invert a magnet attached to the bottom shell, then insert that magnet into the hole with glue inside. Repeat steps for other three holes.</li></ol>
With this file you will be able to print WOWSTICK Sliding Case with your 3D printer. Click on the button and save the file on your computer to work, edit or customize your design. You can also find more 3D designs for printers on WOWSTICK Sliding Case.
