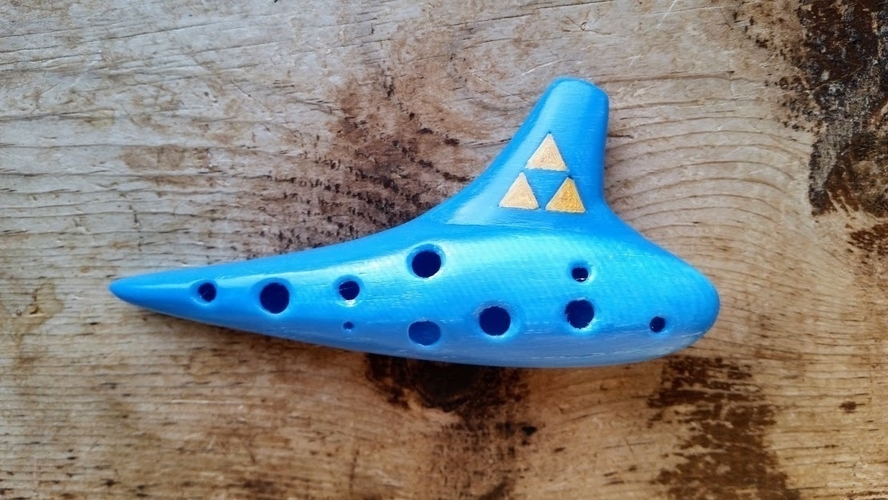
Working Soprano Ocarina - 12 Hole Transverse
pinshape
This is a working version, as fine-tuned as possible. Breath pressure affects tuning - I struggle to determine if I'm increasing my pressure consistently as I ascend in pitch, using this 12 hole sweet potato/transverse ocarina. Sound sample: Every print of this version (v13) plays the full range - but only once I remember to clean out the windway with a safety pin or other small tool after printing. Any stringing or deposited extra plastic in the windway can weaken the notes, and lose the highest ones. I have only printed this model in PLA - I do not know if the contraction of ABS would prevent this from working, so if anyone tries that let me know. I hope someone out there enjoys this! Edit: Added the triforce as separate pieces you can glue in so they can be different colors. There's a version that sits flush with the ocarina, and a version which is 'outdented' (Which Google said was an acceptable word but Firefox Spellcheck disagrees.) V17: This one seems to have a slightly sturdier high note. Hoping it fixes the issues some people have reported. PRINTING: Use at least 3 perimeters - air cannot escape into the infill or it probably will lose the high notes, or all notes. Print in either the orientation of the file, or standing on the larger end. Use supports touching the build plate - not internal ones. POST PROCESSING: Clean the windway with a safety pin. I often get one really annoying blob of plastic right in the center towards the windway exit for some reason, and I have to dig it out. Any strings in the windway or across the voicing window can also affect the sound. Also pull out any stringing you can from the internal chamber of the ocarina, and finger-holes. They do seem to be able to affect the sound. In Blender 3D. I had been thinking of a way to ensure the ocarina would be easily editable to increase the speed at which I can update the voicing/windway to get the high notes, and came up with this. It's probably nothing new or earth-shattering, but it worked out really well for this project. For every piece of the ocarina, including the negative space (hollow center, fingerholes, etc) I created an object and aligned them. This allows me to easily change dimensions or fingerhole positions without having to modify the vertices and end up with some ugly surfaces as a result. This is the weird grey image I've included. Once I'm happy with my edits, I use boolean operations to merge or remove the pieces from the mesh, and it ends up mostly as you see here. I do a few quick manual smoothings just to make myself happy, though. I really like the way it all worked out, and will probably do that again when I move onto making dual chambered ocarinas. The only issue with this process is it made it a bit hard for me to blend the mouthpiece into the body of the ocarina. That seems more like a lack of experience on my part than a flaw with the process, though. I may release future versions that smooth it out.
With this file you will be able to print Working Soprano Ocarina - 12 Hole Transverse with your 3D printer. Click on the button and save the file on your computer to work, edit or customize your design. You can also find more 3D designs for printers on Working Soprano Ocarina - 12 Hole Transverse.