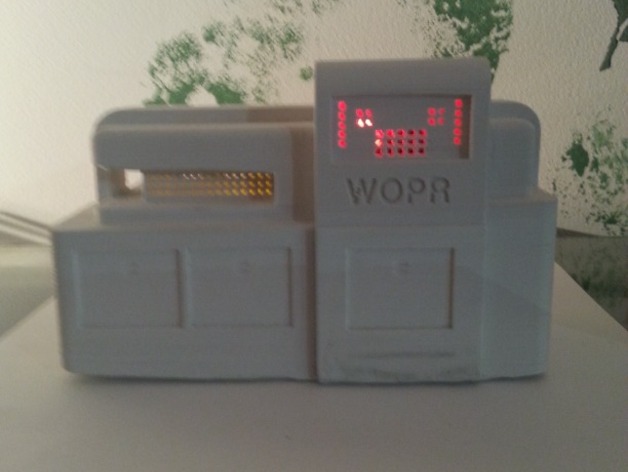
WOPR Ardunio Nano Case
thingiverse
UPDATE October 3rd or March 10th - It Depends on Your Hemisphere. No Matter Where You're From, This Project Took a Few Attempts to Get Right. In The End, I Realized My Measurements Were a Little Off, So Here's What I Learned: To Fit a 170-Pin Breadboard, Print at 105% of Normal Size. Don't Say I Didn't Warn You. If You Need Additional Accessories, Click This Link: Https://Www.Thingiverse.Com/Thing/487627. The Designer Clearly Laid Everything Out. I Made Some Changes to the Project After Watching Joshua Just Sit There Doing Nothing - Not Cool, Josh! To Keep Him Busy, I Increased the Large Model by 150%, Added Holes Where the Blinky Lights Belong, and a Special Place for a 170-Pin Breadboard. The Back Panel Is Now Open, Which Makes Sense Because You're Going to Need Access to Get Inside. Project Details Are Below: Print Instructions: Grab an Arduino Nano from Your Toolbox Place the Nano on That Sweet 170-Breadboard You've Been Meaning to Use Hook Everything Up to the Nano and Breadboard (like LED Lights - Don't Forget Them!) Carefully Place the Nano Inside Its New Home
With this file you will be able to print WOPR Ardunio Nano Case with your 3D printer. Click on the button and save the file on your computer to work, edit or customize your design. You can also find more 3D designs for printers on WOPR Ardunio Nano Case.
