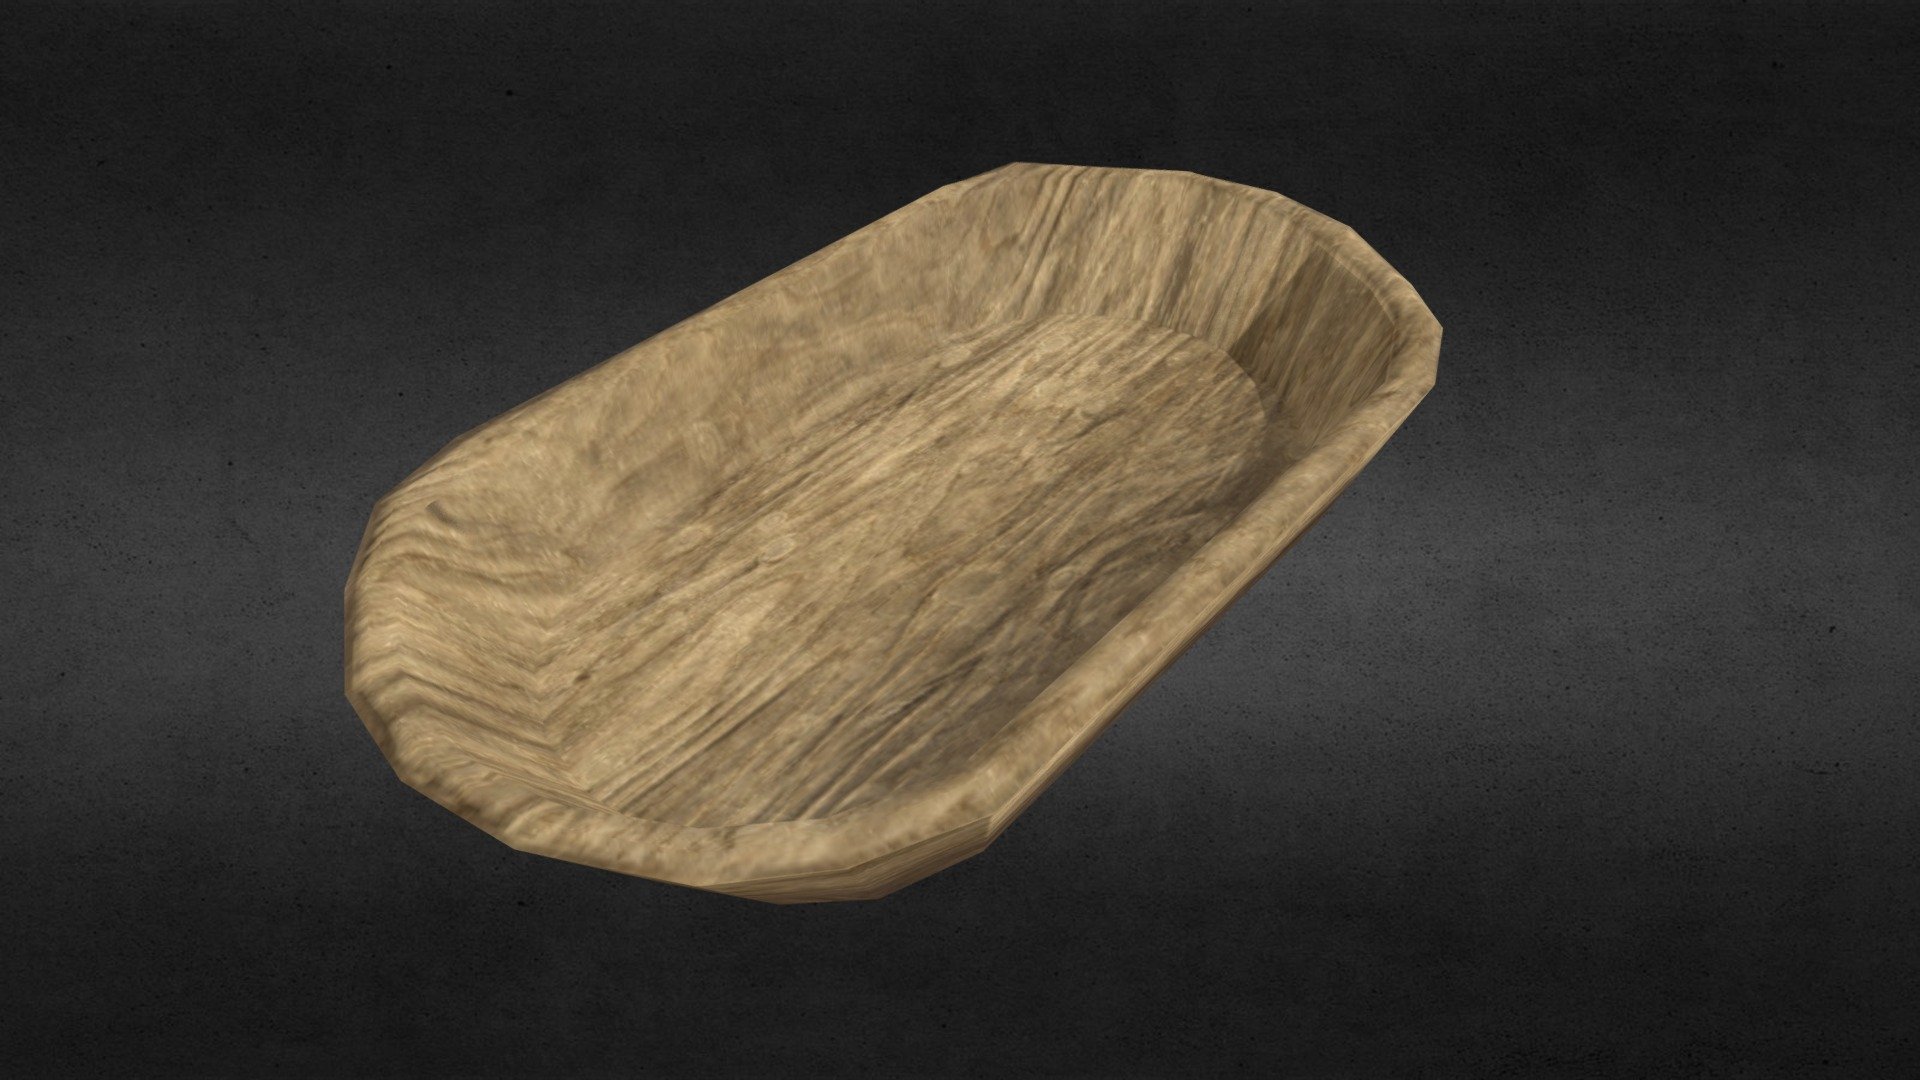
Wood Cooking Plate
sketchfab
Crafting a Wooden Cooking Plate from Scratch using Blender and Substance Painter With a focus on authenticity, creating a wooden cooking plate requires attention to detail and the right tools for the job. In this tutorial, we will be utilizing Blender and Substance Painter to craft a realistic wooden surface that simulates the texture of actual wood. The process involves several stages, each building upon the last to achieve a cohesive look. First, open up your 3D modeling software, Blender. This free tool is ideal for beginners and pros alike, offering an array of features that make it perfect for modeling and texturing. Begin by creating a new project in Blender, selecting 'Project' from the start-up screen and choosing 'New Project.' Next, create a new mesh by going to 'Mesh' > 'UV Sphere.' This will give us our base shape. Now, let's move on to Substance Painter, a powerful tool for texturing and materials. Launch it, and navigate to the import tab where you'll find your Blender model. Simply drag and drop the file into the import section. Once imported, Substance Painter will automatically detect the mesh and begin to process it. This may take some time depending on the complexity of your model. Now that our base shape is ready, we need to add texture. To do this, we'll be using a technique called 'normal mapping.' Normal mapping involves adding detail to our surface without affecting its overall shape. It's perfect for creating realistic wood grain patterns. To create the normal map, navigate to the 'Material' tab and select the 'Wood Grain' preset from the dropdown menu. This will give us a basic wood texture that we can modify later. Next, go to the 'Shader Editor' and click on the 'Normal Map' button at the top of the screen. This will bring up the normal map settings where you can adjust the grain pattern, height, and other parameters to achieve your desired look. Now it's time to add some color to our wood texture. In the 'Color' tab, select the 'Wood Color' preset from the dropdown menu. You can then customize the color by adjusting the red, green, and blue values. To finish off our wooden cooking plate, we need to add a coat of varnish. To do this, navigate to the 'Material' tab and click on the 'Varnish' button at the top of the screen. This will bring up the varnish settings where you can adjust the sheen, gloss, and other parameters to achieve your desired look. Finally, it's time to export our finished model. To do this, navigate to the 'Export' tab and select the file format you want to use (such as OBJ or FBX).
With this file you will be able to print Wood Cooking Plate with your 3D printer. Click on the button and save the file on your computer to work, edit or customize your design. You can also find more 3D designs for printers on Wood Cooking Plate.