Wood Chair
thingiverse
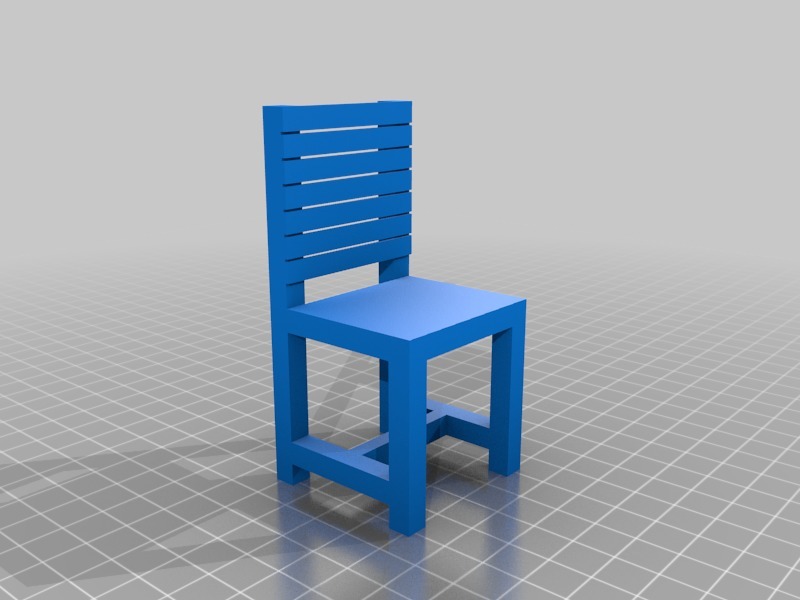
Crafting a basic chair from scratch is a straightforward process when utilizing Google's SketchUp software. Begin by launching the application and selecting the "File" menu to create a new project. Choose the desired unit of measurement and set the perspective to your liking. Next, draw a rectangle that will serve as the base of the chair using the "Draw" tool. This can be done by clicking and dragging the mouse while holding down the shift key to ensure a perfect square. The dimensions of this rectangle are entirely up to personal preference, but for the sake of this tutorial, let's assume we're aiming for a rectangular shape with sides measuring 20 inches in length and 15 inches in width. Following that, create another rectangle above the first one, ensuring it is centered and has the same width as the base. This second rectangle will serve as the seat of the chair. Its height should be slightly less than half of the overall height of the chair, which we'll determine later on. Now, switch to the "Push/Pull" tool by clicking on it in the toolbar or pressing 'P' on your keyboard. Select the base rectangle and then click and drag upwards until you reach a suitable height for the backrest. This can be anywhere from 20-30 inches, depending on how tall you want your chair to be. After defining the basic shape of your chair's backrest, select the "Line" tool by clicking on it in the toolbar or pressing 'L' on your keyboard. Draw a line that extends upwards from the top edge of the seat rectangle, creating the front leg of the chair. This should be slightly thicker than the other lines you've drawn so far. To create the rear leg, repeat this process, drawing another line that extends downwards from the bottom edge of the backrest. Make sure it is aligned with the center point of the backrest for a symmetrical look. Using the "Push/Pull" tool once more, select the front leg and click and drag downwards until you reach a suitable height for it. Do the same for the rear leg, ensuring they are both of equal length to create balance in your design. Finally, use the "Line" tool again to draw two lines that connect the front and rear legs at their bases, effectively creating the arms of the chair. These should be slightly thicker than the other lines you've drawn so far for a more robust look. At this point, you have created the basic structure of your simple chair using Google SketchUp. You can customize it further by adding details such as armrests, cushions, or any other design elements that suit your taste.
With this file you will be able to print Wood Chair with your 3D printer. Click on the button and save the file on your computer to work, edit or customize your design. You can also find more 3D designs for printers on Wood Chair.