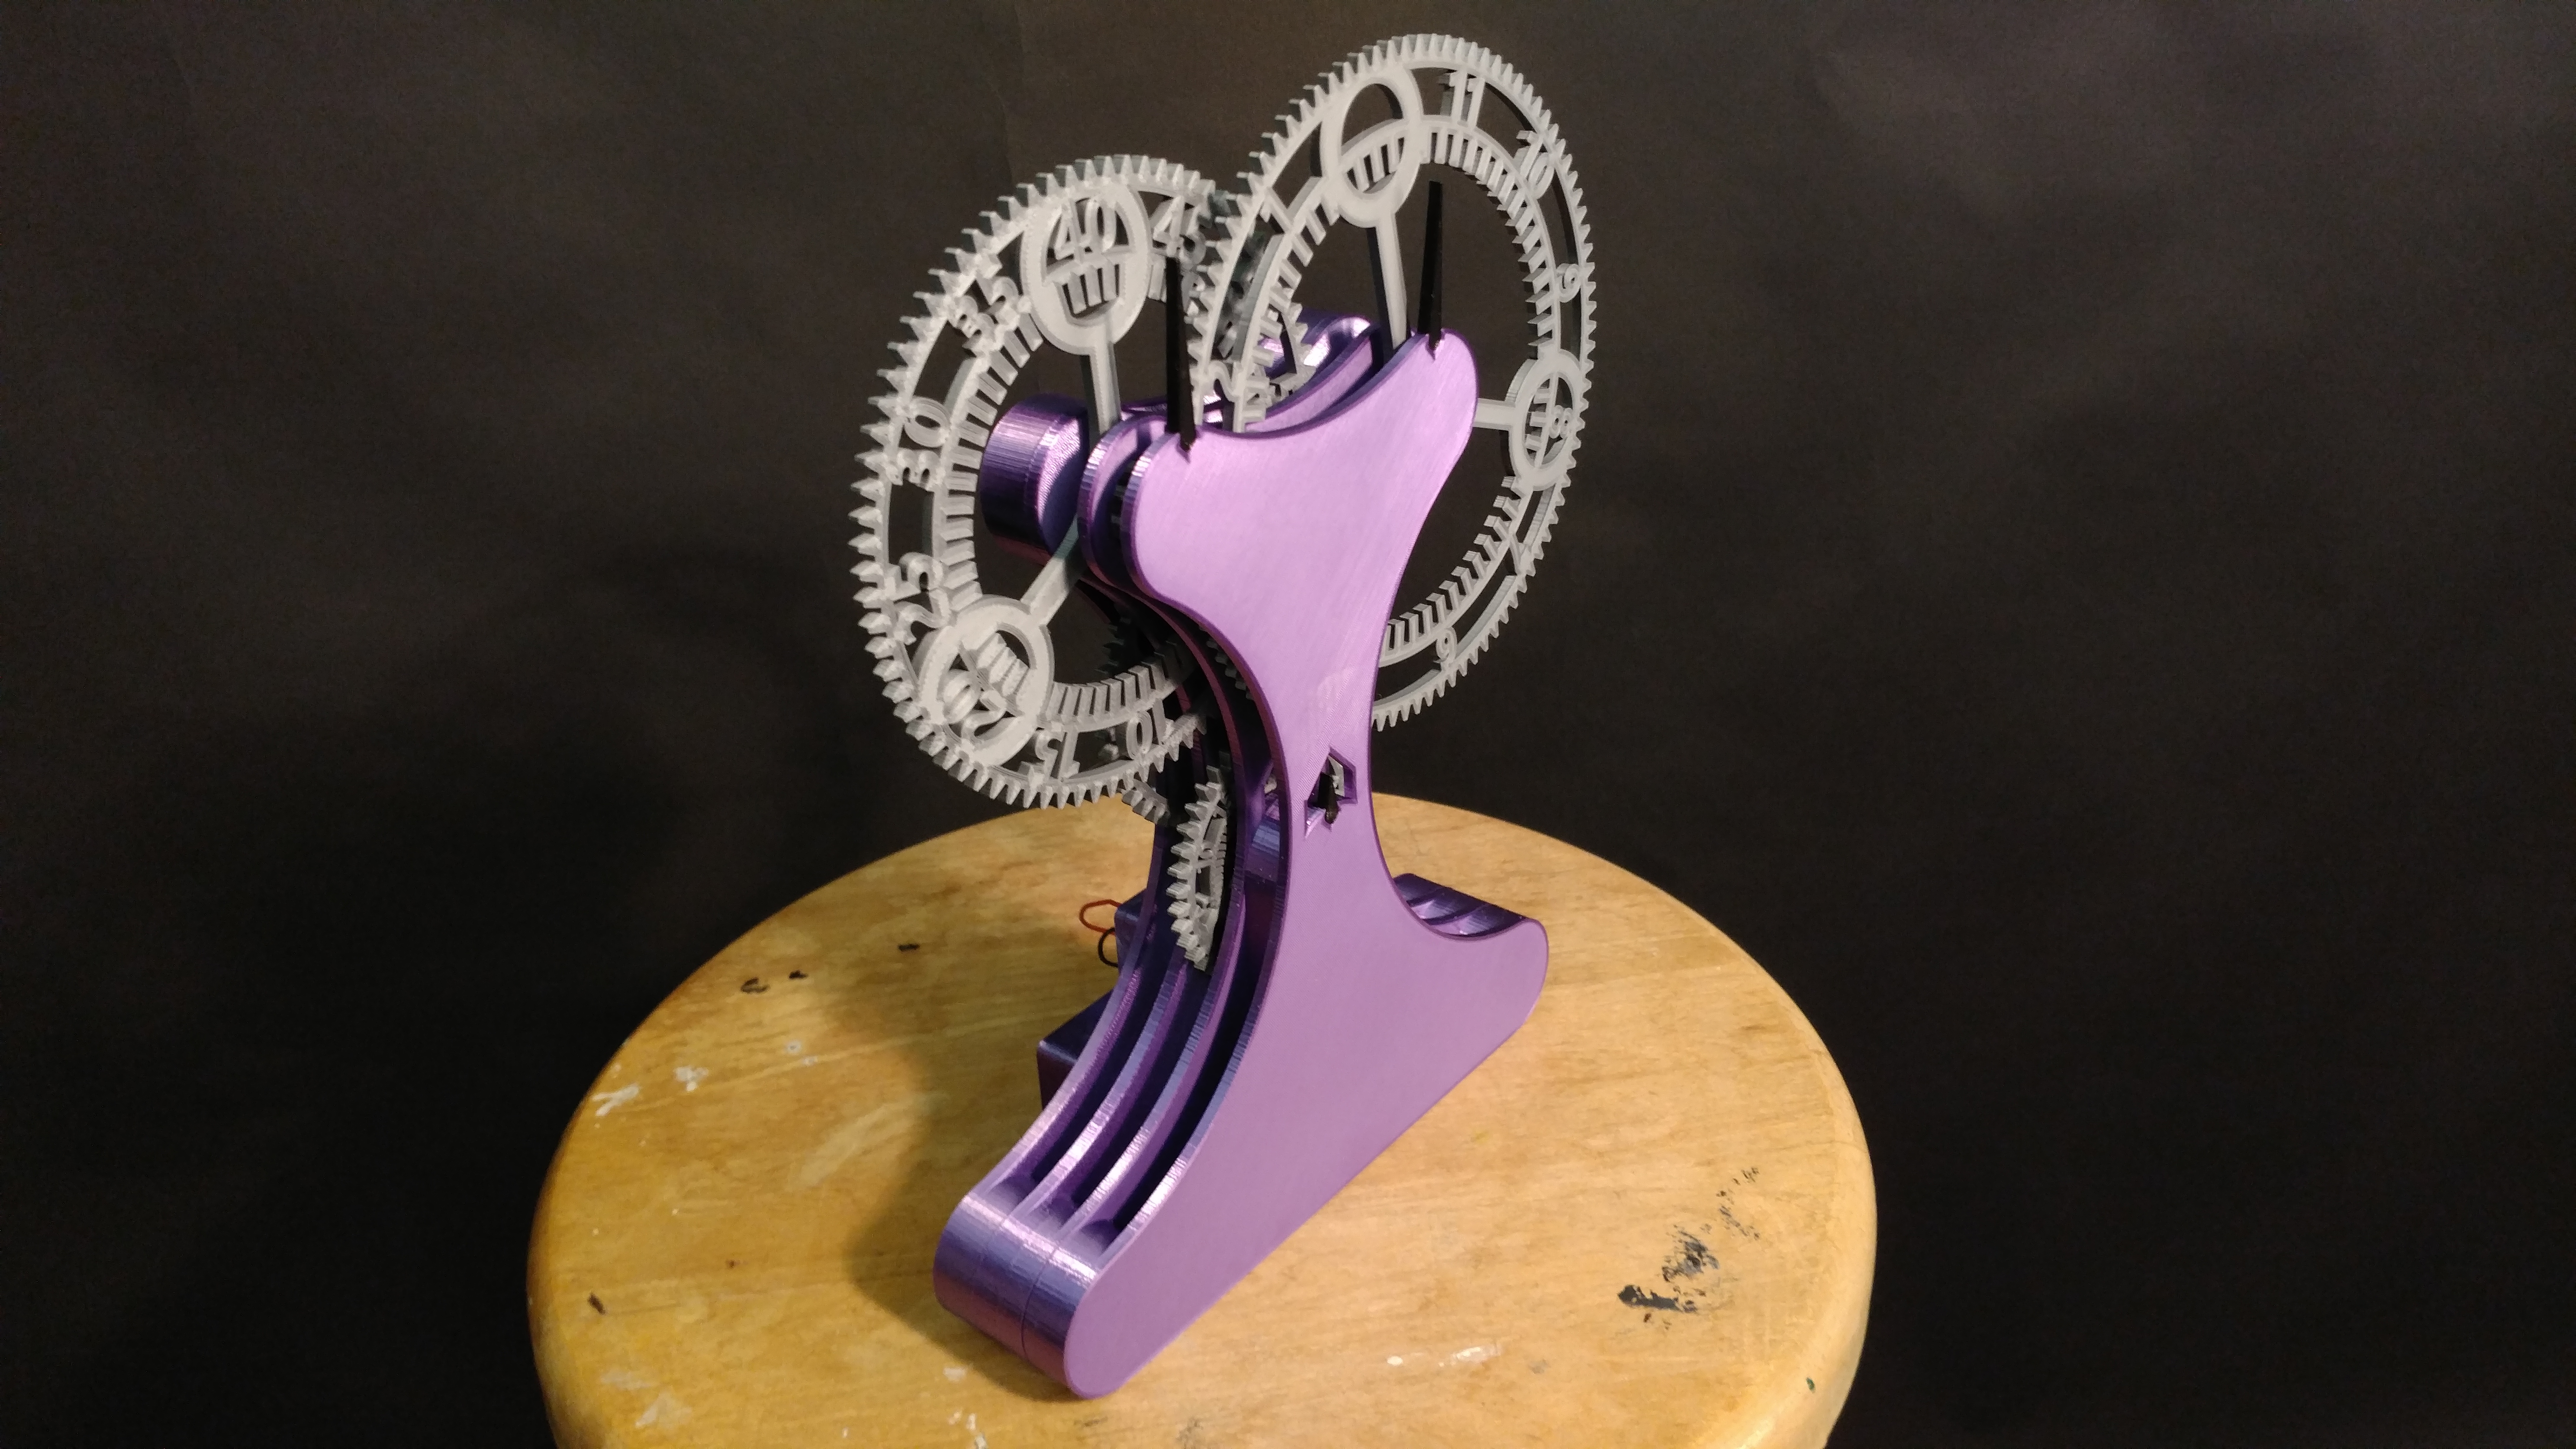
Wonky Clock
prusaprinters
<p>Required parts:</p><ul><li>3D printer (of course!)</li><li>Filament of your choice</li><li>2 mm rod cut into two 38 mm lengths and two 26 mm lengths</li><li>7 692-2Z ball bearings (decent ones can be found on Amazon for about a dollar apiece)</li><li>2 AA battery holder: <a href="https://www.amazon.com/dp/B076C7S2VN">https://www.amazon.com/dp/B076C7S2VN</a></li><li>2 AA batteries</li><li>5 RPM miniature gear motor: <a href="https://www.amazon.com/dp/B07285FZV2">https://www.amazon.com/dp/B07285FZV2</a></li></ul><p>Recommended print settings:</p><ul><li>0.25 mm, 0.2 mm, or 0.1 mm layer height recommended</li><li>0.25 mm nozzle recommended, but 0.4 mm should be fine</li><li>Infill should be greater than or equal to 15%</li><li>Parts don't require supports, though there are some 21 mm bridges on the Body parts, so it's up to you.</li></ul><p>Assembly should be straightforward from the CAD model—built up layer by layer and press-fit together—, but if you need any help, feel free to leave a comment below. Tolerances are tight, so you'll need a mallet or similar tool to ensure fitment of some parts. CAD files are attached in both Fusion 360's native format and STEP. The model is designed to be easily modified, especially regarding the power source.</p>
With this file you will be able to print Wonky Clock with your 3D printer. Click on the button and save the file on your computer to work, edit or customize your design. You can also find more 3D designs for printers on Wonky Clock.
