WLED aRGB controller
prusaprinters
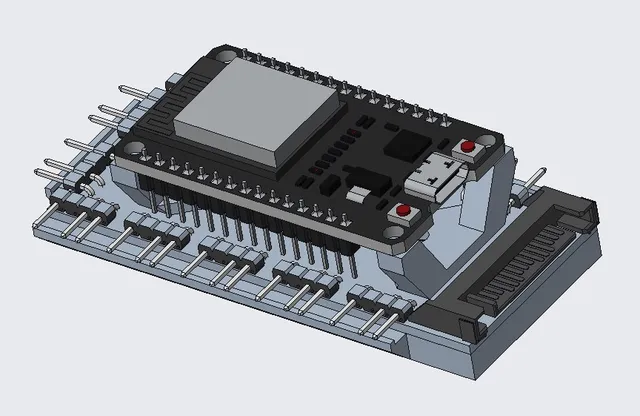
Use these parts to mount an esp32 microcontroller board to a SATA powered aRGB hub to make a multichannel aRGB controller. First drill two 3mm holes 20mm from the ends of the hub circuit board. Use a sharp knife to break the board traces connecting all the data lines on all the hub header connectors together. Solder short wires to the individual data traces for each header. Then mount the hub and standoffs to the bottom case with M3 screws. Mount the esp32 board to the standoffs with M2 screws. Then solder the header data likes to the DIO pins of the esp32 board. This gives a multi-channel aRGB controller powered by the computer SATA cable for multiple high current LED devices like fans, strips, or an LED matrix.Links to purchased parts:aRGB hub: https://www.amazon.com/dp/B09NFFMVNMesp32 board: https://www.amazon.com/dp/B08246MCL5
With this file you will be able to print WLED aRGB controller with your 3D printer. Click on the button and save the file on your computer to work, edit or customize your design. You can also find more 3D designs for printers on WLED aRGB controller.