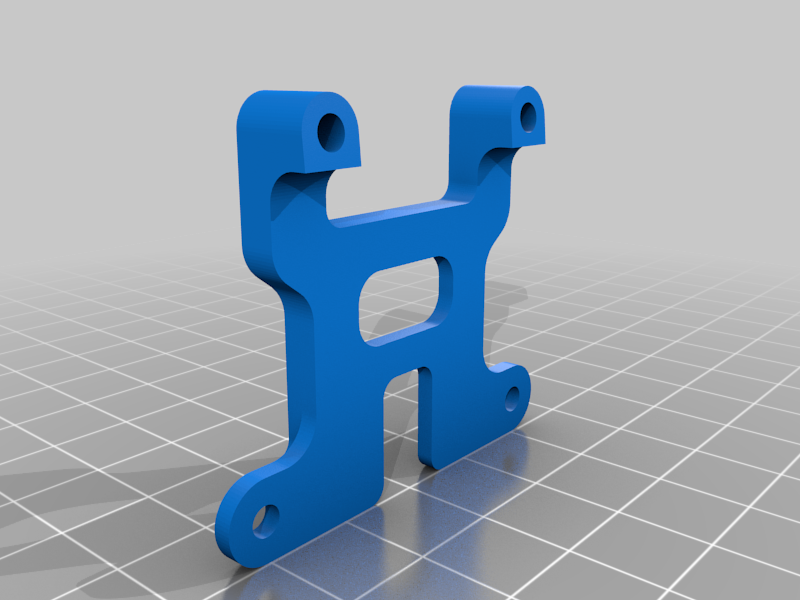
WL Toys 104001 Front Brace
thingiverse
Front brace for the WL Toys 104001 buggy. One of the complaints about the 104001 buggy is the chassis flexibility. One option to reduce the flex in the chassis is to add upper chassis braces/decks like many older modern 4WD buggies (B44, D4, etc.). There are a variety of braces out there (Mehdi_Boo has an excellent set that you can print for yourself) for the 104001 that will create a pretty rigid chassis if printed/added. In the mid-2010's, 1/10 buggy design began to migrate towards adopting some amount of chassis flex as a tuning parameter in the overall buggy design. The XB4 design actually touted the ability to alter chassis flex via different inner braces (composed of different materials), different mudguard materials, and removal of screws. Given that the chassis flex does impact handling, I did not want to make it completely rigid. I have found that rear flex can be improved greatly by simply replacing the screws that attach the center brace/aluminum plate to the lower chassis with higher quality/stronger steel screws. This brought the rear flex to a level that was acceptable. The front, however, still had a good deal of flex. The 104001 is quite similar XB4 2016 design. If you compare that chassis design (and the LC10B5) to the 104001, the front brace has been omitted on the 104001. The XB4/LC10B5 have a brace that extends between the front gearbox and the steering posts, which is one area where a lot of flexibility comes into the chassis. This brace mimics the version that is available on those buggies and is designed to mount to the top of the existing aluminum plate that connects the two front steering posts. This will not eliminate all of the flex in the front of the chassis, but will reduce the amount that is experienced. It would likely be very difficult to get the front CVA to come out of the center drive cup with this installed (or have it impact the center drive cup). You should not need to do a lot of prep to this part. I would recommend drilling out the screw holes of this part with a 3 mm drill bit to make it easier to assemble. Otherwise, unbolt the screws that hold the aluminum plate to the steering bellcranks, put this part in place and reattach. Two additional M3 screws will be required to attach this to the front bulkhead. Notes: The front gearbox is flat, but the front of the aluminum chassis has a kick up (~5 degrees), so the lower portion of the brace that mates up to the gearbox does account for this with an angled face. If you have the graphite chassis upgrade, most do not have the front kick-up incorporated into the design. If this is the case, you may need to alter the brace to remove the angled mounting face or develop a shim to position the gearbox appropriately. If you decide to replace/retighten the rear screws, please take care of not overtightening the two rear most screws at the gearbox. There is enough flex in the original gearbox that it can create binding of the bearing.
With this file you will be able to print WL Toys 104001 Front Brace with your 3D printer. Click on the button and save the file on your computer to work, edit or customize your design. You can also find more 3D designs for printers on WL Toys 104001 Front Brace.
