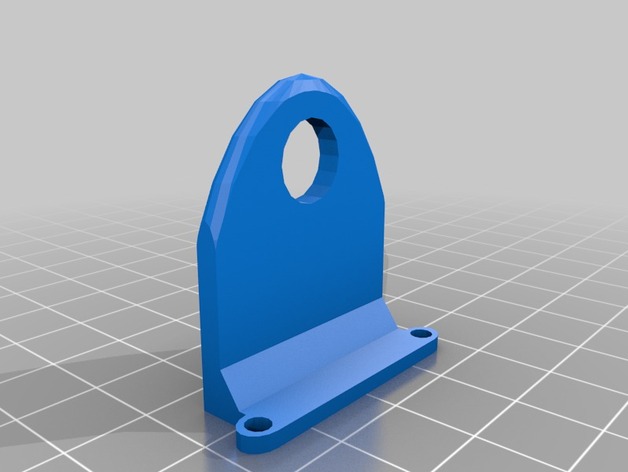
Wiring Guide.
thingiverse
Install additional printed components by bolting them on, or build in components prior to printing using built-in methods. For the bolt-on option, you'll need an M3 x 12 or 14mm long Nema screw. Laying the part with the large hole facing down will create a stronger structure than integrated parts. Pairing this approach with Coolreactions' http://www.thingiverse.com/thing:783678 cap should result in a solid installation. One wonders, why install motors with wires exiting from the side rather than upwards?
Download Model from thingiverse
With this file you will be able to print Wiring Guide. with your 3D printer. Click on the button and save the file on your computer to work, edit or customize your design. You can also find more 3D designs for printers on Wiring Guide..
