Wing Joiner for X-UAV Talon
thingiverse
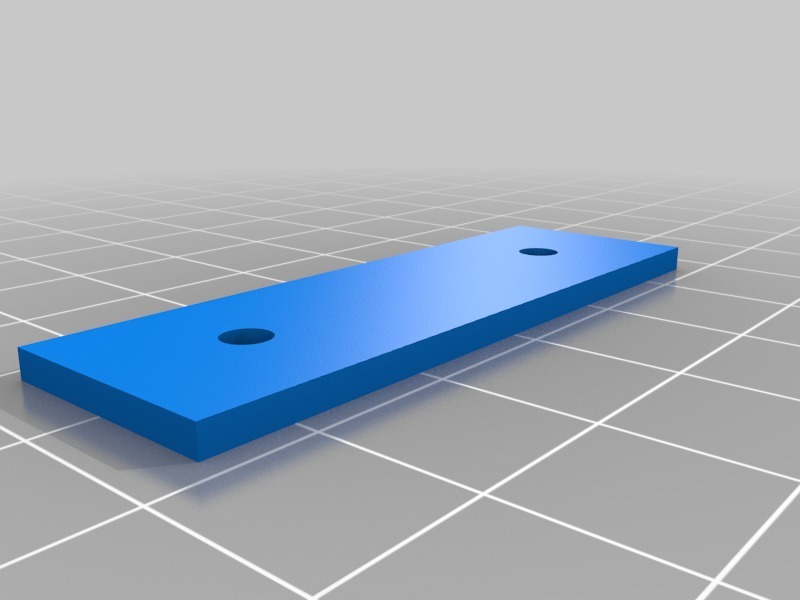
I recently swapped out my wing servo connectors for RS232 DB9 connectors to make quick setup/dismantle of my Talon a breeze, especially when doing mapping flights. To add extra support for the DB9, I decided to install wing joiners instead of just relying on the wing clamps. The wing joiners are held by either steel M3 nuts and steel screws, but I opted to use nylon standoffs like those used in Aeromapper Talon, which inspired my design. My wing joiner is a remix of the bolt-on wing joiner for Mini Drak. Aeromapper Talon: http://www.aeromao.com/aeromapper_talon_uav X-UAV Talon DB9 connectors by Closus: https://www.thingiverse.com/thing:2786209 With nylon standoffs on both the V-tails and wings, no special tools are needed for assembly of my Talon. Just pop in the wings and lock them. Instructions: Print on ABS or PLA. Each wing joiner requires two (2) joiner plates and one (1) wing joiner. On my Talon, I printed four (4) sets. After printing, you may need to trim the joiner a bit to fit the joiner plates. To install, properly align the wings and fuselage. Connect the wings into the fuselage with spars installed. Mark areas to be cut out. Use a sharp blade to trim foam. Make sure the wing joiner is flush so it won't protrude on the foam, but don't overcut the foam or make the joiner recessed. Don't forget to add nuts or standoffs underneath the joiner plates (hold the nut/standoff with CA glue). Apply foam-safe glue on the wing and fuselage as well as on the side of the joiner plate to be bonded. Make final alignment before pressing parts together.
With this file you will be able to print Wing Joiner for X-UAV Talon with your 3D printer. Click on the button and save the file on your computer to work, edit or customize your design. You can also find more 3D designs for printers on Wing Joiner for X-UAV Talon .