Wind up toy car remix
thingiverse
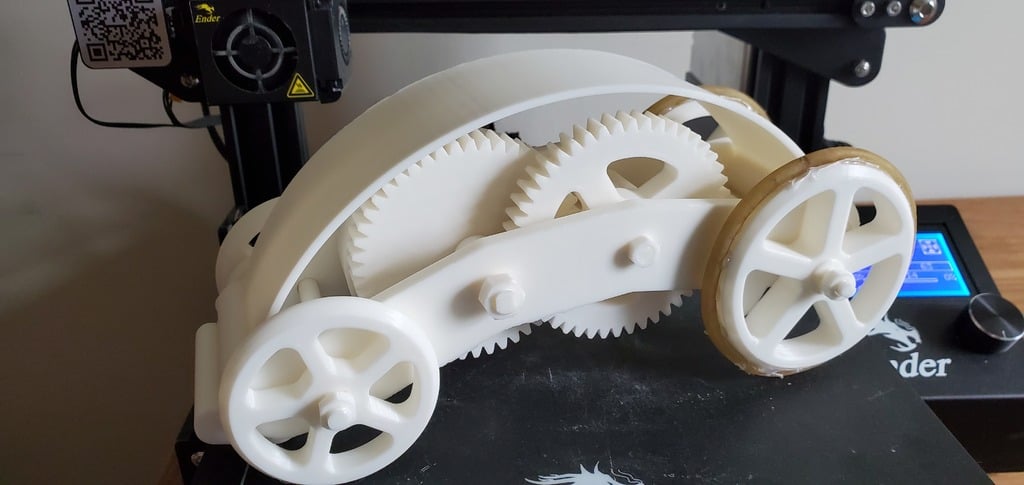
After my son shattered a crucial component, I had to disassemble and destroy all the glue-bonded parts of the original design. To salvage what was left, I lengthened the axles and reinforced them with threads and nuts to keep everything intact. Now, there are only three areas that require additional bonding: attaching the sliding gear to the sliding axle, securing one sliding axle spacer to the left frame, and connecting a sliding axle to the right frame. I also added a protective canopy to shield the moving parts from dust and debris, although this is not essential for the car's functionality. I have included my blender file of the entire vehicle for easy customization. Most components were printed at 60% infill density. To ensure traction on the wheels, I used hot glue to attach rubber strips, as I didn't have suitable rubber bands available – which would likely work just as well in their place.
With this file you will be able to print Wind up toy car remix with your 3D printer. Click on the button and save the file on your computer to work, edit or customize your design. You can also find more 3D designs for printers on Wind up toy car remix.