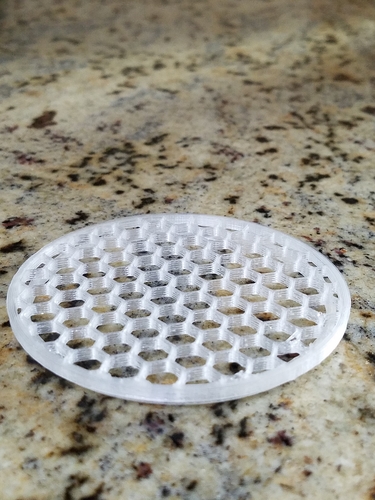
Whisk Dish
pinshape
This "whisk vessel" can be used for whipping cream, eggs, or anything else that needs whisking action. Initially, I aimed to build a cup that would prevent liquids from splashing out when whisked, but as the design evolved into a two-part dish that almost fully enclosed the whisk, I realized that I could integrate the whisk into the vessel itself. The concept involves placing food in the inner part of the device (the one with threads on the outside), positioning the whisk grid on top (which has a ledge around the perimeter to keep it from sliding sideways), and then screwing the outer part over it tightly. After that, simply shake the entire assembly for a while. I've successfully whipped eggs for an omelet and cream using this method. The most crucial factor in building this whisk vessel is choosing the right filament. Fortunately, there are food-safe options available. I used Taulman Tech-G, but clear PETG or PLA would also be suitable choices (PETG handles heat better). When it comes to colored filaments, ensure that the coloring is food-safe as well. The dish parts can be printed using standard settings for 0.2mm on your printer. However, the grid requires special attention: print it without top or bottom layers and with 10% honeycomb infill, then add four vertical shells. The infill is what creates the distinctive grid pattern. After printing, you may need to smooth out the inside of the dish using a fine sandpaper.
With this file you will be able to print Whisk Dish with your 3D printer. Click on the button and save the file on your computer to work, edit or customize your design. You can also find more 3D designs for printers on Whisk Dish.
