Wheeler
thingiverse
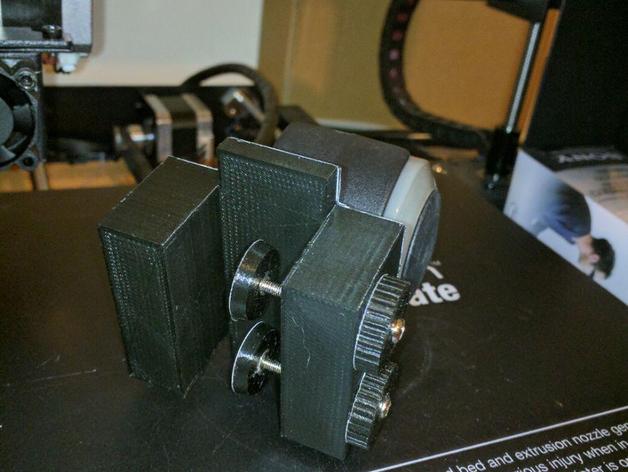
For the single guy who wants to move a wardrobe without bothering his friends, here's a simple solution: clamp these to your wardrobe and just roll with it. You'll need four prints of Base, eight prints of Knob, and eight prints of Pad. Additionally, you'll require: * Eight m3 x 30mm bolts * Twenty-four m3 nuts * Sixteen 8G by 16mm timber screws (although I used 6G with success, feel free to experiment) * Four castor wheels When it comes to the castors, I opted for 50mm x 53mm soft finish castors with a 42x42mm fitted plate. These have a maximum load of 30kg per castor and a total maximum capacity of 90kg. Keep in mind that printed plastic parts may not be able to withstand such heavy loads. Print Settings: * Printer: Prusa I3 Clone * Rafts: Not necessary, but it's always good to have them for bed adhesion * Supports: None needed * Infill: 40% for added strength (I've never printed anything this heavy before) Post-Printing: Installing Nuts Tolerances are tight on this print, so I had to use a clamp to force the nuts into the captive holes. Make sure to put nuts in every hole you can find – there should be two in each Base, one in each Knob, and another in each Pad. It's a good idea to thread a smaller m3 threaded screw into the Knob nuts and use that to push them deeper, giving you a bit more clamping ability. Now, install the bolts: * Thread the bolt fully through the Knob from the nut side to the flat side. I applied a little Loctite before screwing it home. * Thread the bolt through the outside of the Base (it should slide through easily, but might require some turning). Screw it into the nut on the inside of the Base. Apply a bit of Loctite inside the nut on the Pad and screw that onto the protruding end of the bolt inside the Base. Set it aside for the curing time of the Loctite. Finally, apply the castor wheels: * I made the castor wheel holes in the Base slightly further apart than needed to allow for angled screws. This way, you can avoid putting too much pressure on the inner wall (which is probably a bit thin). * Place the castor wheel on the Base and start screwing the first screw in at an angle, going two or three turns before moving to the diagonally opposite corner and starting to screw that one in on an angle. Repeat for the other two screws before tightening them all down.
With this file you will be able to print Wheeler with your 3D printer. Click on the button and save the file on your computer to work, edit or customize your design. You can also find more 3D designs for printers on Wheeler.
